


Our New Back Hall Mud Room Remodel!
2 Materials
$50
1 Day
Easy
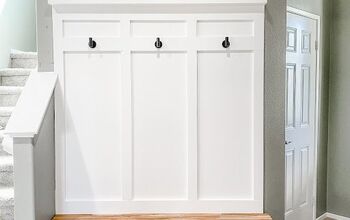
I’m so excited to share this project that we’ve been working on with you! I always love when I can share storage-related projects because almost everyone can relate to the need for more storage! We have a big mud room space off of our kitchen, which is the main door that everyone uses for our house, but we realized recently that a mini mudroom in the hall by our back door would make a lot of sense as well, so we went for it!
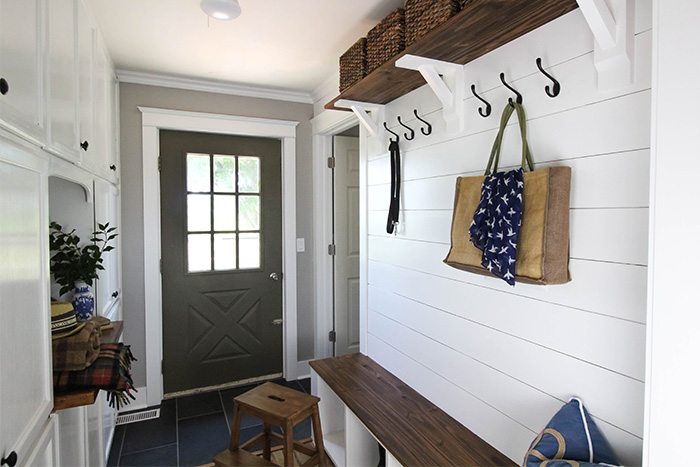
We actually have a lot of different entrances into our house, but this one is the one leading from the back deck into our master bedroom. This has been a semi-finished space for the last few years, but I found myself lining up out-of-season boots back here, as well as bins of hats, mitten, beach towels, and all that kind of stuff. Since it seemed like such a logical place in our home to have this kind of stuff, I decided just to go with it!
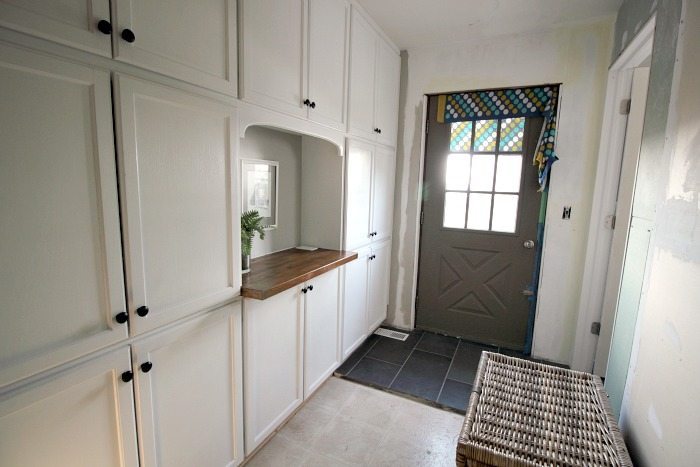
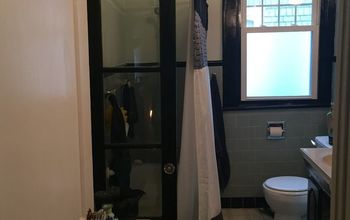
Here’s how the space looked a couple of years ago after we added in the cabinetry along just the one side.... If you click over and read the post about that, you’ll also see the before shots from way back when we first moved in here. Scary stuff!
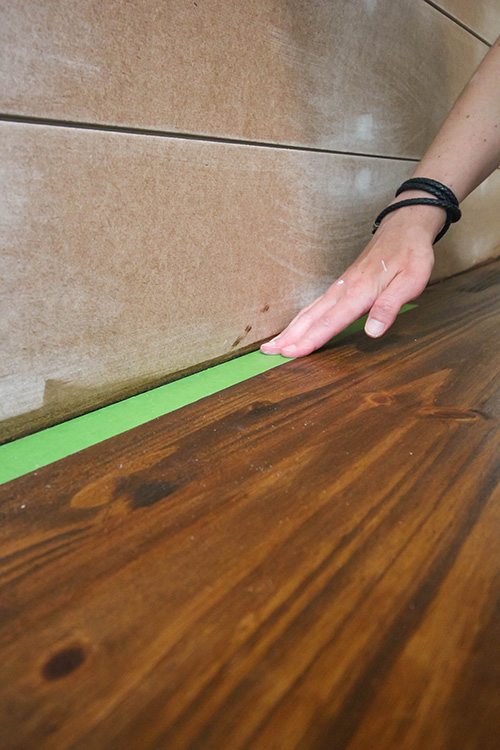
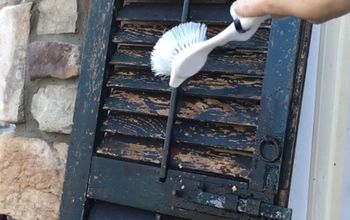
When using my Frog Tape, I usually like to tear off pieces that are no longer than about 12″ to make sure that I’m being really accurate with my application. I make sure to press down really firmly on the tape and make sure it adheres well to the surface that I’m trying to protect.
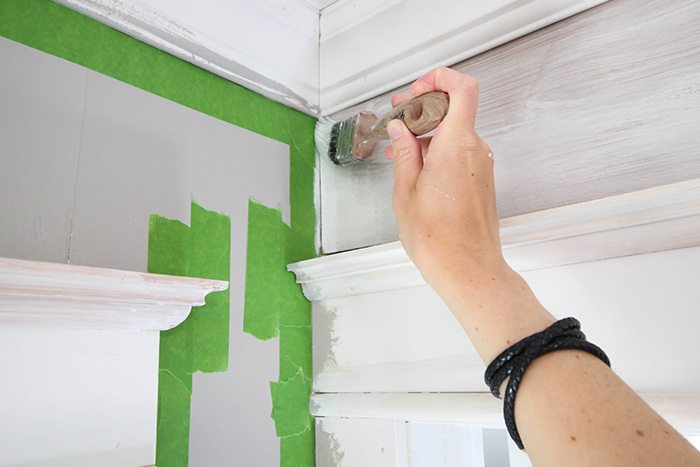
After getting everything taped up, it was time to start painting! Be sure to click on the link below to get all of the details, and even more pictures!
[Psst! Check out even more great painting tips, right here!]

Want more details about this and other DIY projects? Check out my blog post!
Comments
Join the conversation
2 comments
-
Wonderful!!! How lucky you are to have all this space!
-
GORGEOUS!!! I love everything about this room! Thanks so much for sharing.


Frequently asked questions
Have a question about this project?