


Making a Reclaimed Wood Box Lamp

by
Natural Nerd
5 Materials
$40
3 Hours
Easy
We needed a new lamp for the basement, so we decided to create one out of reclaimed wood and led strip. The total cost is less than 40$, provides great light and is eco-friendly.
{
"id": "4069645",
"alt": "",
"title": "",
"video_link": "https://www.youtube.com/embed/YH2zSBDKTaM",
"youtube_video_id": "YH2zSBDKTaM"
}
{
"width": 634,
"height": 357,
"showRelated": true
}
Materials I used for this project:
- Cheap LED Strips!
- Spray Paint & Stain
- Reclaimed wood
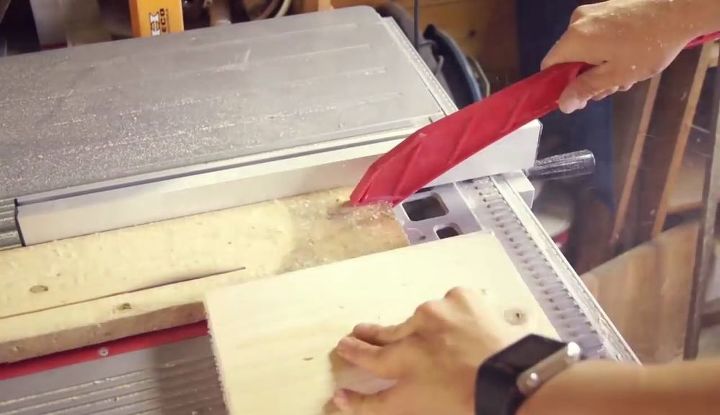
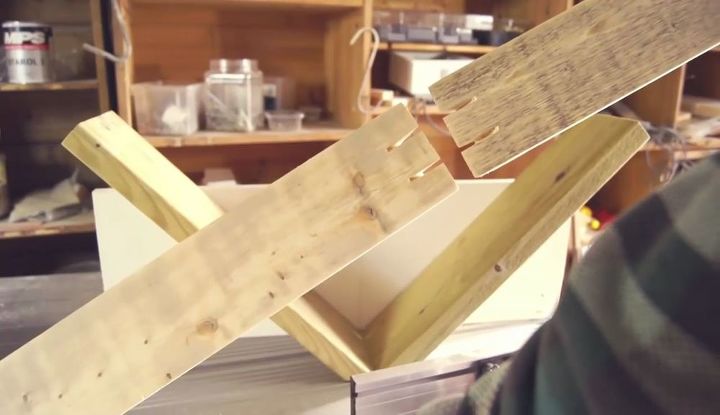
First, I cut all the planks a bit shorter to make them easier to manage. Then I could clean up the edge on one side on all the 4 planks. I adjusted the width to be 10cm, as I thought this would be a fitting height for my lamp, and cut all of them with the table saw again. I adjusted the width to be 10cm, as I thought this would be a fitting height for my lamp, and cut all of them with the table saw again.
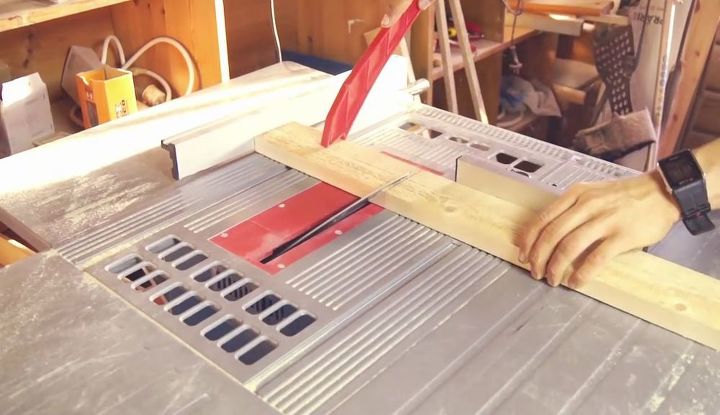
I could then mark up the lengths of the lamp appropriate to my acrylic glass sheet, and cut 45 degree angles where the wooden corners were to meet.
I adjusted the sawblade to half a centimeter height so I could make a slot for the acrylic to slide into.
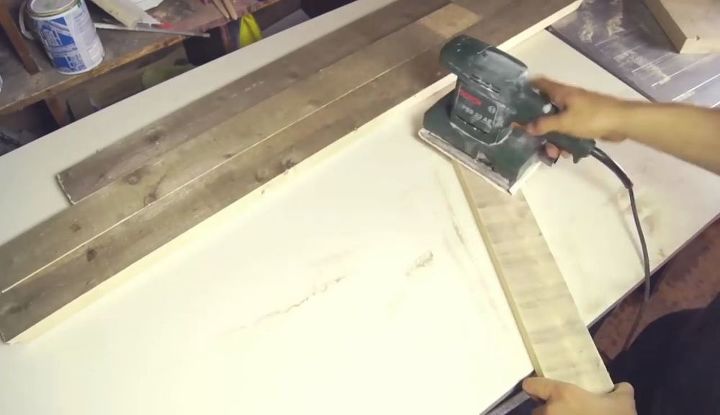
I used a palm sander to sand down the surfaces of all of them, leaving some of the marks behind as it gave it a rustic look.
I created a miter jig for the saw so I could make mitered corners.
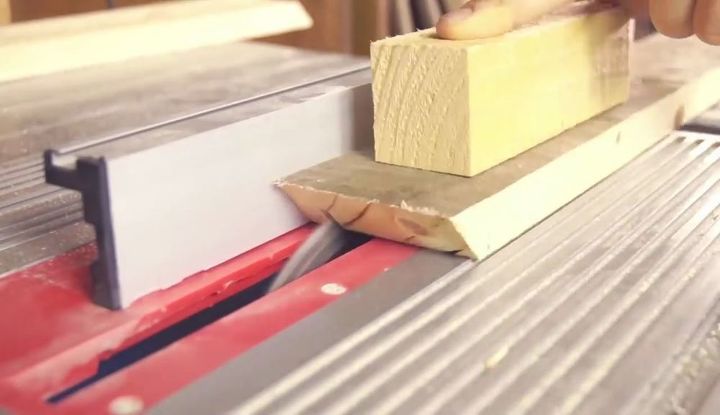
I created a miter jig for the saw so I could make mitered corners. The cuts made with the jig looks like this. Now I could glue some thin wood pieces inside those cuts using wood glue. After it was dry I could cut off the excess.
Now I could glue some thin wood pieces inside those cuts using wood glue.
After it was dry I could cut off the excess.
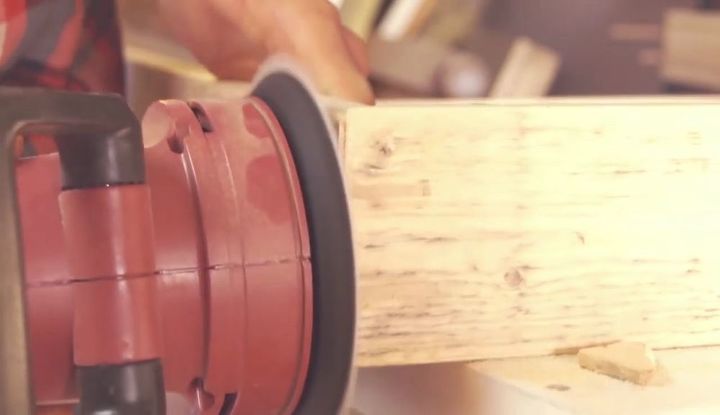
After it was dry I could cut off the excess, and use a palm sander again to make it nice and smooth.
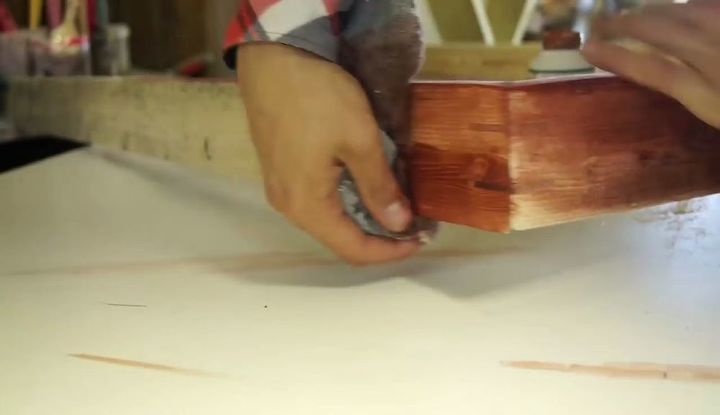
I added some wood stain and moved on to the acrylic.
Sanding down the surface of the acrylic to prepare it for spray paint.
Plastic primer first.
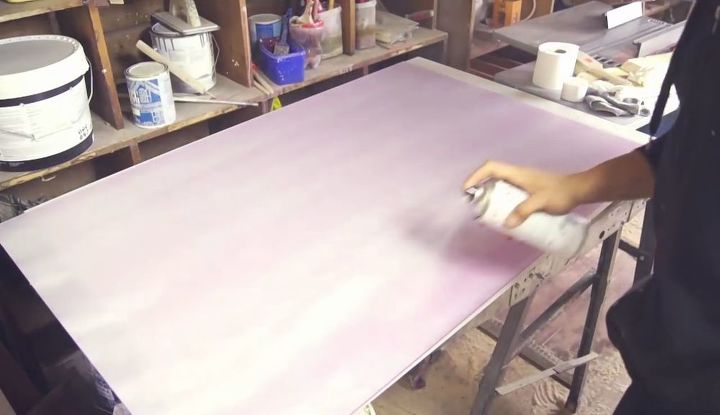
I sanded down the whole acrylic surface with a palm sander first to prepare it for spray paint. I added some plastic primer and let it dry, and then some white spray paint. Not too much, so enough light gets through.
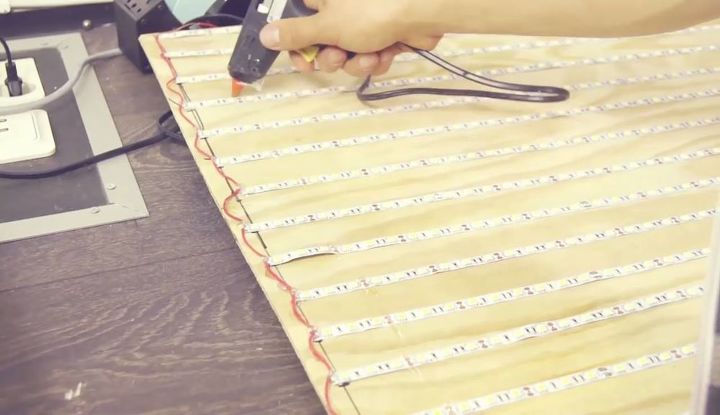
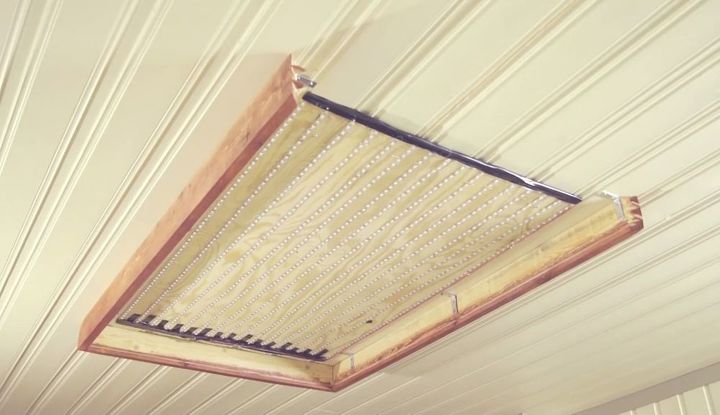
I made a light panel on a thin piece of wood using a mixture of cold and warm white LED strips. This panel is screwed directly onto the ceiling with the wooden box around it. Here's a video tutorial on how to make a panel like this.
The last plank on the lamp is glued to the acrylic piece, so it's easy to slide it in and out.
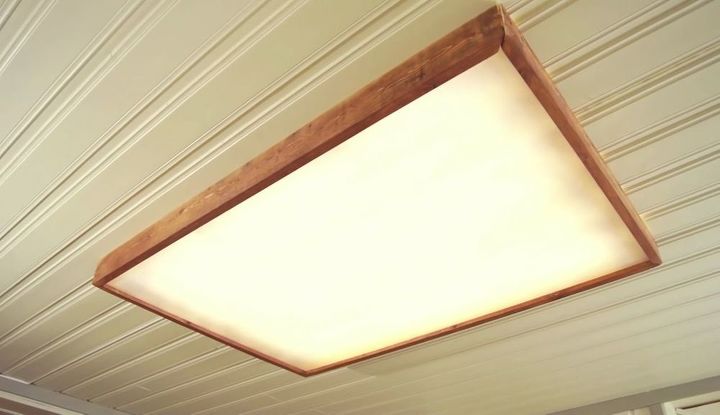
With the acrylic in its slot and the lights turned on, it looks great!
Resources for this project:
See all materials


Any price and availability information displayed on [relevant Amazon Site(s), as applicable] at the time of purchase will apply to the purchase of this product.
Hometalk may collect a small share of sales from the links on this page.More info
Comments
Join the conversation
2 of 13 comments
-
I love this idea and that you can retro fit those old shop/long florescent light fixtures from the 70's. The big danger of those old flush mount lights is that they create so much heat that they can melt the insulation from around the wire and are a fire risk. LED's are cool running and not only less expensive to use but a lot safer!
-
Nice project idea. Please don’t follow the table saw technique illustrated. The cutting procedures are EXTREMELY HAZARDOUS. Replacing the table saw cutting picture would save lives.
- Never use a push tool between a fence a blade when crosscutting
- Never use a fence as a guide when crosscutting
- Never use a solid piece of wood adjacent to the left slide of the blade when ripping lumber
- Avoid using a loose block as a push tool on lumber moving across the top of the blade and use use a feather board on the side of lumber when cutting groves.
Hope this info helps someone from loosing their fingers or being hit by a kickback.


Frequently asked questions
Have a question about this project?
Where did you buy the acrylic panel?
I do not have a ceiling mounted light so how would I handle the cord problem? I was also thinking of putting a strip next to the door frame to give light at night time. Would this be too much light?
How do you turn the lights off and on?