


$82 DIY Custom Desk

by
Matt Philie
7 Materials
$82
4 Hours
Easy
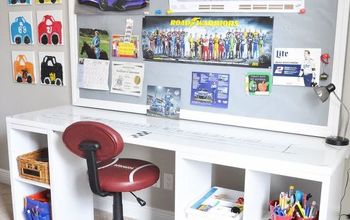
Fully custom barn red DIY wood desk featuring cable management slot and tray with a spot for clamping a triple monitor mount all for $82!
{
"id": "4088045",
"alt": "",
"title": "",
"video_link": "https://www.youtube.com/embed/buBSeEbrKa0",
"youtube_video_id": "buBSeEbrKa0"
}
{
"width": 634,
"height": 357,
"showRelated": true
}
If you're interested in watching how the desk was built, you can check out the video above!
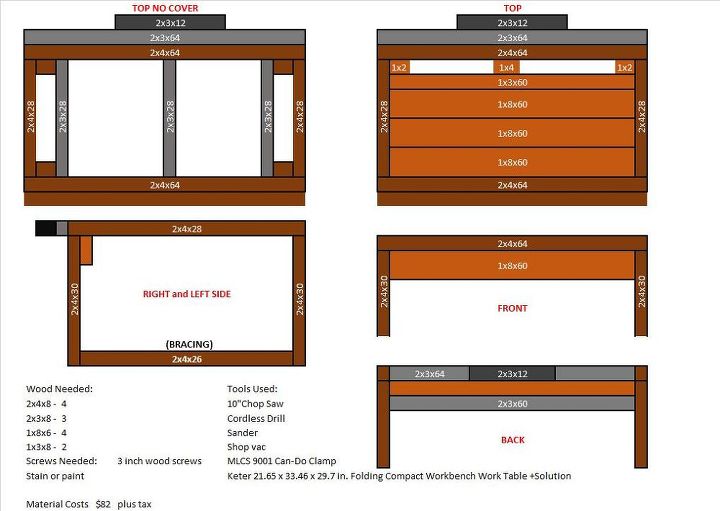
Since my Dad wanted a desk that matched his area and needs, he quickly made plans that helped him not only visualize how it would turn out but also so he could figure out exactly what material he would need so he could make only one trip to a local home improvement store.
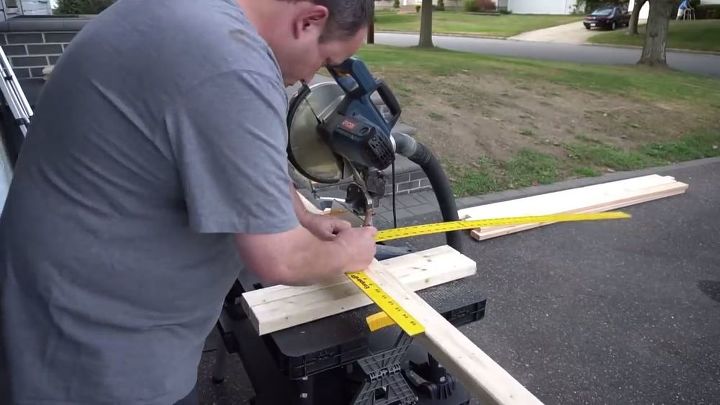
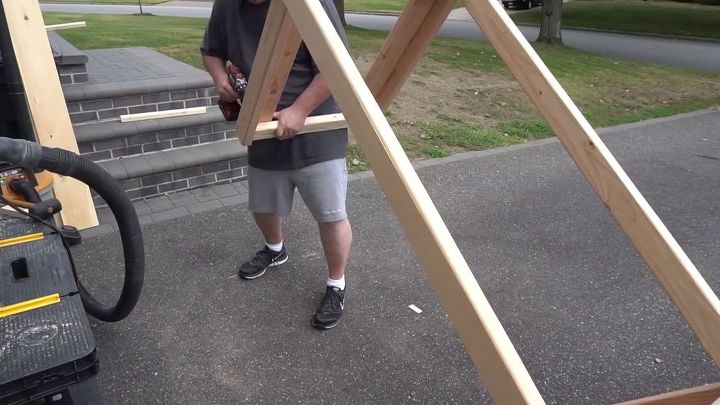
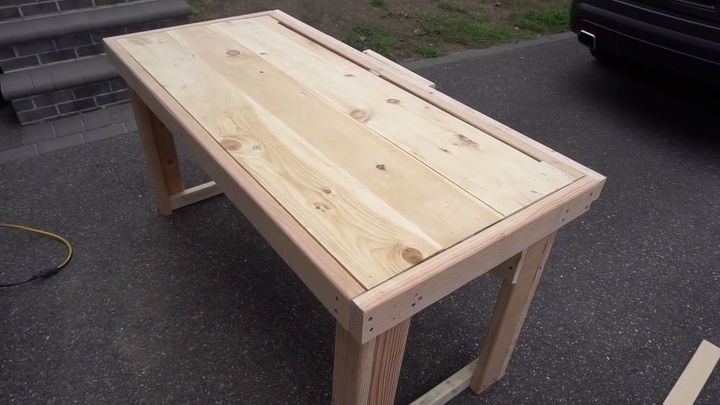
With all your plans made and your material ready to go... it's time to cut all the wood to your specifications! Be sure to take your time because if you cut a piece too short, you're going to need extra materials. Nobody wants an unbalanced desk!
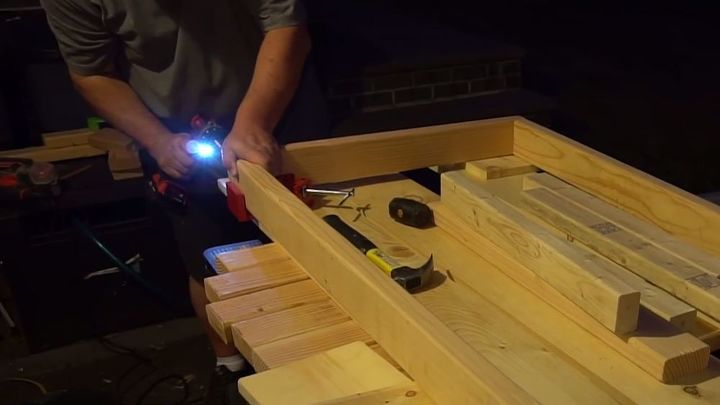
Now that all of your wood is cut to size, it's time to put the frame together. To ensure you make four perfect corners, you can use a clamp like this: http://amzn.to/2cLtoWT
My Dad used 3in wood screws (http://amzn.to/2eDRQhE) and made sure to drill pilot holes first.
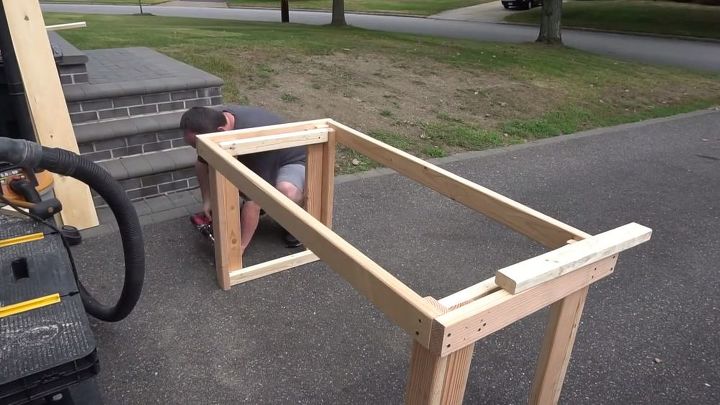
My Dad made sure to add as much stability as possible which you can see includes connecting the legs for added strength.
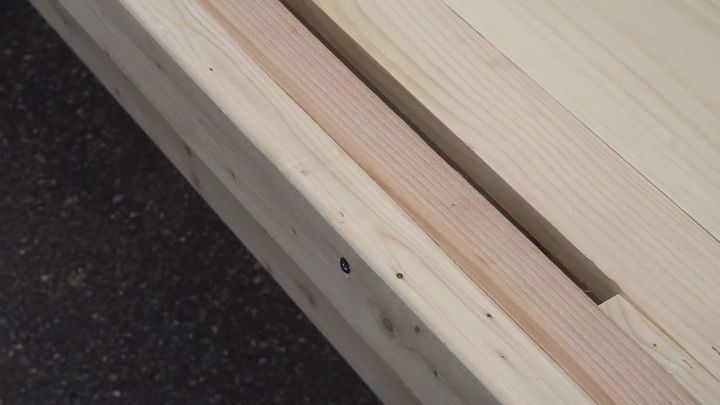
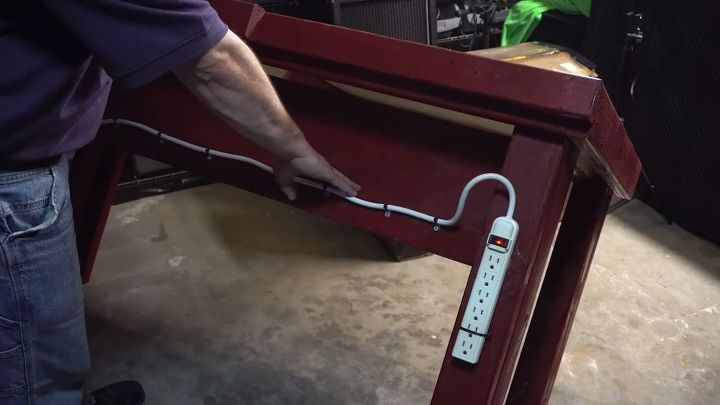
Optionally, you can leave an inch gap to run cables through. This will come in handy if you want to hide cables with ease coming from your monitor, speakers, etc. It's worth noting that if you have thicker cables or big ends on them, you'll want to make it a bit wider.
To go with the cable management slot, my Dad added a little "under shelf" directly beneath the slot. This is so any cable that comes through has a place to sit, rather than drooping down onto the floor and looking messy. In addition, you can mount power strips and such in this area and keep things managed nicely.
To go with the cable management slot, my Dad added a little "under shelf" directly beneath the slot. This is so any cable that comes through has a place to sit, rather than drooping down onto the floor and looking messy. In addition, you can mount power strips and such in this area and keep things managed nicely.
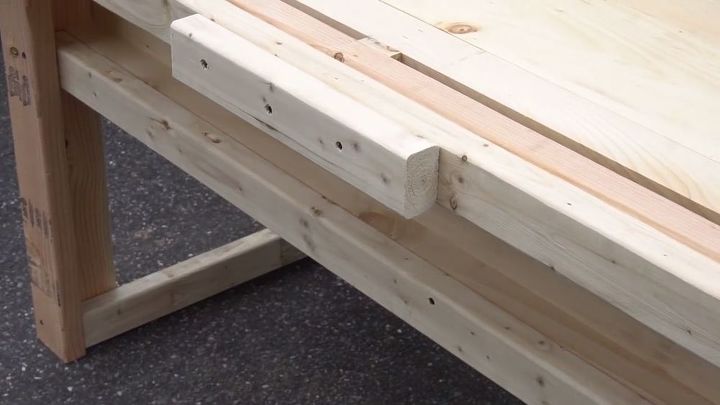
The extra piece on the back is specific for clamping a monitor mount. Monitor mounts give much more adjust-ability, allows for easy cable management and ultimately give a cleaner look.
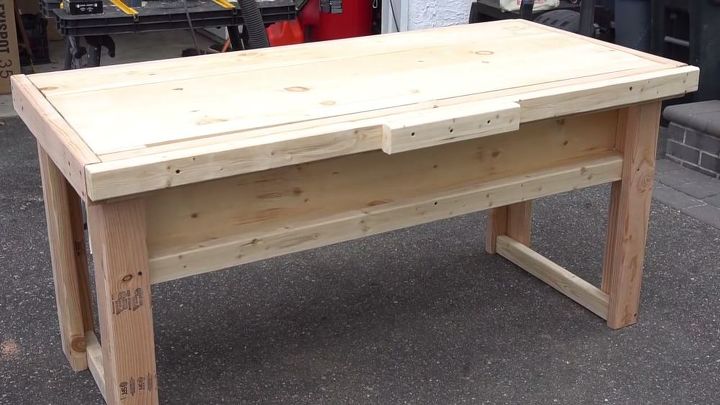
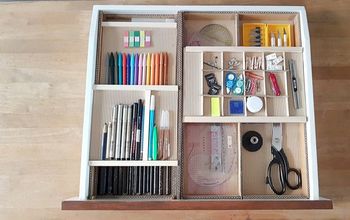
And there you go! The desk is built and ready to go. To really make it clean and custom for your needs, you can drill holes for your peripherals to give off a wireless look. This includes your keyboard and mouse, speakers, charging cables, etc.
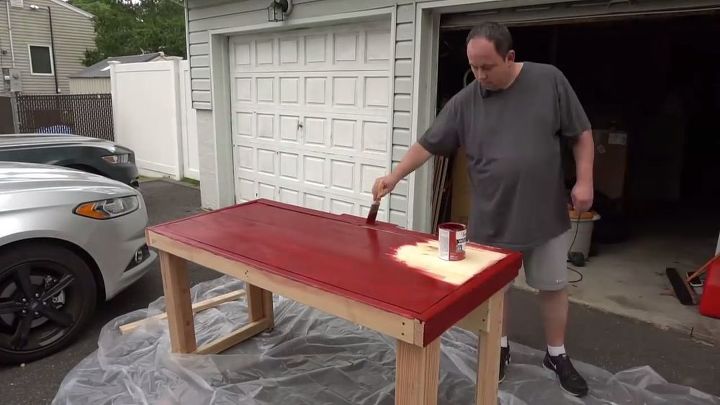
In most cases, you'll want to stain the desk so it fits your area. Staining the desk is cheap and easy to do and can even make the desk look like you bought it from a store rather than DIY. My Dad went for a barn red look but you can go for really anything.
Of course you can use higher quality wood for a nicer final product but that is all up to your budget. The goal here was to spend as little as possible for a large, custom desk.
{
"id": "4088048",
"alt": "",
"title": "",
"video_link": "https://www.youtube.com/embed/RerlwbOCuPo",
"youtube_video_id": "RerlwbOCuPo"
}
{
"width": 634,
"height": 357,
"showRelated": true
}
If you'd like to watch the building process for my Dad's perspective, check it out here.
Resources for this project:
See all materials


Any price and availability information displayed on [relevant Amazon Site(s), as applicable] at the time of purchase will apply to the purchase of this product.
Hometalk may collect a small share of sales from the links on this page.More info


Frequently asked questions
Have a question about this project?