


Make Beautiful Memories With Plaster Casting!

by
Susan Myers
1 Material
$20
2 Days
Medium
This week, I put together a beautiful LOVE sign with plaster casts that I had made from molds of my granddaughter’s feet.
Plaster Casting is easier than it looks and I would love to show you how to create your own beautiful memories with this simple project!
I purchased a Plaster Mold Kit which makes two different molds. (Follow the link at the bottom of this post for more info on supplies). One kit would make both feet. Since I wanted to practice a bit beforehand, I went ahead and purchased a second kit to make a practice hand.
The kit contains two bags of molding powder, one large bag of plaster mix, and several plastic bags.
You have to work quickly with this part of the project. Wet baby’s hand or foot with cold water.
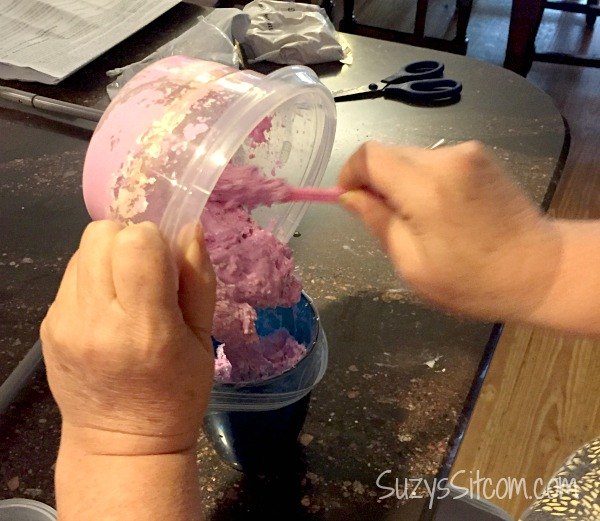
Place one of the plastic bags into a tall cup and anchor with a rubber band. Following instructions on the package, add water to one bag of the molding powder. (Use a disposable dish to mix it in). Mix quickly and the mixture will turn a dark pink. Pour it into the bag and then immediately get to the baby with it. (You have about 3 minutes before the mixture hardens).
Be sure to have a little help with this step. My son in law is holding the baby and the hubby is taking the photos. Teamwork at its best!
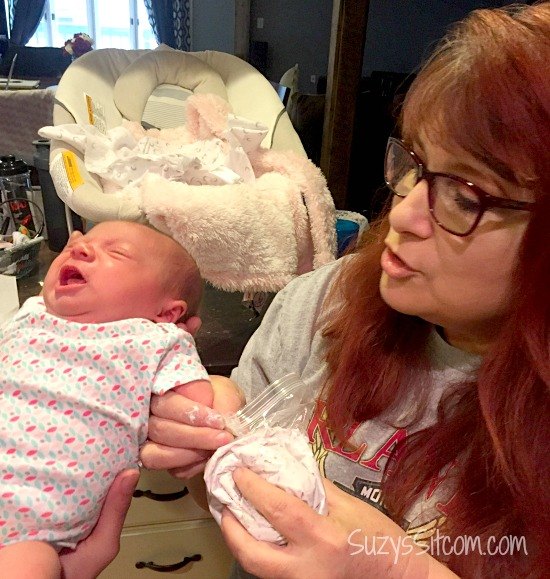
Push the baby’s hand or foot deep into the mixture in the plastic bag, working the mixture around it. Then hold in place until the mixture turns white.
Baby Esme was not sure that she liked this process. It was cold!
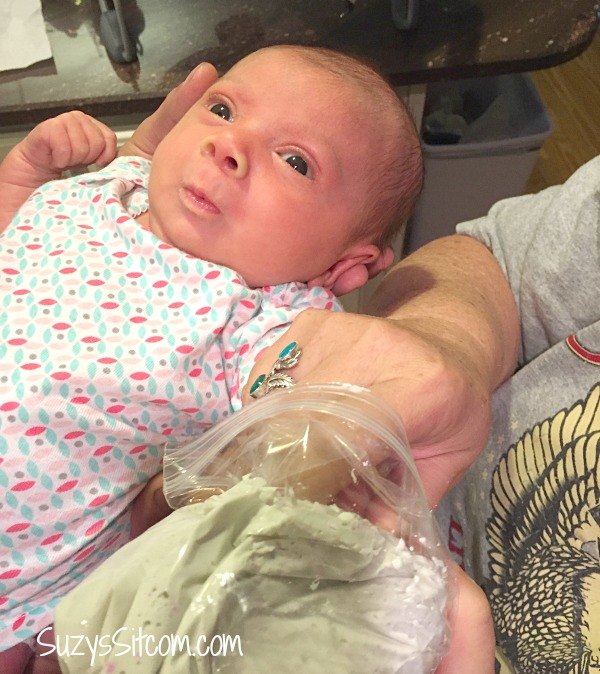
The mixture will turn white quickly and whatever position her little hand was in when it hardened is what you will get! After the mold hardens, slip the hand out of it.
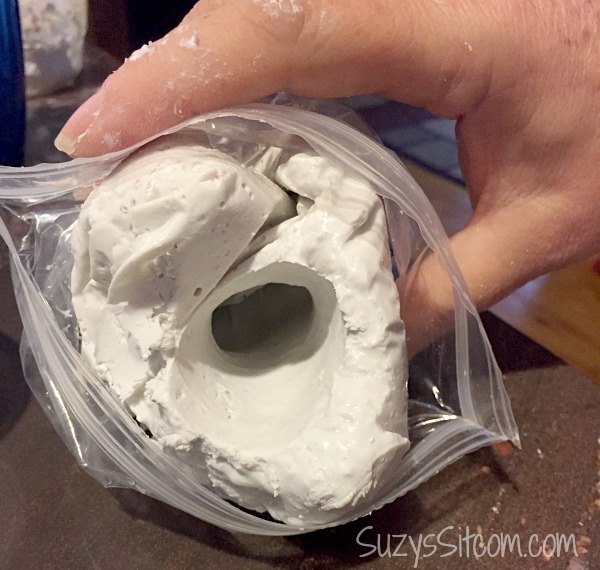
Here is the completed mold. The mold itself is a bit flexible- like rubber. You can pull it out of the plastic bag at this point.
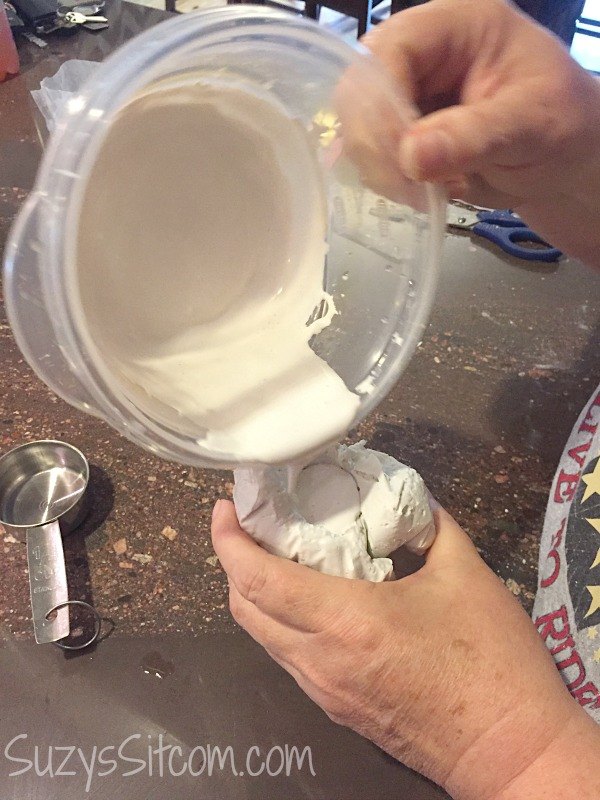
Mix up the plaster according to directions on the package. It will be a thinner consistency- like thin yogurt. Pour a little in the mold and tap the mold to get any air bubbles out. Then add more plaster and repeat the process until the mold is full.
Now for the hard part. You have to wait at least 12 hours before you unmold it!
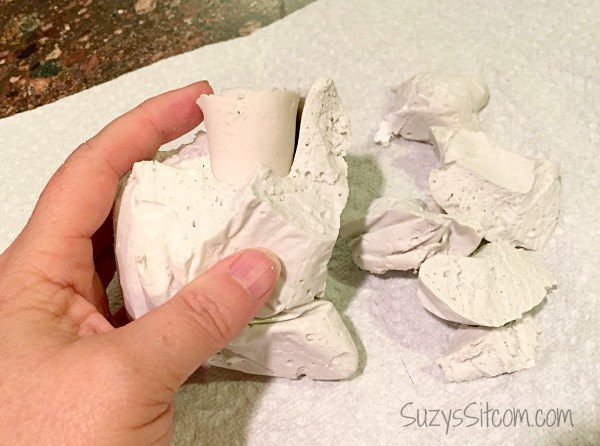
Once the 12 hours is up, you can start to pull apart the mold to get to the sculpture inside.
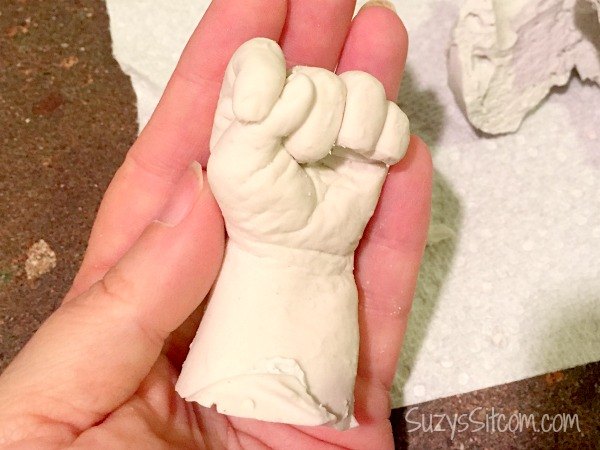
And there it is! The cutest tiny little hand you ever saw!
Since I had some practice now, I pulled out the second kit and did some casts of her feet.
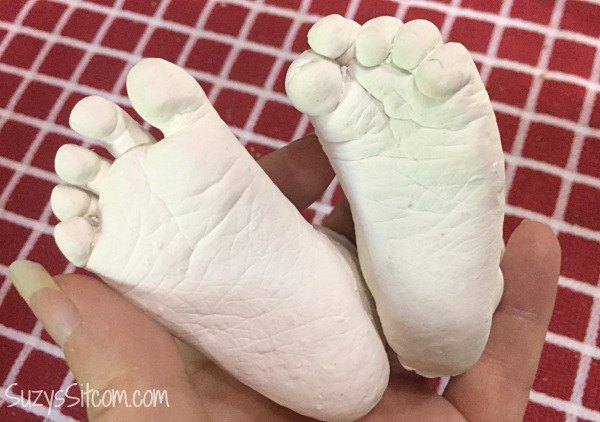
And this is the cute result! Tiny little curled toes. Craziness.
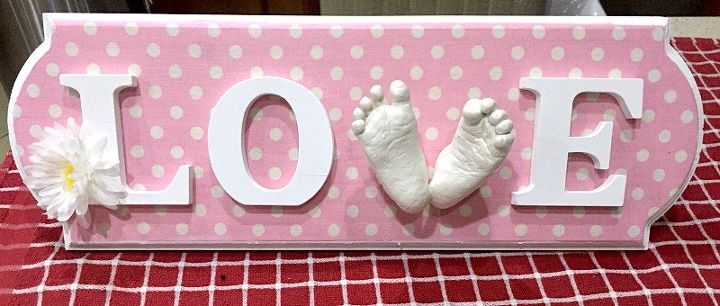
Using my little plaster casted feet, I created a LOVE sign to decorate her nursery with. It is a great way to hold onto those memories forever!
For the supply list and full instructions for the LOVE sign, be sure to click on the link to my website below!
Want more details about this and other DIY projects? Check out my blog post!
Comments
Join the conversation
2 of 55 comments
-
What a super idea!! I am so enlightened with your little feet sign. You could sell these for a pretty penny. It is just adorable!!

-
Too sweet! Fabulous idea, thx for sharing ❤️


Frequently asked questions
Have a question about this project?
This is a lovely idea and the outcome is heart melting cute! I'm jealous and upset that I didn't know about this when my little one was truly little!! He's 6 now so any ideas on a project this cute to capture my boy while he's still smaller than me and Dad? The way he's growing I got about 2 years before he's eye level!😕😭 Thank you so much for sharing, and that precious baby is ADORABLE... BTW. Thanks
Melissa Dean
Is there any way to do this to a person's face, to make a mask?
How would one do a person's face safely?