


The Easiest Way to Print on Burlap for Rustic Signs
6 Materials
$2
30 Minutes
Easy
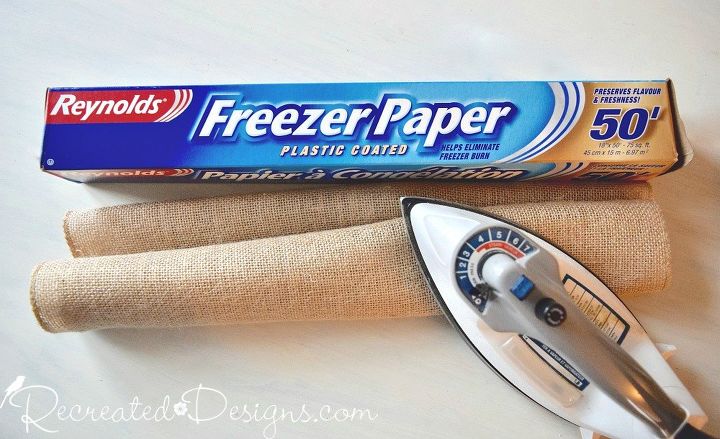
Fall (and dare I say Christmas) will be here before we know it and I wanted to show you a super easy way to make rustic signs with your printer, some burlap and a sheet of freezer paper.
Burlap makes me smile and the rustic charm it brings to any decor is great. I have painted on it many times (see here and here) but thought I would share this super easy way to print on it with a laser printer.
To get your burlap ready for the printer, cut a piece of freezer paper to 8.5" by 11" (standard paper size). Also cut your piece of burlap the same size.
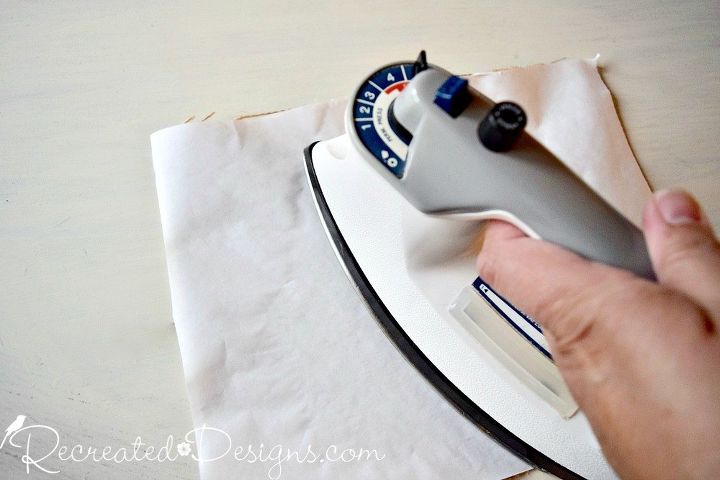
On the back of the burlap, lay the freezer paper, wax side against the burlap, and iron it until it is stuck on. The heat from the iron will melt the wax and adhere the paper to the back of the burlap. Attaching the freezer paper will keep the burlap from getting tangled and snagged up in your printer.
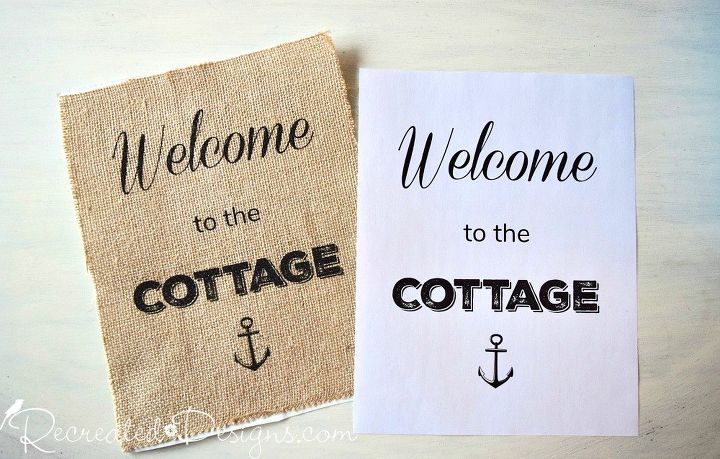
Choose a photo or design a sign and then run your burlap and freezer paper through your printer. When it comes out, you will have the same image as you would on regular paper. How cool is that?!
Note... I have only ever used a laser printer to do this so do not know how it would work with an ink jet. If you try it, let me know how it comes out!
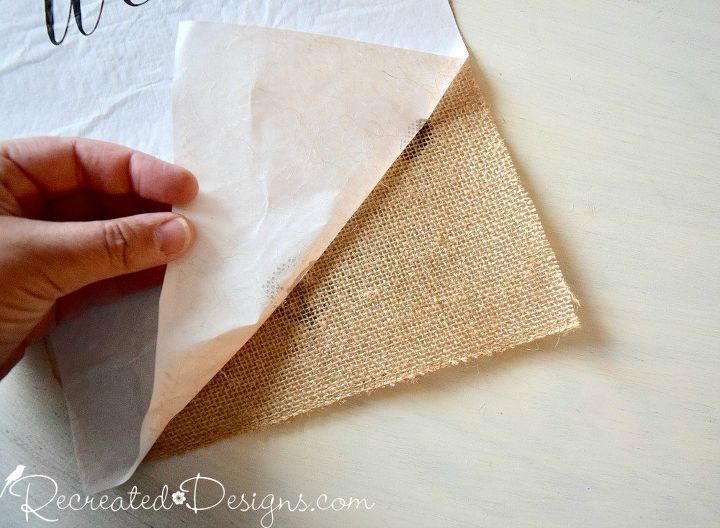
Once the ink is dry, peel the freezer paper off the back of the burlap.
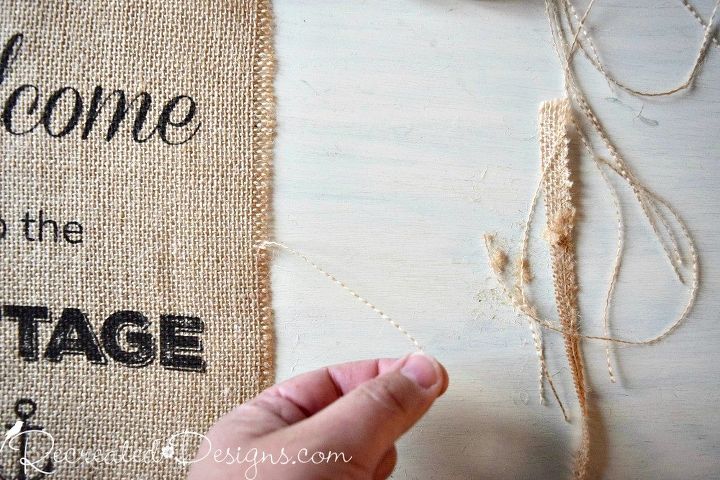
Give the burlap some frayed edges by pulling out a few threads before attaching it to the board.
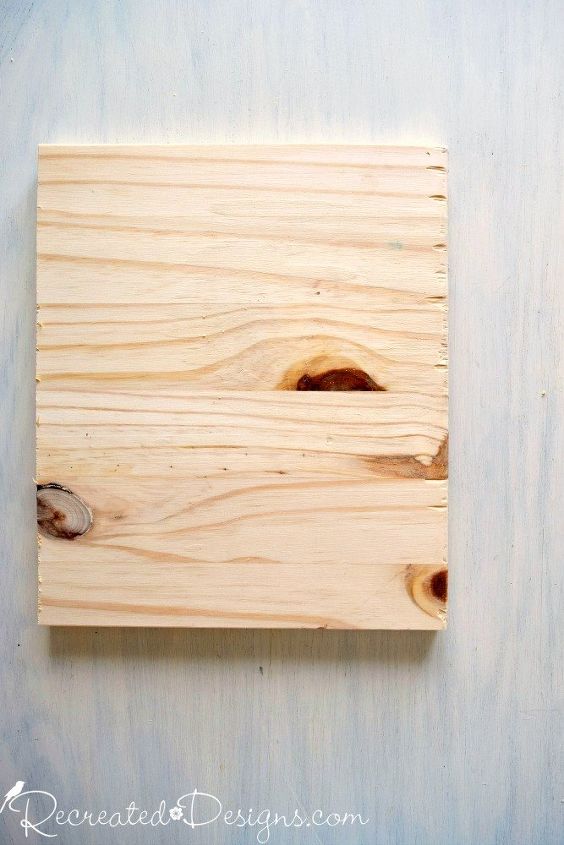
To make the board I wanted to attach my burlap too, I grabbed a piece of scrap pine from my pile.
I am not a huge fan of pine so used some nails and a hammer to bang up the wood before I stained it. Pine is such a soft wood that it was really easy to add some character to the board.
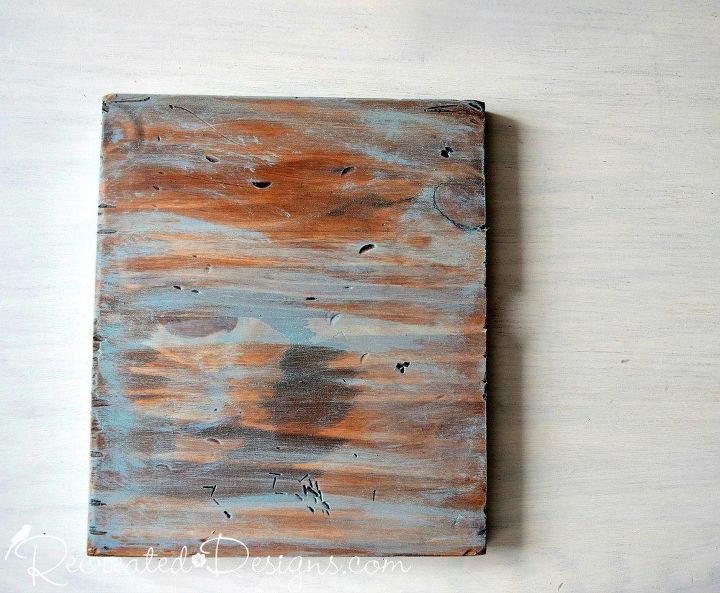
To make the wood look darker, it got a coat of General Finishes Gel Stain in Nutmeg and you can see how nicely those dings look once the stain was applied. They really added some charm.
Once the stain was dry, the piece was dry brushed with a layer of General Finishes Chalky Style Paint in Key West Blue.
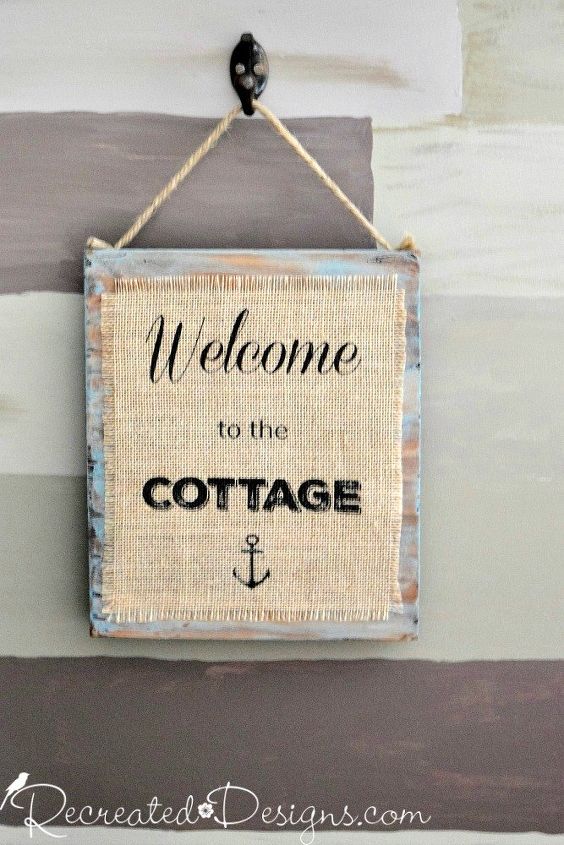
To finish off your new sign, attach the burlap to the board with just a dab of hot glue in each corner and you're done!
For additional pictures and instructions on how to hang your new art, sail over to the original blog post...

Want more details about this and other DIY projects? Check out my blog post!
Comments
Join the conversation
4 of 122 comments
-
Thank you all for your suggestions. I will make it a mission to find out if these, freezer, greaseproof and butcher paper are the same or completely different. ☝👍👌
-
What a Great idea!!!
Thanks for the share


Frequently asked questions
Have a question about this project?
how does it go through the paper to the cloth when using a printer
Has anyone you know tried it with an inkjet?
Where did you get the printed words?