


How to Make a “Wash Your Hands” Bathroom Wall Pallet Sign

by
Wet & Forget
13 Materials
$15
2 Hours
Easy
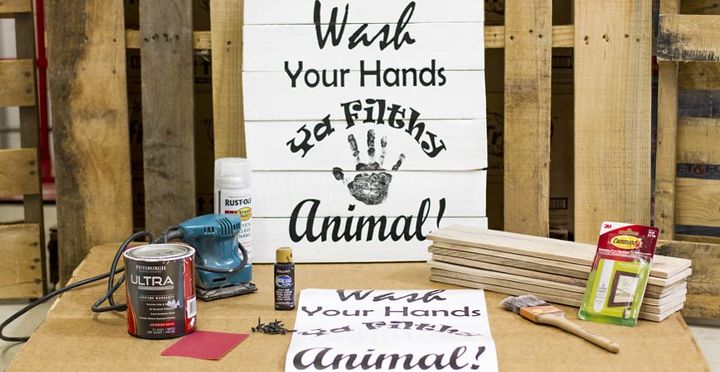
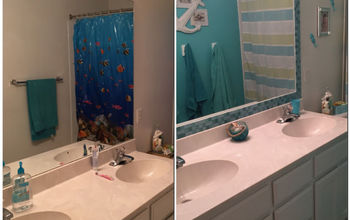
You can turn a wooden pallet into a personalized bathroom sign. Make it your own by using your child’s hand prints and display it by hanging it in the bathroom. This is a great way to add a personal touch to your bathroom décor.
Enter the giveaway and watch the video here: Facebook Video – Bathroom Wall Pallet Sign Tutorial
Step 1: Materials
Before you begin, here are the materials you’ll need to get for your pallet sign:
- Pallet
- Measuring Tape
- Saw
- P220 Grit Sandpaper
- Paintbrush
- Exterior Paint & Primer In-One
- Cricut
- Black Vinyl
- Transfer Tape
- (24) ¼” Screws
- (2-4) Command Strips or Hooks, make sure they can hold at least 10 lbs.
- Black Acrylic Art Paint
- Clear Spray Paint
Step 2: Prepare the Pallet Boards
First cut down a pallet. You will need at least 5 boards for the front of the sign, our boards were 4 inches tall. So the whole sign is 20 inches tall. You might need to cut 6 boards depending on their height. Just make sure that your boards will equal at least 20 inches when stacked horizontally. You will also need to cut 2 boards for the back of the sign. Cut the 5-6 front boards to 18 inches wide. Then, cut the 2 back boards to 18 inches wide as well. Wash and sand down your boards. We used P220 Grit Sandpaper which does a really nice job of smoothing out the boards. Once all your boards are sanded you’ll need to wipe them down to make sure all the sawdust is removed.
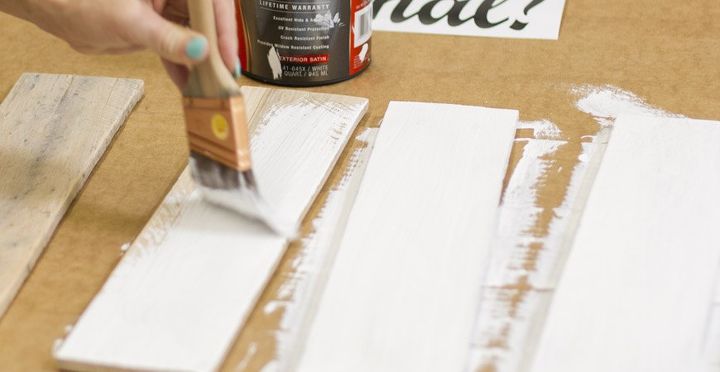
Step 3: Paint
Once the boards are cut to size, sanded and wiped down, you can start painting. We used the white Pittsburgh Paints & Stains Ultra paint & primer in-one for indoor/outdoor use. We recommend using an exterior paint instead of an indoor paint, because exterior paint is mildew resistant. The sign will be exposed to moisture when kept in the bathroom, and this exterior paint is mildew resistant. Paint at least two coats on the front of your boards as the pallets are usually dry, and will soak up quite a bit of paint.
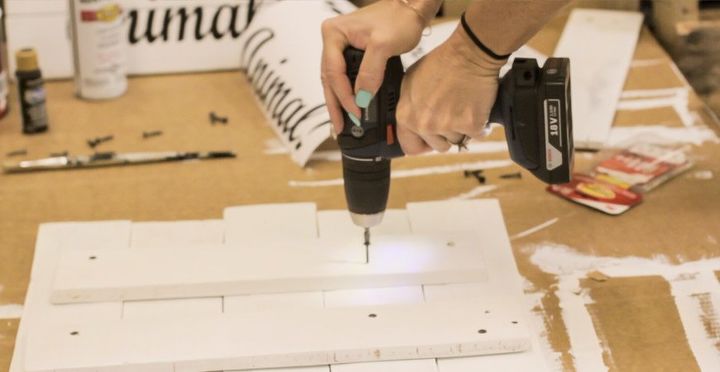
Step 4: Put it Together
Once the boards are painted and dry, it’s time to put the pallet sign together. We used ¼” screws. We’ve learned that pallet boards come in different thicknesses so you’ll need to double check that your screws are the proper length to go through the back board and into the front board without showing through on the front of your sign.
Start by laying out your sign face down with the 5-6 front boards horizontal. (You can align them in a variety of ways. We did both a staggered layout and a straight edge layout.) Then place your two back support boards vertically on top of the front boards about ¼ of the way in from each side. Place your first screw in the back support board and the first bottom front board. Then place the next screw in the back support board on the other side. Then make sure all the boards are snugly pushed together so you don’t have any gaps. Move to the back board and very top front board, again make sure boards are snug then screw in a screw on each board. This is will keep any further boards from moving around. We used 2 screws per back board connecting to a front board. Once all 20-24 screws have been drilled in, you’re ready to add the vinyl words.
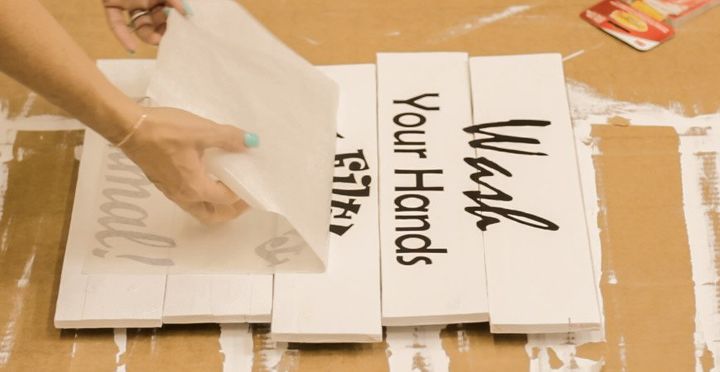
Step 5: Add the Words
We created the downloadable sign in Illustrator then exported to a .PNG file and cut it out with our Cricut. The template dimensions are 12” x 17”. You can download our template by right clicking on the image below and saving it to your computer.
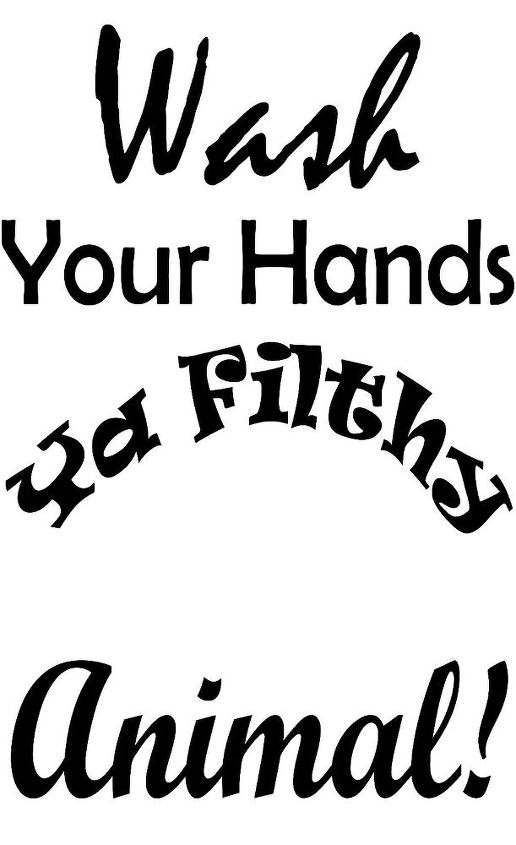
We used a black vinyl, weeded the lettering and used transfer tape to easily add it to our pallet boards. Once you eye the proper placement of your vinyl rub it onto your sign and start to peel away the transfer tape. You now have a beautiful sign that is only missing one thing- the hand print or prints of your favorite little one!
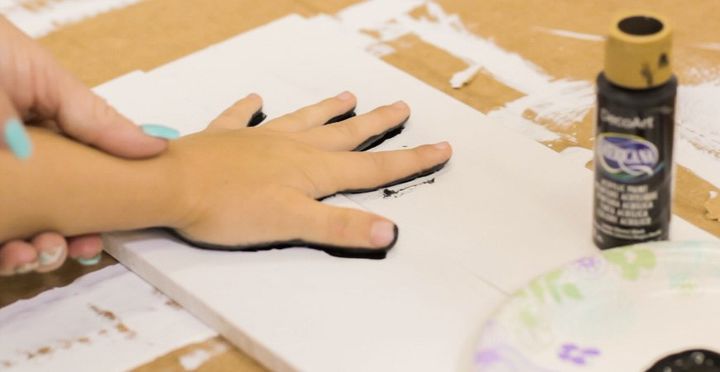
Step 6: Add a Hand Print
We had the help of a 9-year-old so we only had room for his one hand! If you have little ones that are 2-3 years old you can get both hands on the sign or you can add several hand prints if you have more than one child. We used a black acrylic art paint for our hand print. We painted his hand and then pressed on the sign- be sure to push down on all parts of the hand to get every detail of his/her hand. It is best to use quite a bit of paint on their hand as it will dry quickly and you’ll get less of the hand print transfer if it is too dry.
In our video, we did the hand print off to the side, so you can see how we did it. We didn’t add it to the sign we made in this video as we planned to giveaway the sign to one lucky winner and we knew they’d want to personalize it with their own hand print. Once the hand print has dried you will want to add a clear coat spray paint to protect your work of art! You can also sand your sign to give it a distressed finish if you want a unique look.
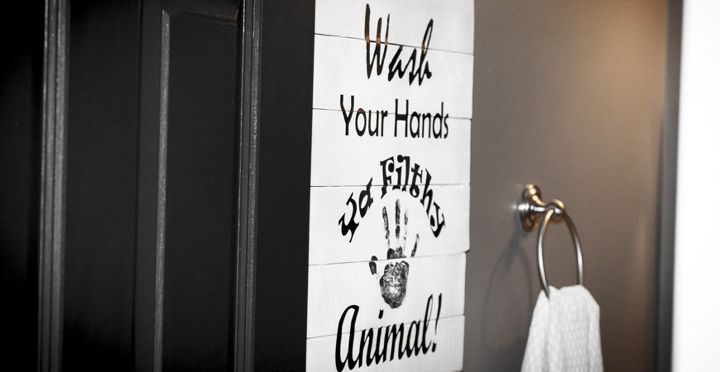
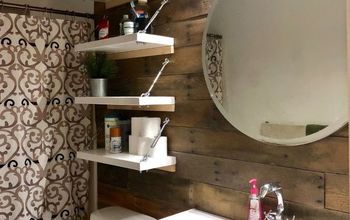
Step 7: Hang it Up!
The final step is adding 1-2 Command strips or hooks to the back support boards so you can easily hang it up in your bathroom. We prefer Command strips so we don’t leave holes in the wall. The sign weighs about 5 pounds, so be sure that your Command strips can hold 10 pounds or more just to be safe!
If you get a chance to make this nifty wall pallet sign we’d love to see your own personalized work of art! Simply upload a photo to our Facebook page and label it “Wash Your Hands Pallet Sign” or email it to us at info@wetandforget.com
Comments
Join the conversation
2 of 3 comments
-
I love this so very much!! We must have a similar sense of humor.

-
Hilarious!


Frequently asked questions
Have a question about this project?