


Spring Welcome for Michaels & Hometalk Pinterest Party
This little project has a few of my favorite things! Aged terra cotta, moss and a cute-as-a-button bird! It's easy and would be perfect for spring decorating but would also be great for Easter gifts or party favors!
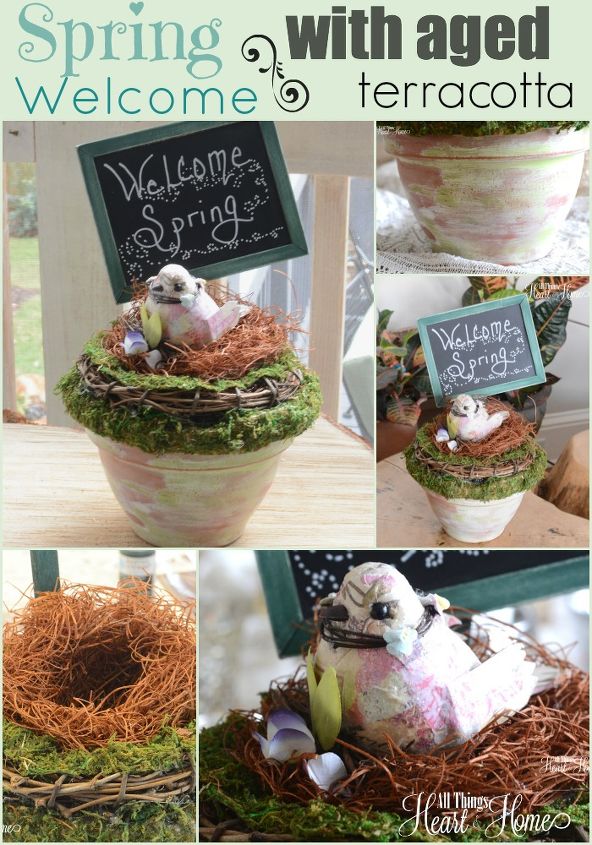
Are you ready for spring???Aged terra cotta, moss and a little chalk-board sign come together easily to make this cute Spring Welcome!
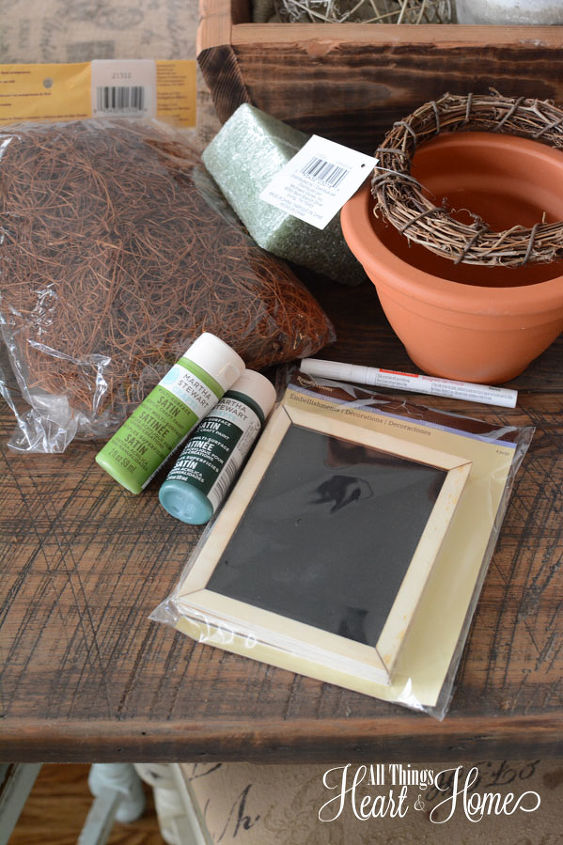
A complete project list is on the blog post...
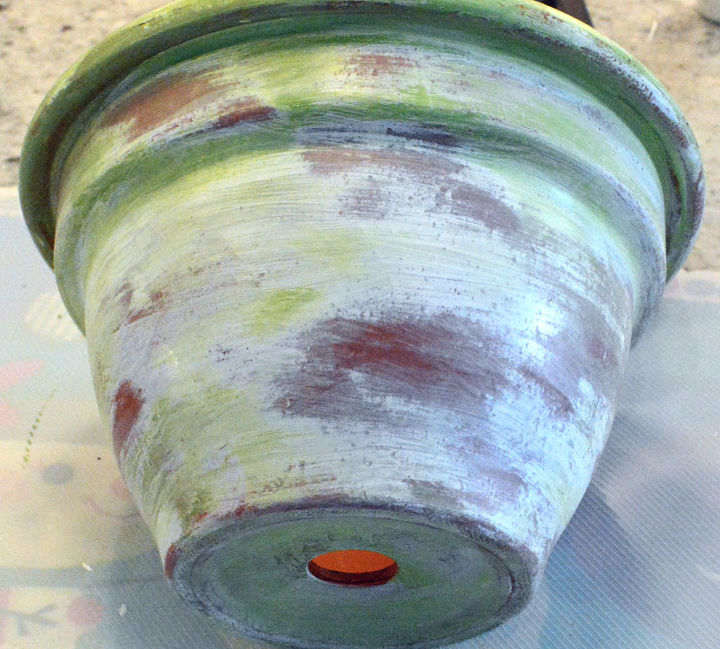
There are many ways to "age" terra cotta- I've posted several here on Hometalk and on my blog- but this is the simplest way, using just 2 colors of craft paint !
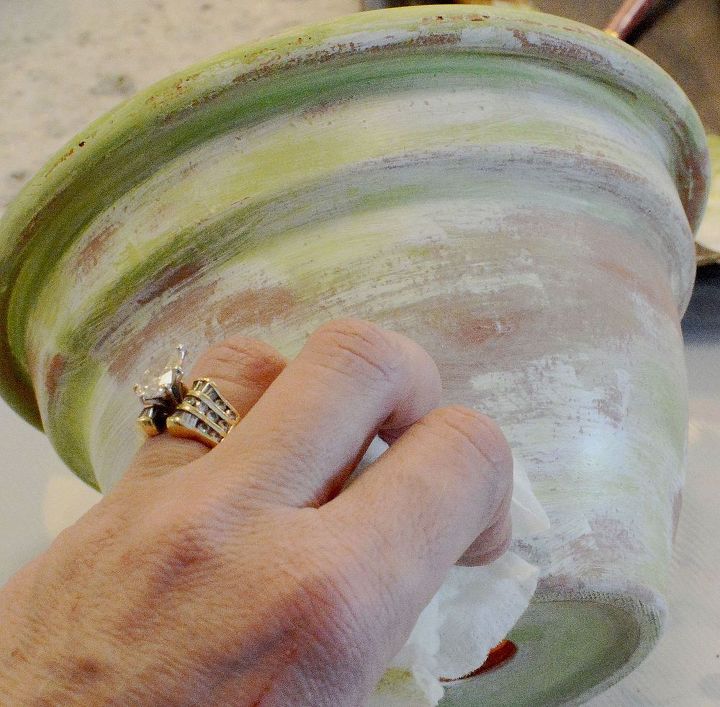
Paint a white (or off white) coat on the terra cotta-don't totally cover the pot...immediately use some of your green paint here and there ...quick, before the paint dries take a wet cloth (I use a baby wipe!) and wipe away some paint.
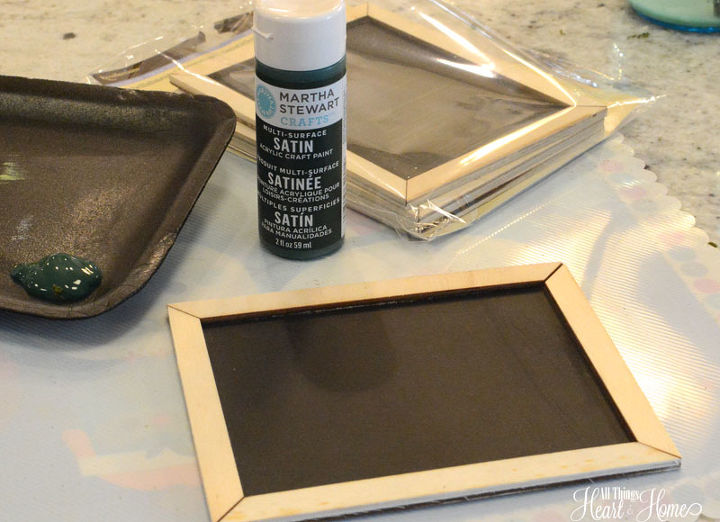
Paint your chalk board trim and let it dry...
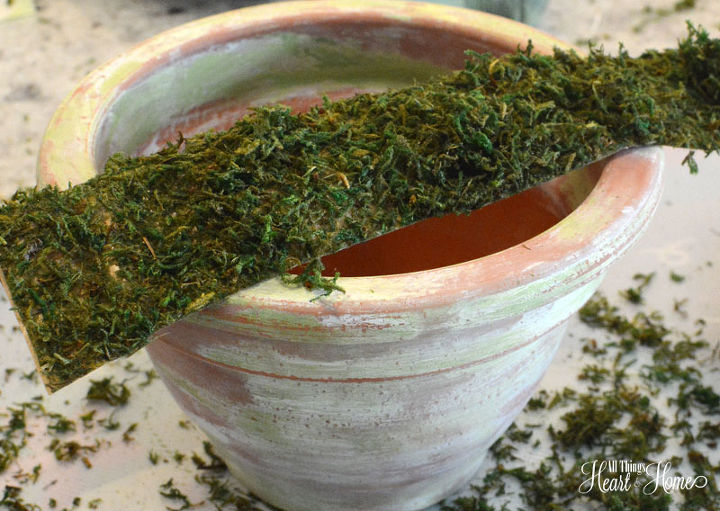
Once the "patina" looks like you want it...use sheet moss to cover the top of the pot...
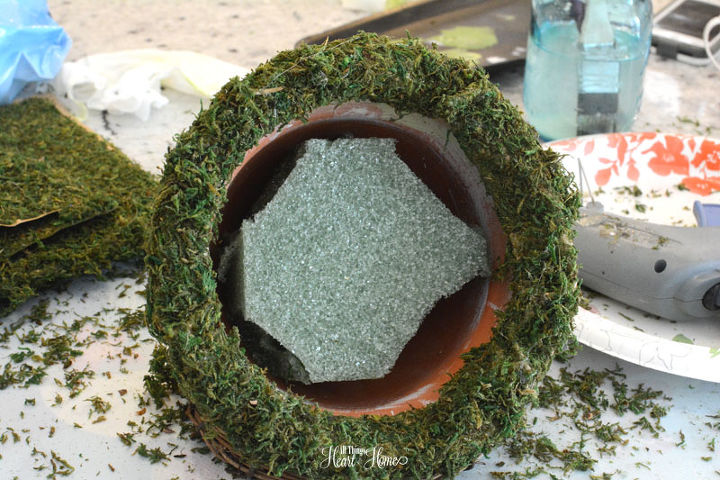
Put Styrofoam into the pot...cutting it to fit snug :)
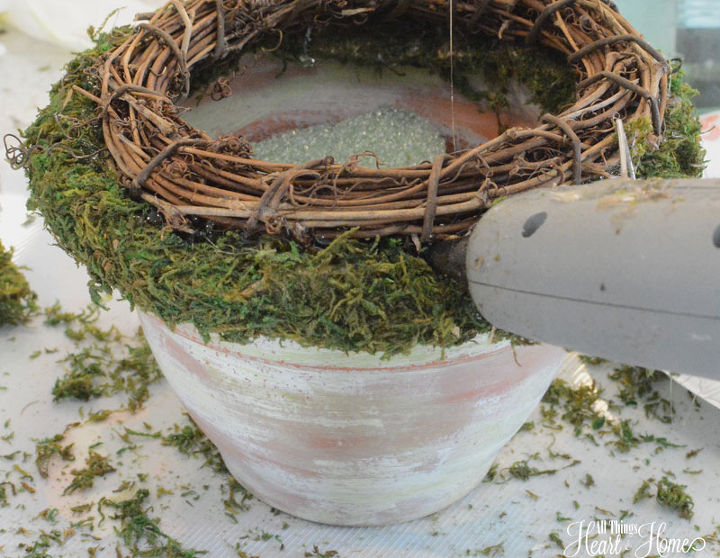
Using a hot glue gun, glue a small grape vine wreath on top of the moss...and then add more moss (a thin strip) on top of the wreath...
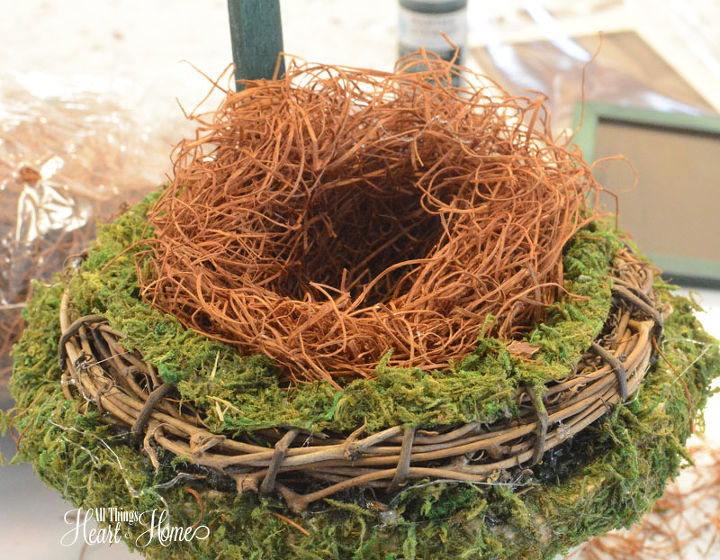
Using straw filler (found in the floral design section of your craft store) make a little bird nest by gently forming and hollowing out the center- tuck it into the center of the wreath...no need to glue, it fits right in!
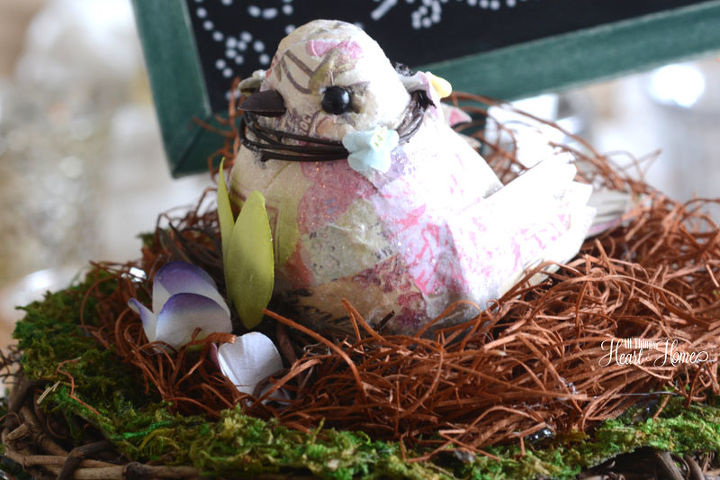
Tuck a little bird in the nest or maybe some tiny eggs!
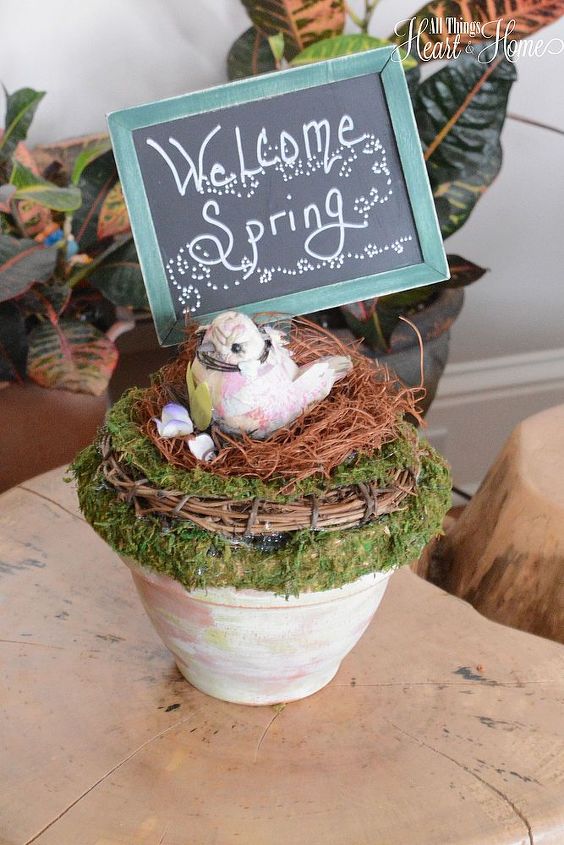
Tuck your sign into the Styrofoam and Welcome Spring! Thanks for having a look at my project friends xo

Want more details about this and other DIY projects? Check out my blog post!
Comments
Join the conversation
2 of 4 comments
-
Thanks so much @Three Dogs in a Garden & @Miriam I xo
-
Had such a fun time and it was great meeting you, Robin (and Stephanie)! Thank you!


Frequently asked questions
Have a question about this project?