


Reverse Decoupage Bottle With Decorative Napkins and Beachy Items
9 Materials
$5
3 Hours
Easy
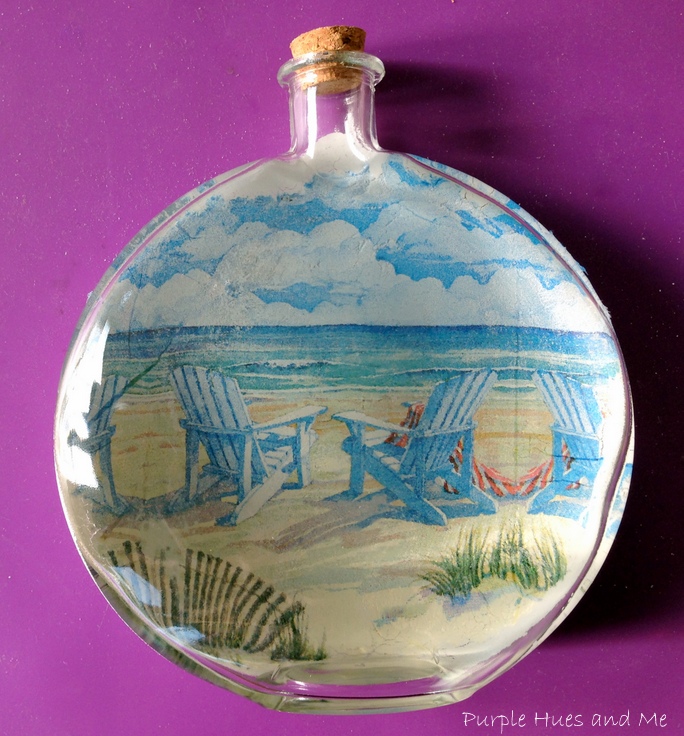
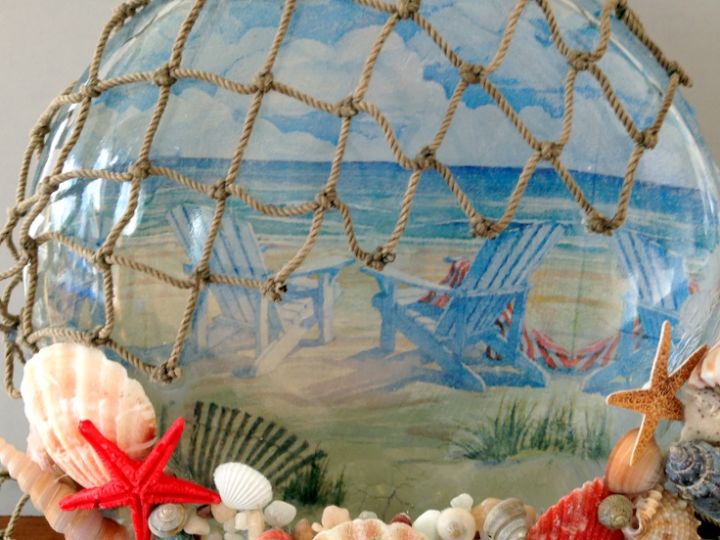
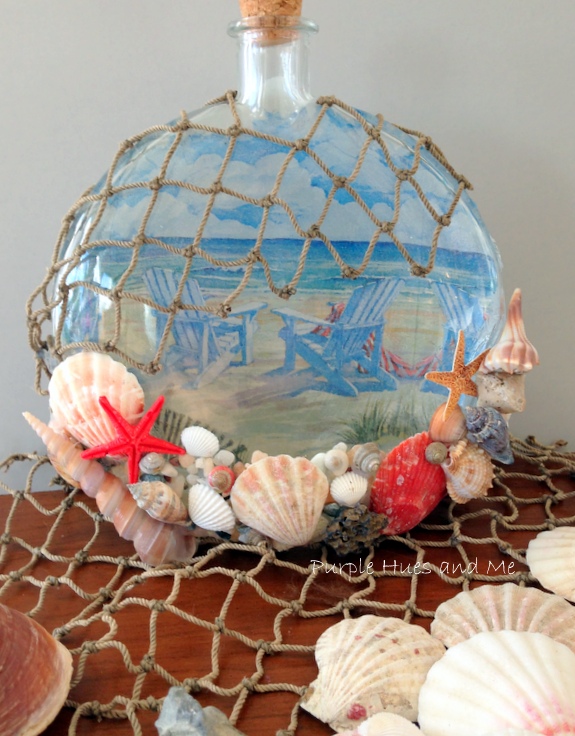
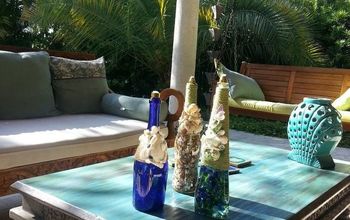
Here's a great way to customize a glass bottle for almost any occasion. It's called reverse decoupage where you decoupage a paper napkin on the back of a bottle, giving off a see-through the glass picture which allows you to use the front and also the back of the bottle to add additional decorative themed items! It's a wonderful dimensional decorative effect that recycles/upcycle simple glass bottles into lovely home accent pieces!
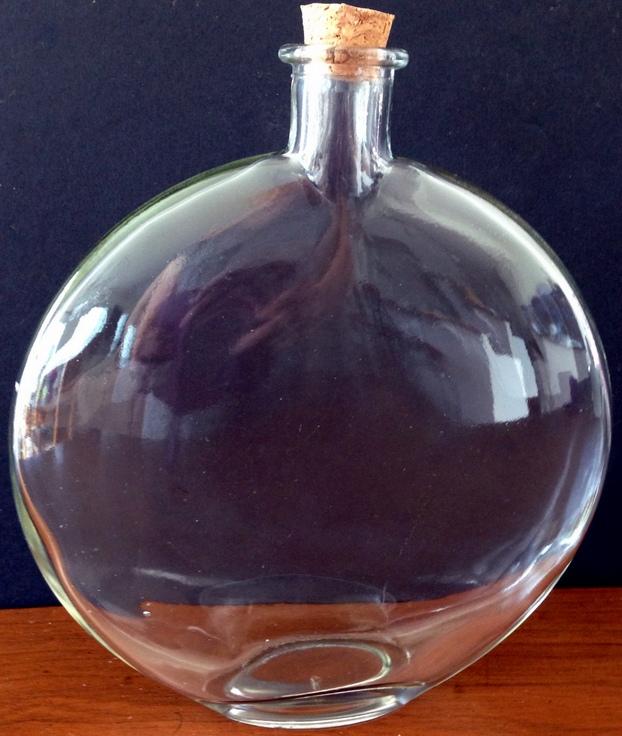
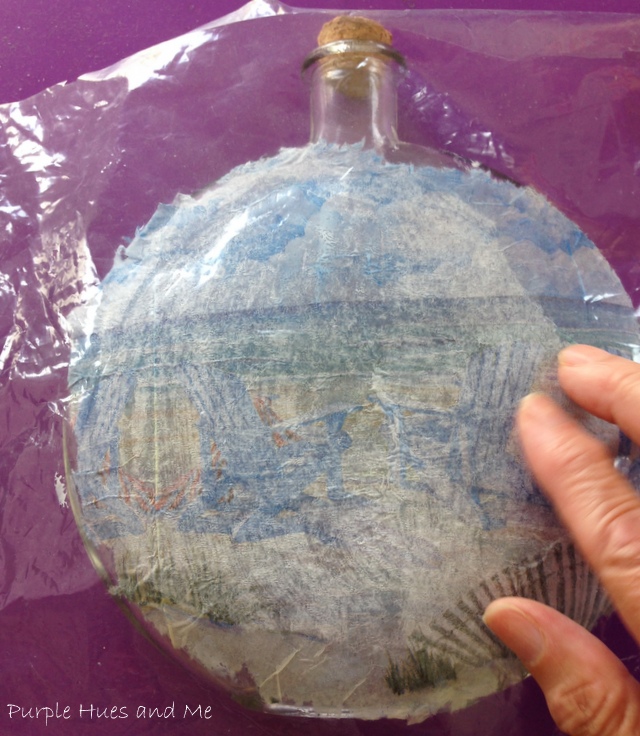
Begin by cleaning the surface of the glass bottle with alcohol and making sure it's dry. Lay an opened napkin print side up on your work surface and place the bottle on top, centering.
Dip the tip of a paint brush in water and dab around the edges of bottle, wetting napkin until you have completely wet the napkin around the bottle. Then, using the tip of your finger, tear out the napkin around the wet area.
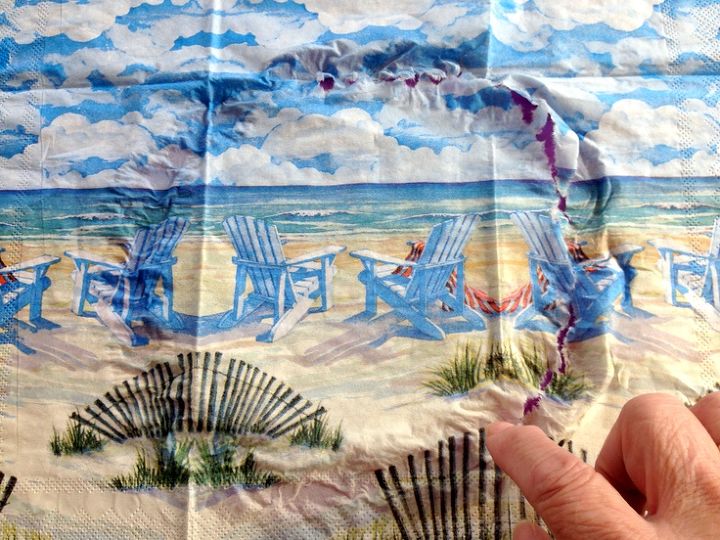
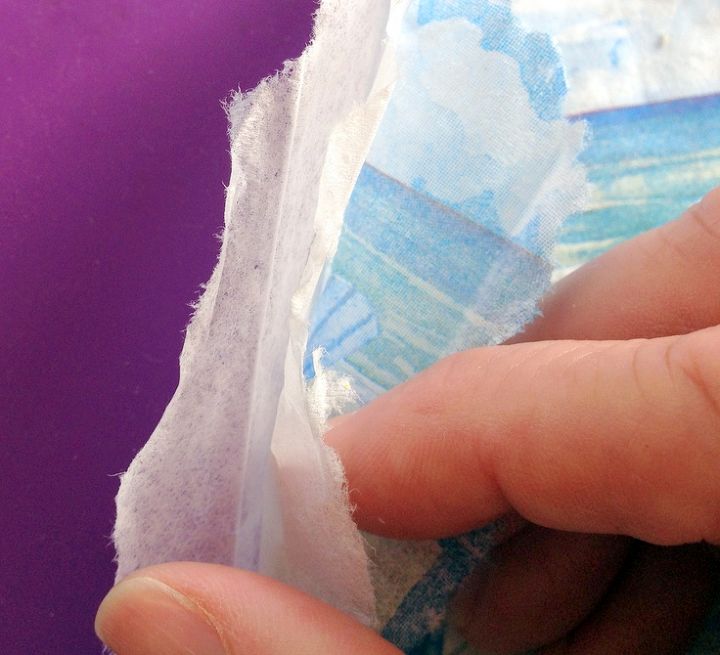
Once you have the round napkin shape, separate the ply white paper backing from the printed side of the napkin.
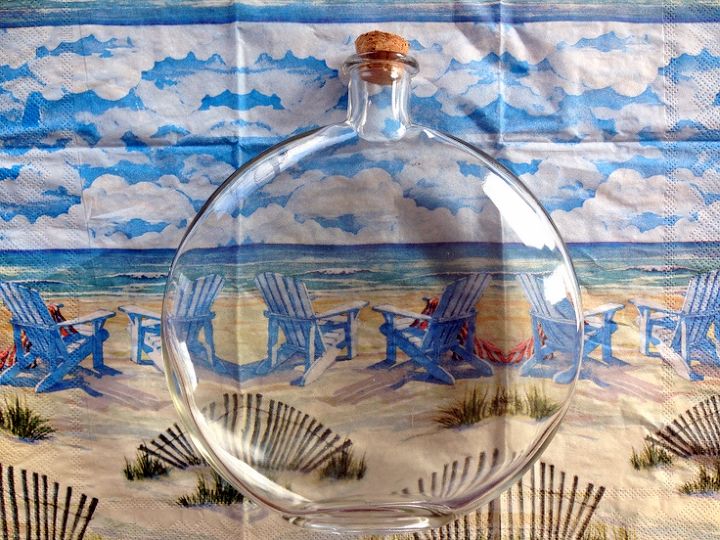
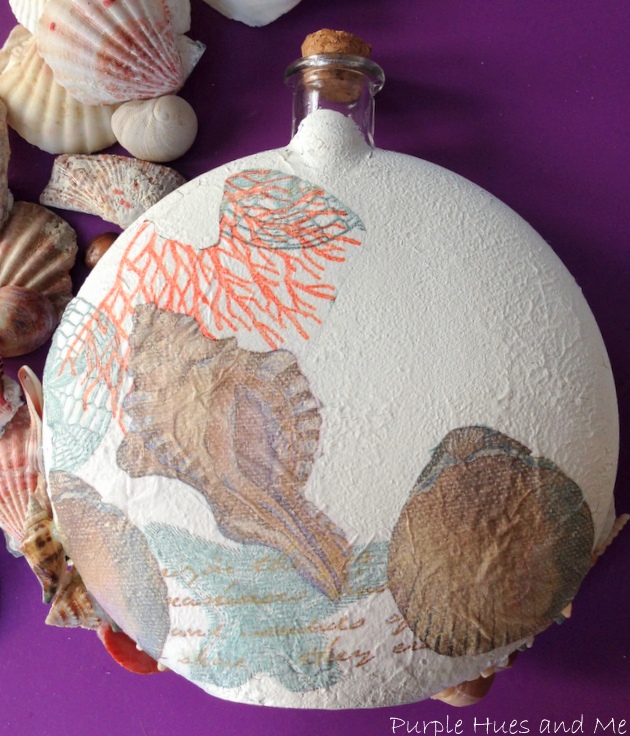
With a sponge brush, coat the back-side of the bottle with Mod Podge and lay the printed side of napkin, face down on glass bottle, centering napkin. Smooth out any wrinkles and air bubbles on napkin using plastic wrap. Allow to dry.
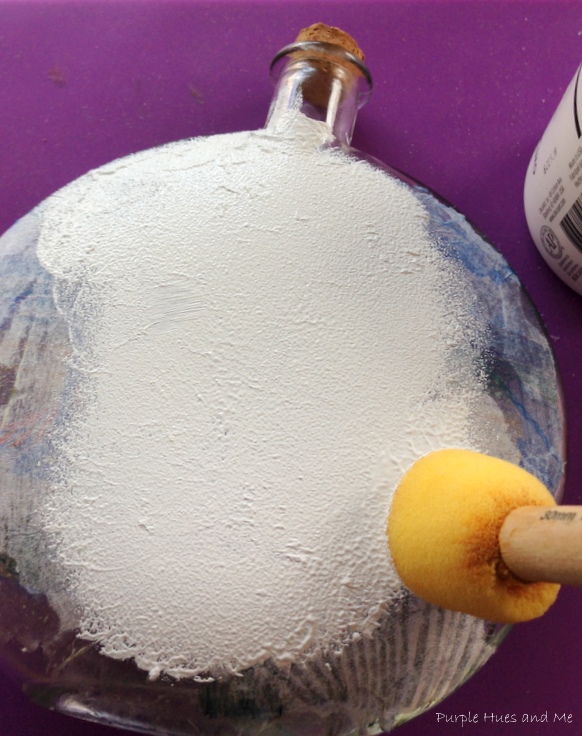
To enhance the printed napkin and make it less transparent, paint over the napkin with white primer or chalk paint and let dry.
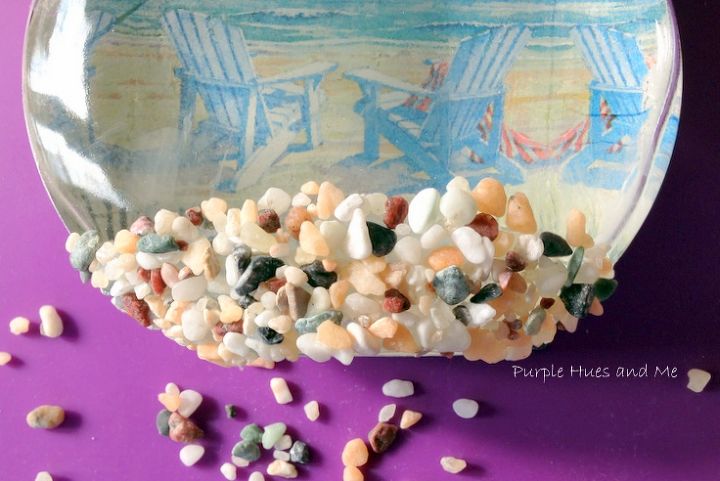
Now it's time to decorate! Add a layer of silicone glue to bottom of bottle and sprinkle pebbles or sand over the glue.
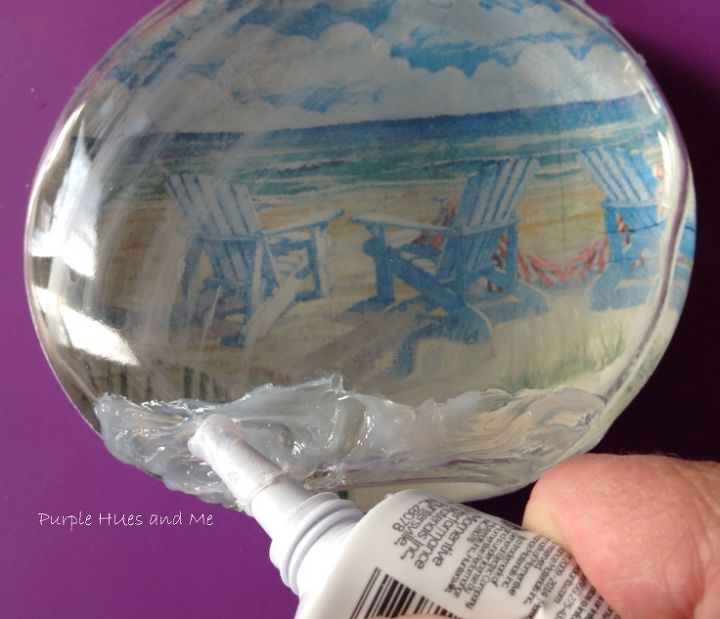
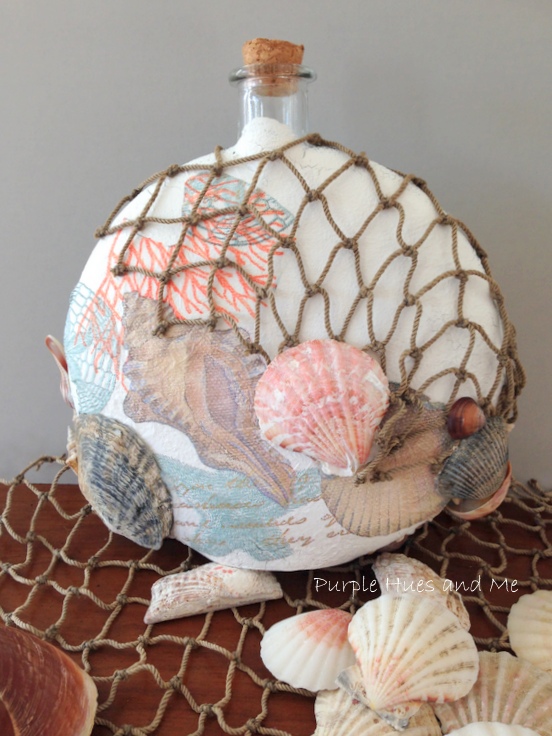
Add mod podge to the back and smooth out another cut-out decorative napkin!
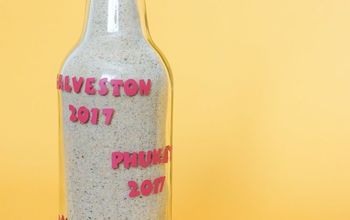
Glue on decorative themed items to back and front until satisfied with look.
I love this reverse decoupage technique! It's a fun way to display cherished items!
Resources for this project:

BeachWalk 3-ply Paper Napkins, 40 count, To the Beach Lighthouse, Cocktail Size


Any price and availability information displayed on [relevant Amazon Site(s), as applicable] at the time of purchase will apply to the purchase of this product.
Hometalk may collect a small share of sales from the links on this page.More info

Want more details about this and other DIY projects? Check out my blog post!
Comments
Join the conversation
4 of 140 comments
-
Wow again! You are good!
-
Gail you created a very beautiful piece . I love it. I am going to try it. Thank you!!!


Frequently asked questions
Have a question about this project?
I am so inspired to try this project. Where did you get the bottles? That's the only resource missing from the list.
I am going to try this, it’s a great ideal! Has anyone tried this in a clear wine bottle?
Would this work on a clear plastic bottle, like a 2lt pop bottle on it's side?