


Chunky Heavy Table Redesigned Into Modern Light and Sleek.

by
Lisa Cain
3 Materials
$50
4 Days
Medium
I've had this chunky legged, glass top with shelf underneath table that I (blech) could not stand from day one. I have been WANTING desperately to give it a make over, and it finally happened. From chunky legs, to sleek hairpin legs. From heavy shelf underneath that is not longer there. From faux wood look to sleek black finish.
I ADORE her modernized look! (visit me at www.facebook.com/lovemakescreations)
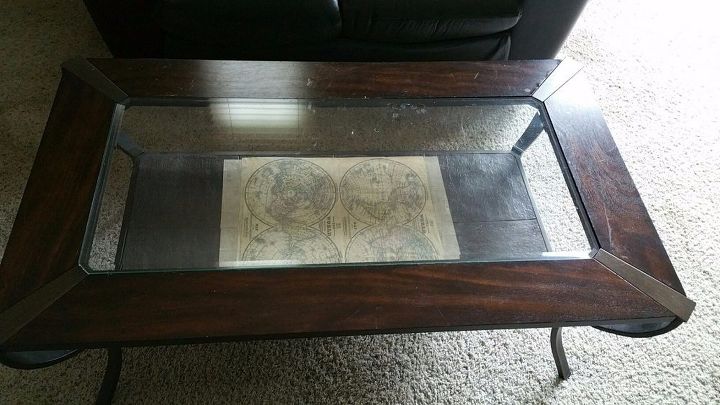
This was my chunky legged, piece of...oh, I mean, table that I disliked. At one point, I mod podged a map to the shelf underneath, just to TRY and give it something..anything...that might make me like it more. Didn't work. I liked her glass top and the size/height, but that was about it.
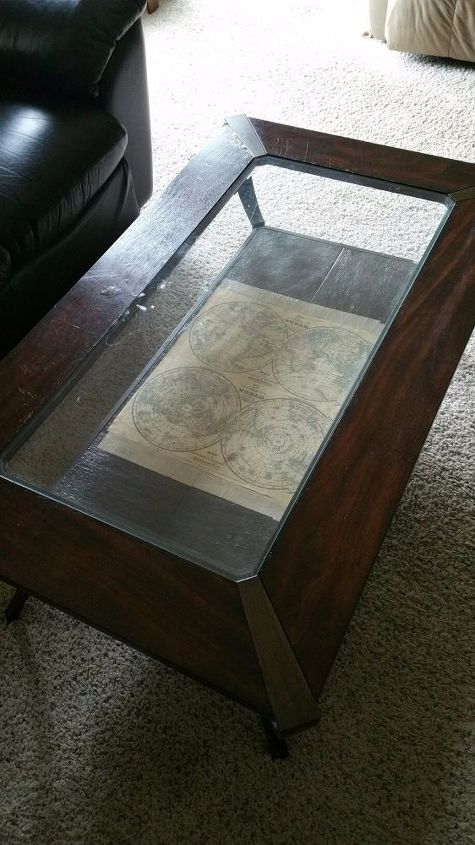
One more shot, just so you get the feel of her boring, plain, big and clunky look. She really needed a makeover...and I was the gal to do it.
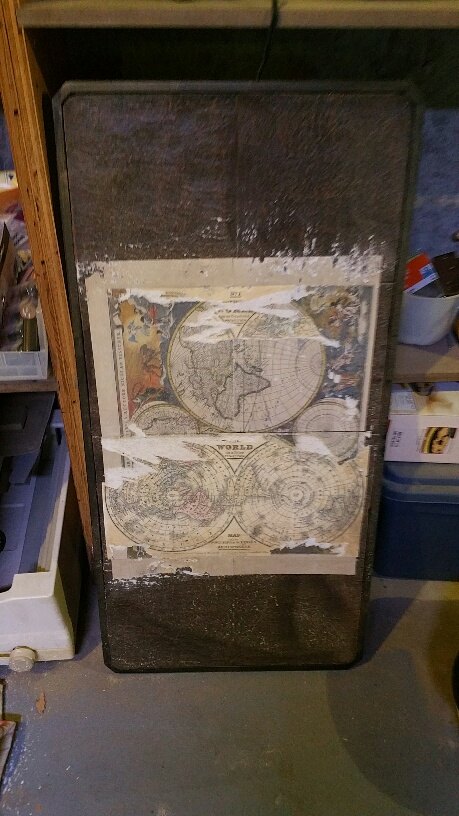
Here's a picture of the HEAVY and I mean HEAVY shelf that was underneath. I originally thought I would sand off the map, and maybe paint it. However, the map was not coming off, and I didn't think she needed to carry the weight of that stupid shelf any longer. It was just to big, fake finish and bulky to keep on. So off it went, and onto the start of the redo.
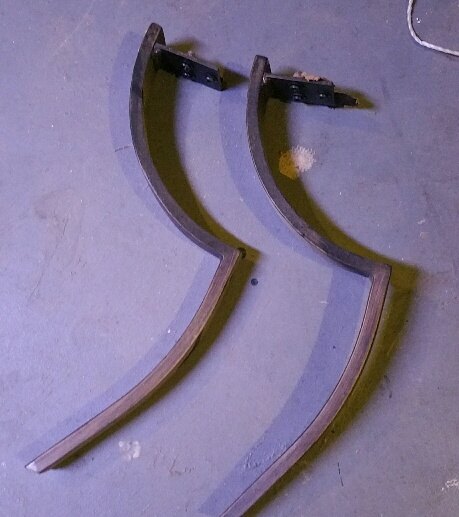
This is a close up of the big daggers...I mean chunky legs that were on the table. I am keeping them, just because I am BOUND dagger determined to find another thing to make with them, but right now, they are OFF the table, and put away where no one can hurt themselves with them...LOL. Seriously, WHO makes these things?
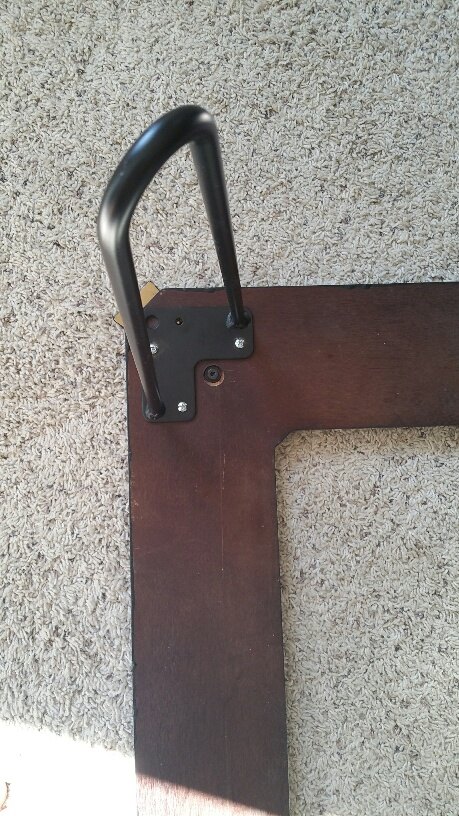
The next thing to do was attach the sleek modern hairpin legs that I HAVE BEEN STALKING, or, well atleast looking at for awhile to purchase off Amazon. to the bottom. I just used 3 screws 3/4" for each leg. They attached easily and even covered up the MESS that taking the DAGGER legs off left.
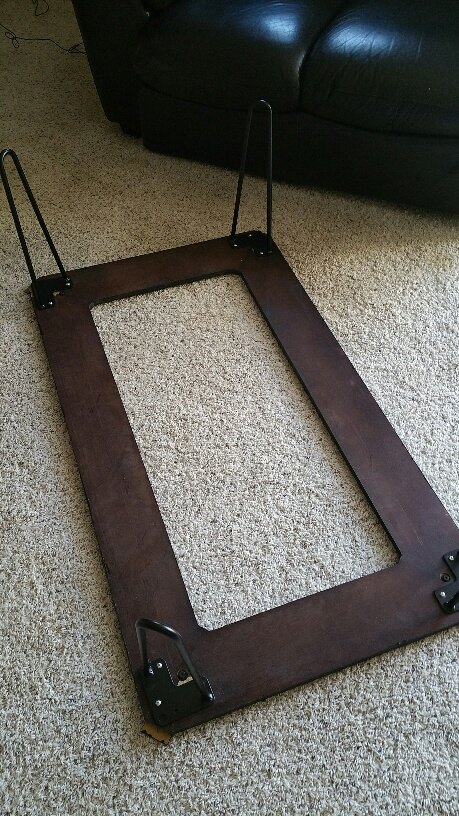
There, all 4 hairpin legs attached, and beautiful and just waiting to stand up on for the first time. What I did FAIL to get a picture of, was before attaching the legs, I sanded the top REALLY WELL and spray painted the top a sleek glossy black. It took 2 coats, but it made a nice even smooth finish, to finally be rid of the faux wood look it had.
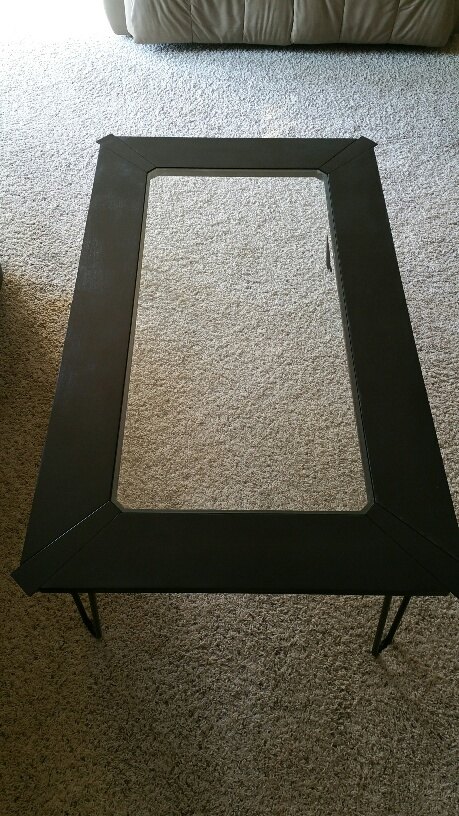
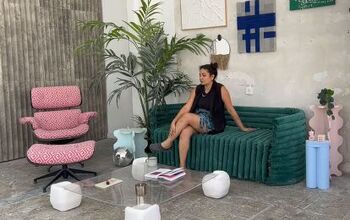
And she stands...for the first time, light, airy, sleek and oh so pretty! I cleaned the glass top and placed it back in, and all is right with my world, or atleast my living room again.
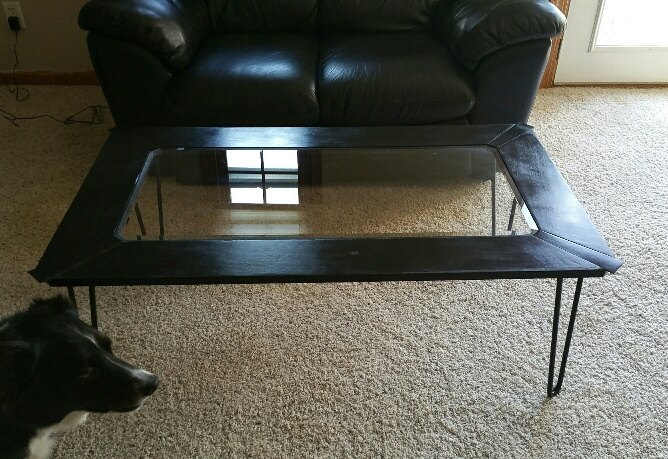
Here is another picture with Molly the Border Collie, posing, as she does so well, because she thought I was taking HER picture...ahhh what table???
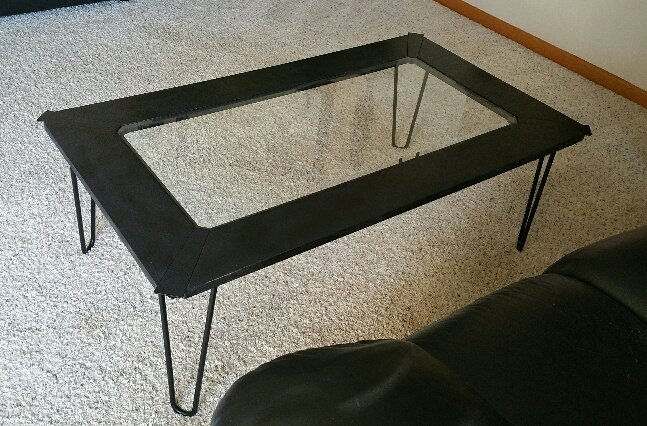
And another view. In front of my loveseat, all matching and cozy and ready for a book or coffee or whatever is set upon it..now that the look is complete. It really didn't take much for this makeover. Spray Paint, Hairpin Legs, and a little dismantling and sanding. Think of what YOU could do with that old chunky piece of funiture you've quit looking at......c'mon....get going...it's not going to makeover itself.
Comments
Join the conversation
4 of 50 comments
-
Absolutely gorgeous! I'm a '60s girl and this table is calling my name. Love what you did!
-
Great vision! I admire and respect that you chose to upcycle your furniture.
It turned out beautiful


Frequently asked questions
Have a question about this project?
do you think this would work with a round table?
What was your table top made of? It came out so nice (and matches your photo bombing dog,lol)
I have a roundish (kind of squarish with round corners) piece of thick glass that would make a great small table. It doesn't have a frame, though. And I'd like to keep it that way. Is there any way to attach legs directly to the glass?