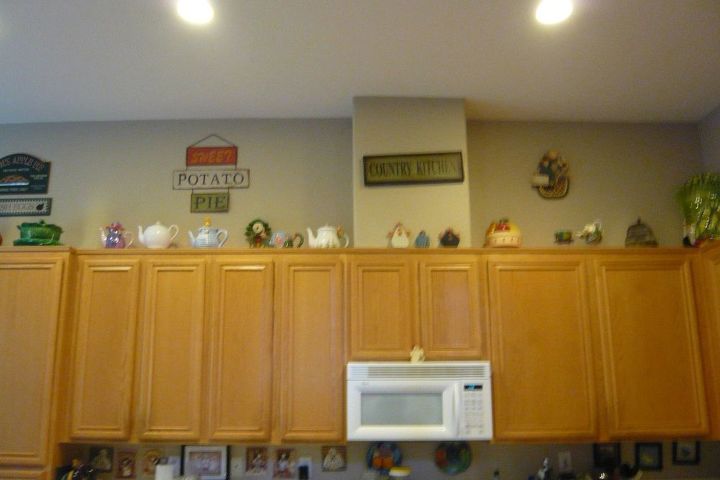
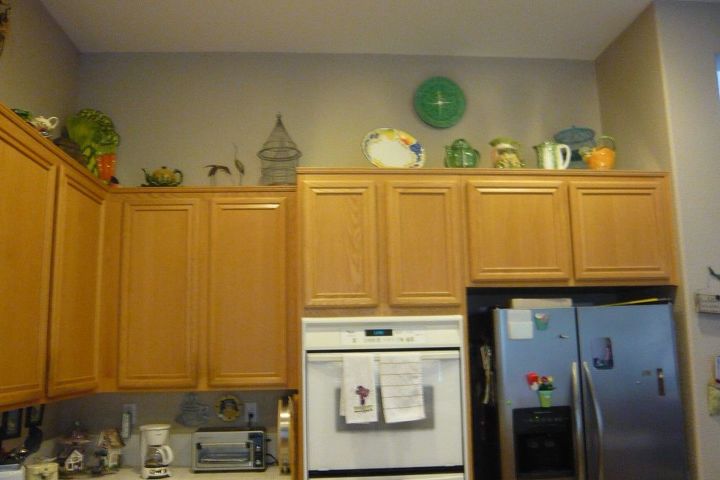
How to Creatively Display Collectibles Above Cabinets!

Pat Ruge
by Pat Ruge
2 Materials
$25
2 Hours
Easy
Many of you might have beautiful china cabinets or windowed cabinets to display your collectibles. For those of us who have the "above cabinet" areas, I have come up with a solution that has bugged me for some time. For this project, I used the 1 in. x 4 ft. x 8 ft. R-3.85 R-Tech Insulating Sheathing sold at Home Depot x2.
Because of the 2" drop behind the molding, much of my collectibles kind of got lost. This vantage point is with me standing about 9' from the cabinets, but even further back, it just did not improve very much.
I began my clearing out the area, measured and cut my Styrofoam which is 1". I use an electric bread knife to cut it and get nice clean cuts.
So I need to double layer to get to the 2" I need. Notice, I am using some small leftover pieces as the filler, but these will go on the bottom.
Here are the 2".
I put the aluminum side up for easy cleaning later on, as it will wipe clean next time I get up there to clean. Notice with the two layers, it is nearly flush with the molding.
Now from nearly the same perceptive view, you can see what a different the display makes.
The pumpkin needed a little more help, so I placed a soup bowl and a clear salad plate under in order to get it a little more lift.
Having run out of the strofoam as a filler, I found this pink packing material I had been saving "for some reason" in the garage. It also has a very smooth, washable surface. Note also, I gave lift to the white teapot by placing it on an upside down soup bowl. You have to keep looking back to check for adjustments such as these.
Yet another example of giving lift.
The original section after changes
I try to group like things together, like the teapots
This shows the large section above the oven and fridge. which I display mostly pitchers.


Worth noting, when I took down my original display, I had faux flowers and vines. These were coated with grease and made their way to the trash. So when I re-organized, I put only ceramics, which got refreshed in the dishwasher. I did put up a couple of wooden items as well as a metal bird cage., which can be cleaned, unlike the ivy and flowers. Oh well, I'll worry about that tomorrow.
Suggested materials:
  • 1 in. x 4 ft. x 8 ft. R-3.85 R-Tech Insulating Sheathing   (Home Depot)
  • Electric Knife   (Owned it)
Frequently asked questions
Have a question about this project?
Comments
Join the conversation
2 of 5 comments
  • Swan Road Designs Swan Road Designs on Aug 12, 2017

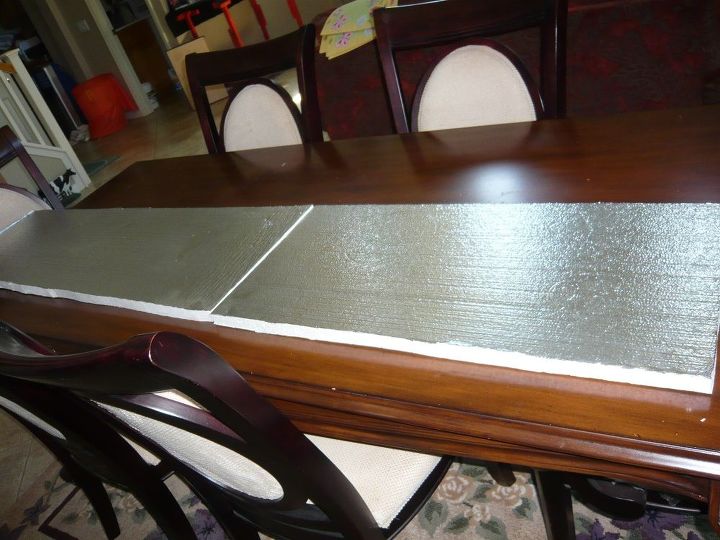
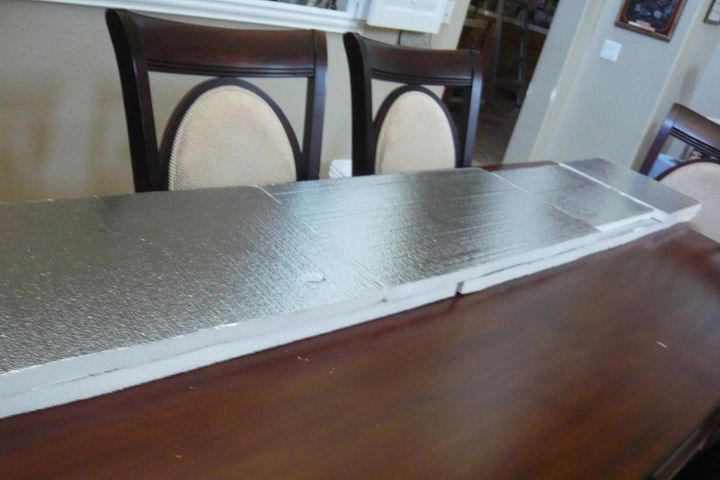
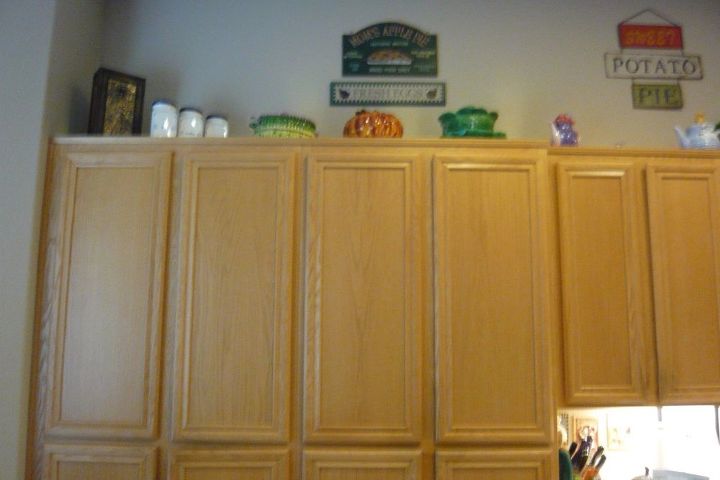
    Okay, here's a tip from the voice of experience. You already mentioned that you trashed some decorative greenery because of cooking film issues. You are going to have the same problem with your collectibles AND the foam core you used to "lift" your display pieces.


    The next thing you should do, while you are still in the notion of organizing/displaying is to cut several layers of newspaper equal to the length and width of the foam core. Remove all your lovely collectibles and place the layers of newspaper under them...leaving them in the order in which you originally placed them. Then, once a month or so, remove a layer of newspaper, which by now is icky with cooking film, and replace your goodies. No more wiping of the cabinet top and all that will be left to do is to wash/clean the items that need attention.

  • Beth Beth on Sep 15, 2017

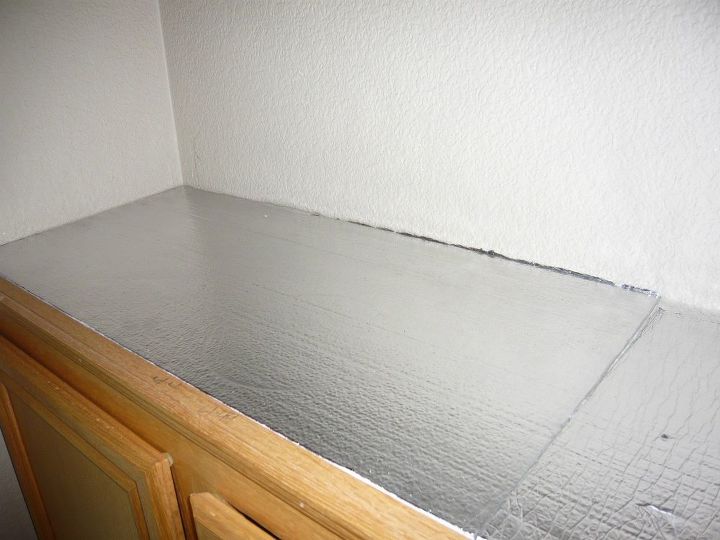
    Hi Pat! We used that foam core in a different project, and it is so inexpensive and easy to work with- what a great idea to use it here! Plus, it's super easy to keep clean. Nice work!

Next