


Dry Sink Upcycle

$60
2 Days
Easy
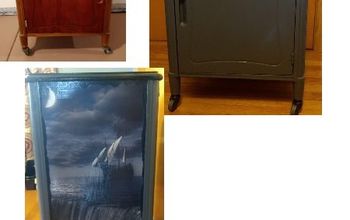
Nothing feels more dated to me than old pine furniture. May be blasphemous to some, but I'd rather paint it and bring it into this century -even though it ended up having a retro-colonial feel in the end! I loved this piece as soon as I saw it and wanted to give it a new life (and give my towel storage a new home!).
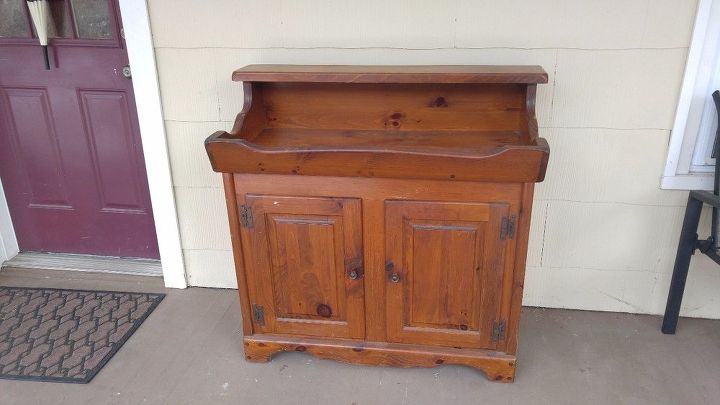
I think this piece was just under $40 to purchase, but since the purchase proceeds went to support Habitat for Humanity, I'm more than ok with that! It's kind of dated (ok, a lot dated) but the shape is interesting, there were no repairs needed and the thing was SOLID. I started by removing the doors, knobs and hinges and grabbed my trusty palm sander. Using 180 grit I knocked off some of the original finish on the flat surfaces, and then got into the crevices of the panels sandpapering by hand. I wiped down all the surfaces with a damp cloth TWICE... there was a lot of dust.
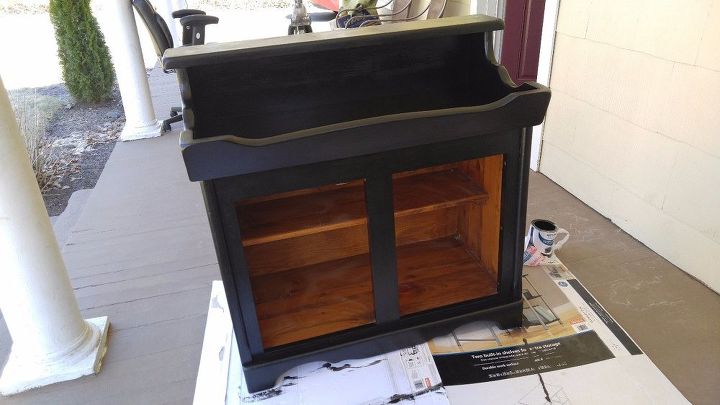
I used a brush to paint on a semi-gloss black Rustoleum latex paint. It took two coats to get an even finish. I then painted on a clear coat to seal it. My front porch is my refinishing station - so it's not the best for a super smooth finish, what with the bugs flying around and dust settling. But the finish came out smooth enough for me. Not perfect, but like in fashion, black hides a multitude of sins. :)
Bottom, before. Top, after sanding.
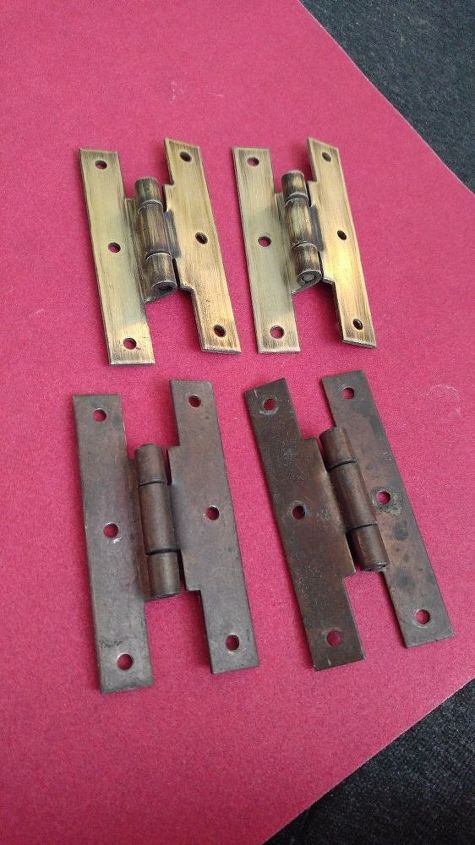
For the hinges and knobs: I wasn't interested in trying to find new hardware, the shape and feel of the originals was just hat I was looking for, albeit dull. I hit those with some fine sandpaper, sanding "with the grain" (if metal has a grain haha, basically just going the vertical length of the hinge and not across horizontally), just to scuff them up, take the tarnish off and brighten them up. I left a lot of the original tone to the edges and hinge section to give depth to the hardware. I gave them a solid wash with regular dish soap after sanding. I left the screws as is to give some contrast to the hinges.
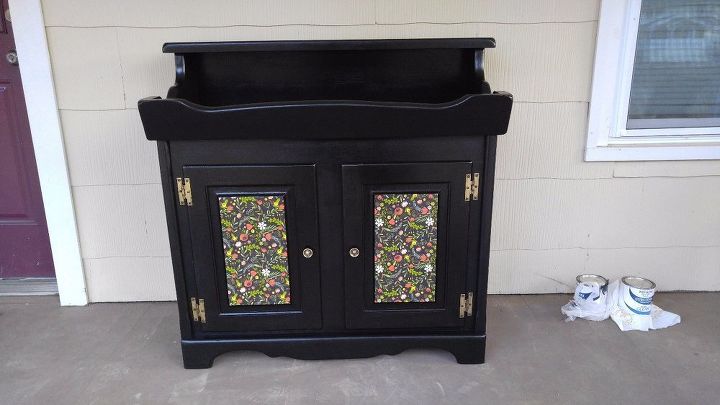
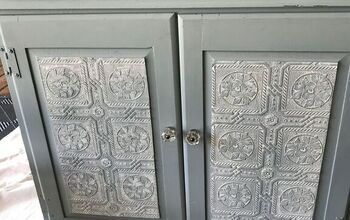
I have been holding onto this lovely thick floral wrapping paper I found at TJ Maxx for several years, just waiting for a project it was worthy of! I measured out the rectangles of wrapping paper and carefully ModPodge'd the wrapping paper rectangles to the panels of the doors. I worked in small sections from top to bottom as to not bubble or wrinkle the paper. The pattern of the paper was rather forgiving anyway, a few wrinkles popped up, but no one (and I mean no one) is going to crouch down to inspect it in a hallway. And I'm cool with that. I hit the panels with another clear coat sealer, and let it cure outside for at least a day before I muscled it up the stairs to the hallway.

Comments
Join the conversation
2 of 70 comments
-
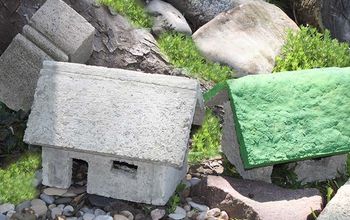
Help help. Just redid one that’s was an ugly blue with decals all over it. Did mine in duck egg blue and textured the doors. I need a lower left hinge. We have searched everywhere. Help help help
-
this is AFTER


Frequently asked questions
Have a question about this project?
I love what you did. From just sanding the hardware to the wrapping paper. You're obviously very talented but I'm most impressed by your instinct for what will work. Did you know what you were going to do when you bought the piece? It totally belongs in that space!
Love the black! Isn't this a wash stand or dry sink? The wrapping paper works great!
Just curious, but did you paint the inside of the cabinet?