


Personalized Study Divider
7 Materials
$10
15 Minutes
Easy
It's back to school time! My kids sometimes do their homework at the kitchen table. The problem with that is when one kid is done and starts playing or enjoying their down time it can distract the other kid. I came up with a way to help the kids have their personal works space with some supplies they will use during studying. It was inspired by the cubicles we used to have in the library when I was a kid.
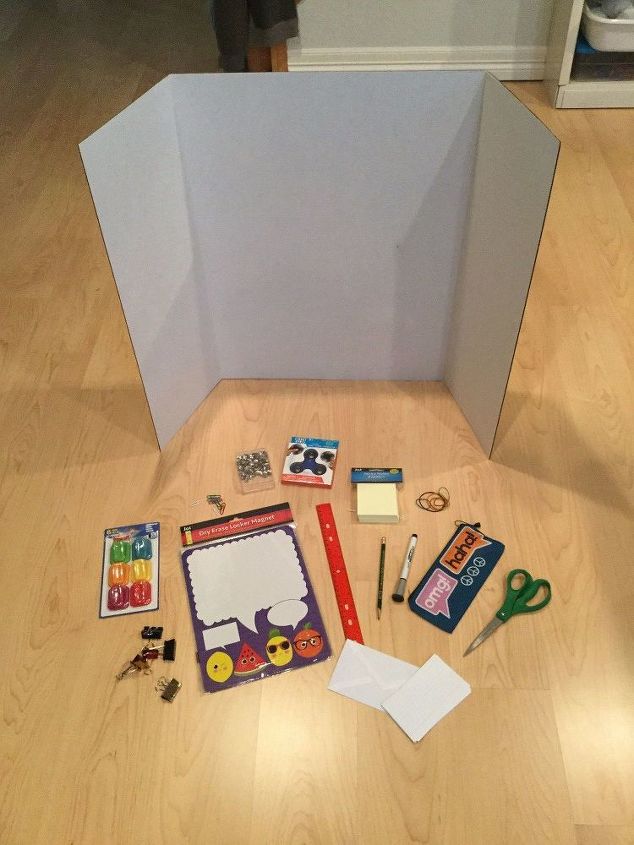
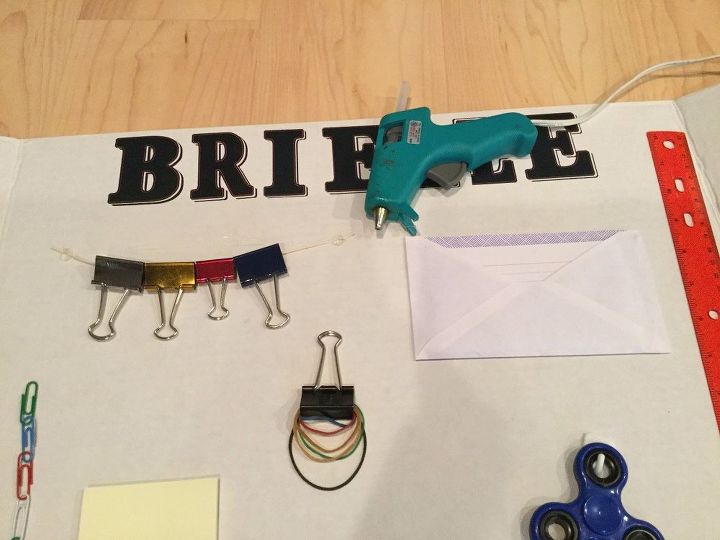
Here is a picture of the supplies I used, the full list is at the bottom of this tutorial along with where to get them.
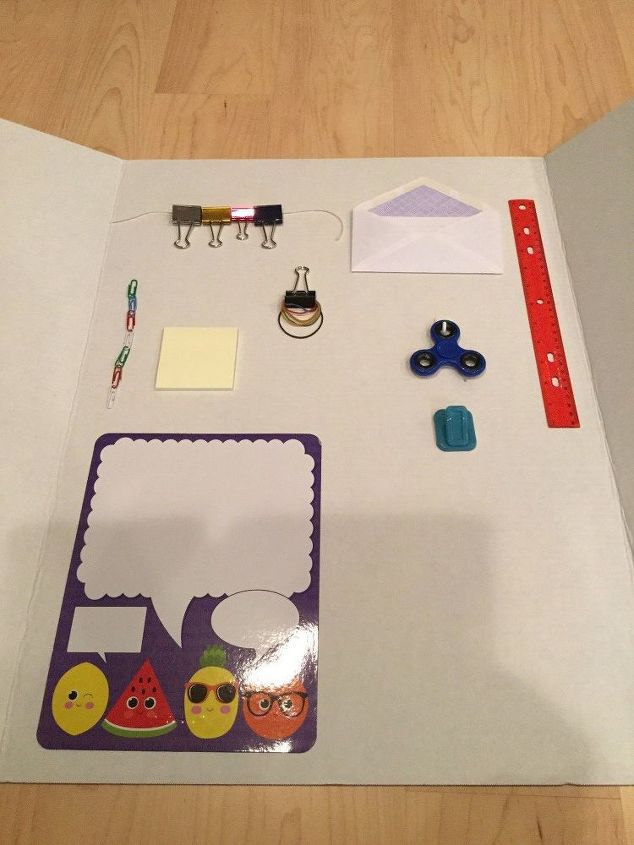
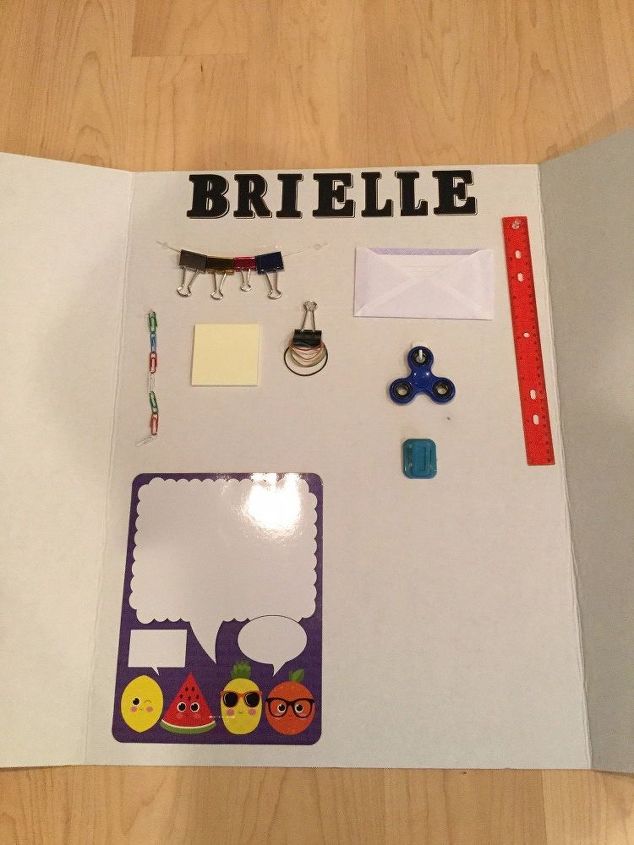
First map out where you want some of your supplies to go. I am using a dry erase board, clip to hold papers/spelling lists/notes, paper clips, binder clips, rubber bands, note cards, ruler, and a fidget spinner.
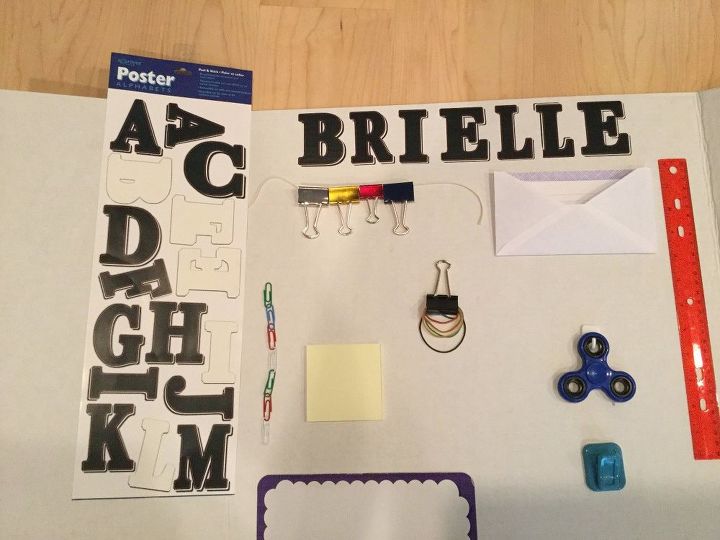
I used poster stickers from Dollar Tree to personalize the board with my kid's names.
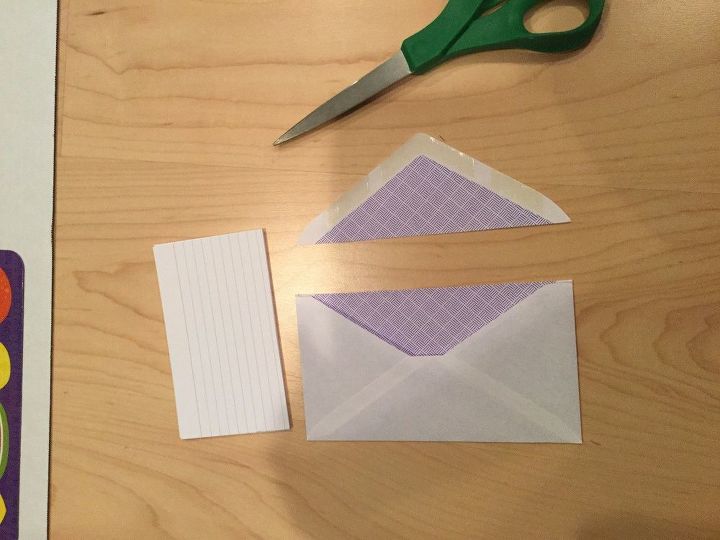
I cut the lid off an envelops to hold the note cards.
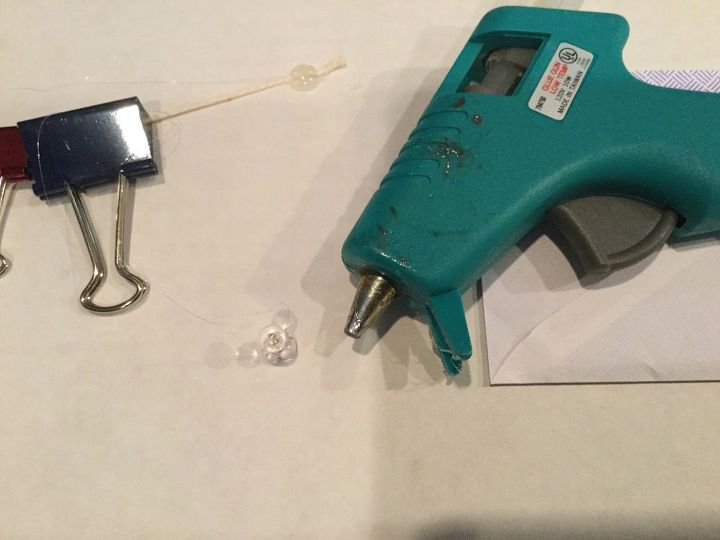
I hot glued on the envelope, and a string to hold the binder clips in place.
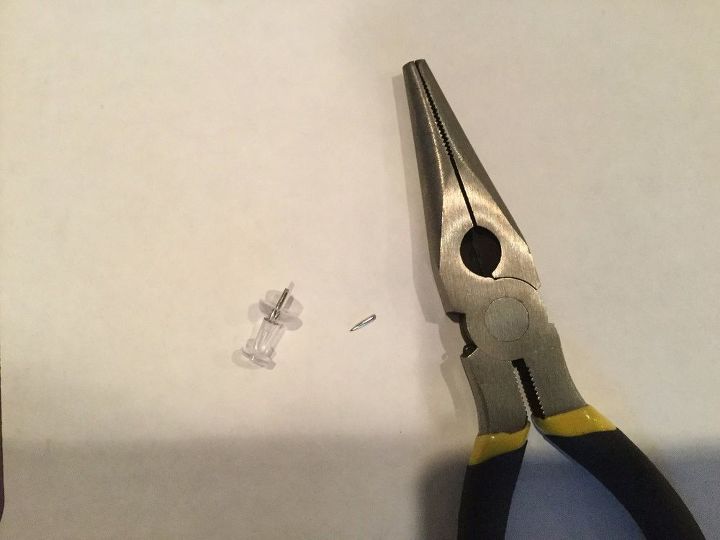
I used a wire cutters to trim down a few thumb tacks as the board was not deep enough for the full length.
I added a dab of hot glue to the back of the thumb tack to make it more secure and I stuck it into the board.
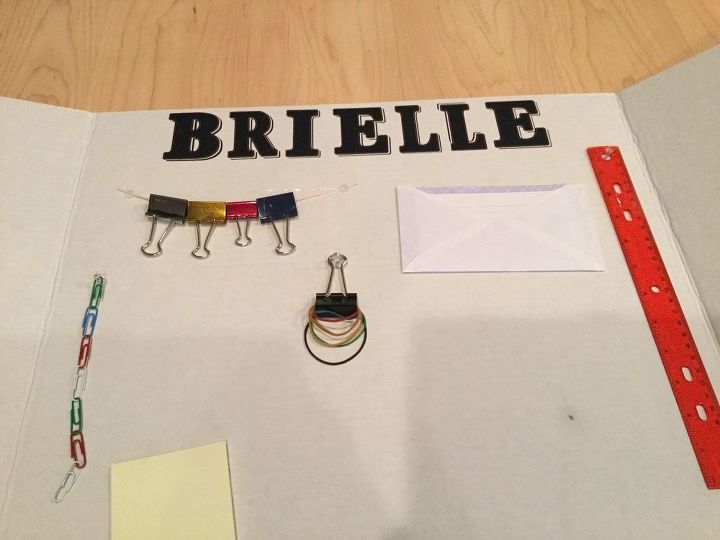
I use the thumb tacks to hang the paper clips, ruler, and rubber bands in place.
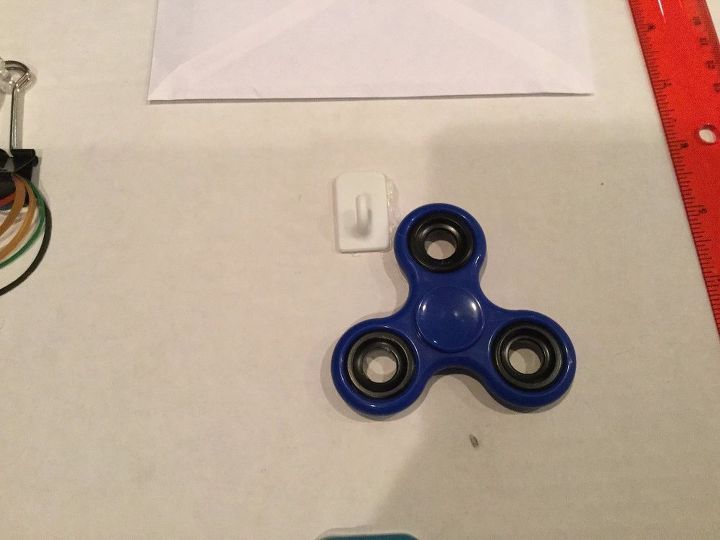
I used a 3M hook to hold the fidget spinner in place. In case you are wondering why a fidget spinner - my son has sensory processing disorder and needs things to fidget with when he studies. It helps him focus. My daughter has learned to use hers as a brief break between subjects.
I hot glued on the dry erase board, the clip to hold papers, and I also added post it notes.
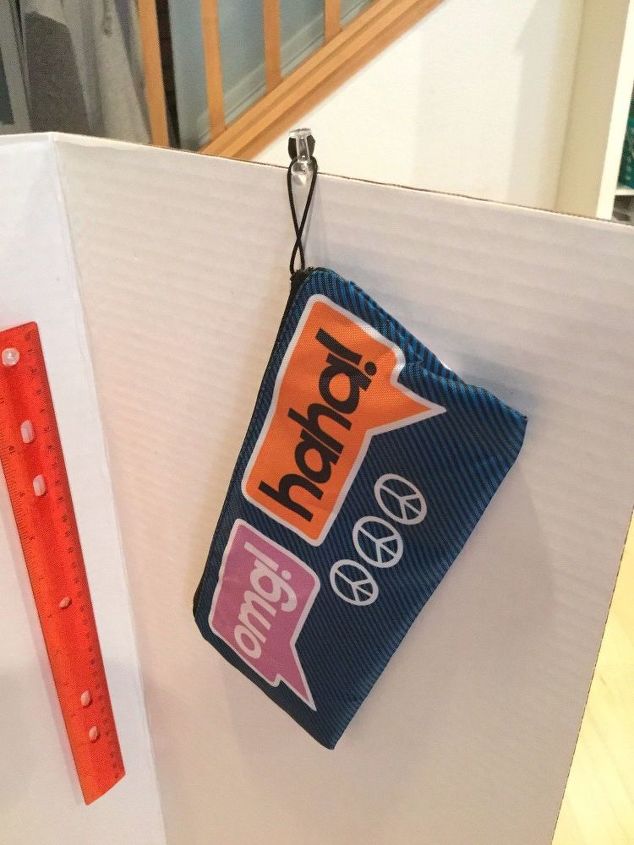
On top of the board I added a thumb tack to hold a pencil bag which has pencils, pens, scissors, etc.
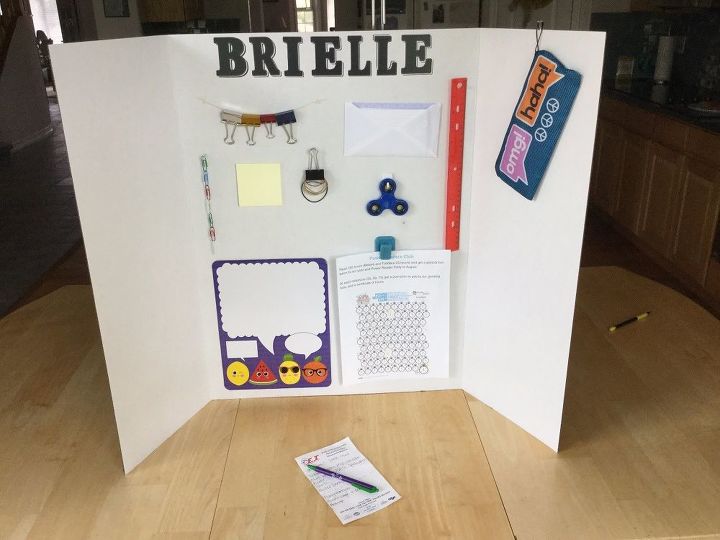
Here is the completed divider on our kitchen table.
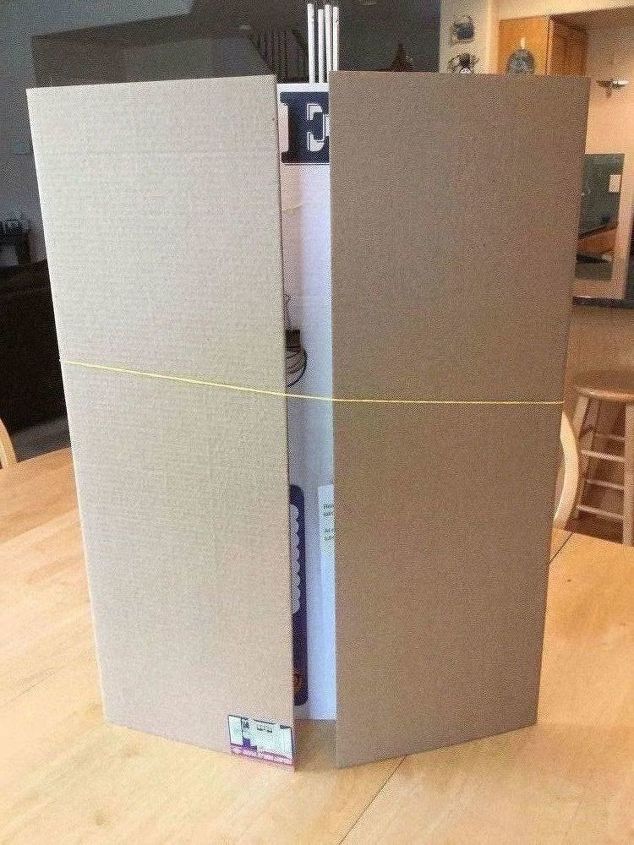
When the kids are done the board folds right up and can be tucked away.
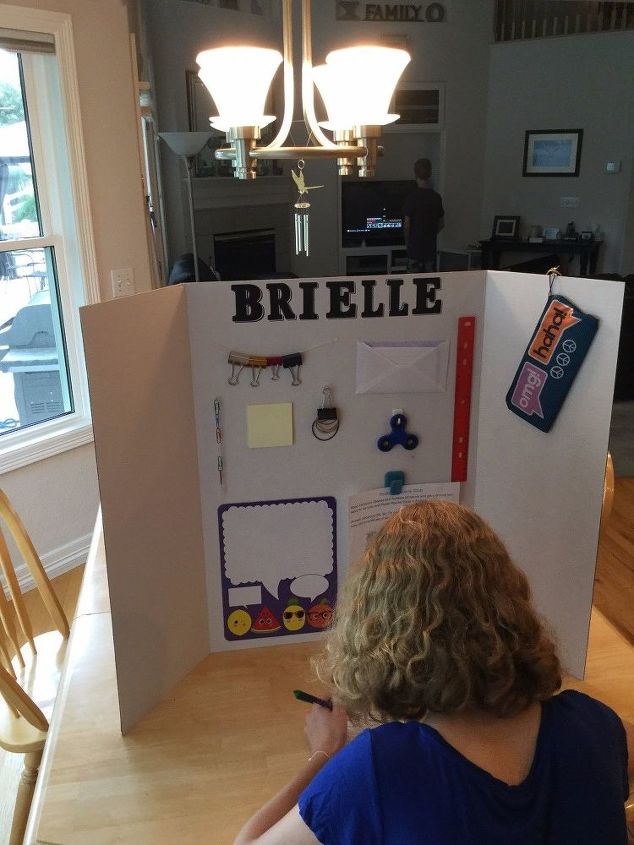
As you can see here my son is in the background enjoying his time off, and my daughter is studying hard. They both love their boards and plan to personalize the sides with photos, stickers, etc.
I would love to have you stop by my blog Chas' Crazy Creations for the full tutorial as well as sign up for my latest creations, posts, recipes, exclusives, and more...
I would love for you to subscribe to my YouTube channel to see more of my crazy creations - https://www.youtube.com/channel/UCIOsMN7hycVRco-MROXwmXg

Want more details about this and other DIY projects? Check out my blog post!
Comments
Join the conversation
4 of 6 comments
-
this is a great tool to focus and spark creativity. Good Job!
-
Brilliant idea..👍


Frequently asked questions
Have a question about this project?