


Mall Relic Turned Colorful Porch Showpiece
3 Materials
$120
2 Days
Medium
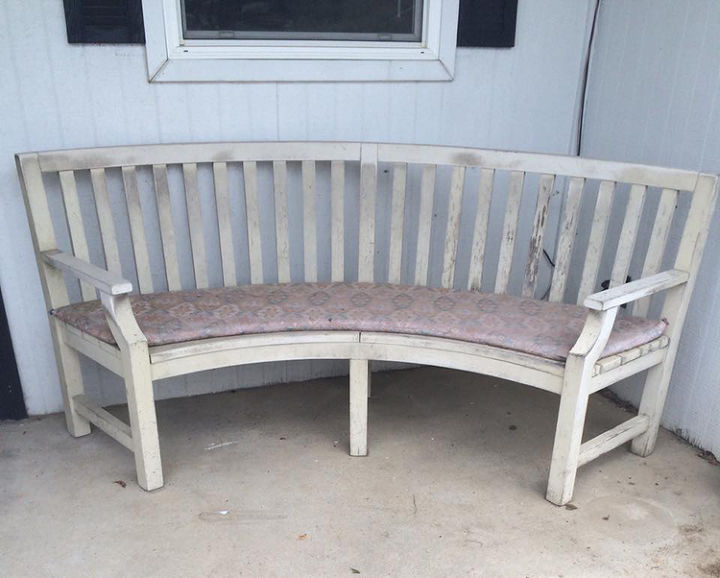
Our local Grand Central Mall was built back in the early ’70s, and it was a very big deal at the time! I wasn’t very old, but I clearly recall going inside before the stores were completely finished and being amazed at the huge space and all the shopping under one roof. Over the years, I have spent LOTS of time at that mall (probably too much) — movies with my friends in high school in the ’80s, birthday party for my son in the food court in the ’90s, shopping for a swimsuit for vacation, trying to find the perfect shoes for a work outfit, and on and on. So when I saw a bench for sale that had once been part of the mall’s midway, I wanted it!
In an era of fountains, waterfalls and streams with footbridges, live ducks roamed the mall through the ’90s (yes, really!). A large aviary was home to a variety of birds, quite an attraction in those days. The food court was built in the late ’90s, and that was the time the curved benches were installed throughout the mall.
Years and years of yuck
PREP
Before I could refinish the bench, the first order of business was to get it cleaned up. Off came the cushion, which I saved to use as a template for a new one. This job called for rubber gloves, because yuck. Krud Kutter got the grime off so I could move on to the next step.
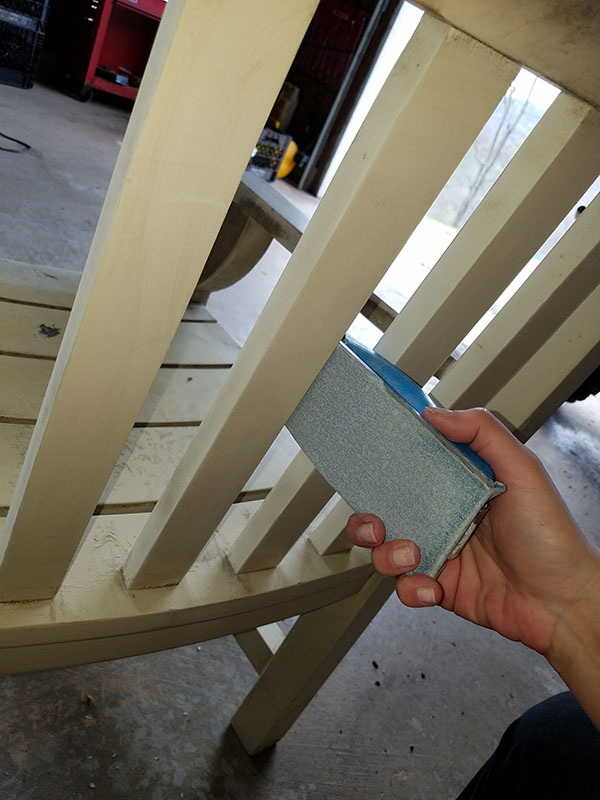
Preppin' Weapon helps sand in tight spots
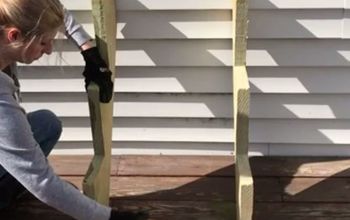
SAND
Next step was sanding. There was a lot of chippy paint that needed to come off, and I wanted the surface to be as smooth as possible before I painted. I sanded the entire piece with a Festool sander, and where I could not reach between the slats, I used a Preppin’ Weapon sanding tool.
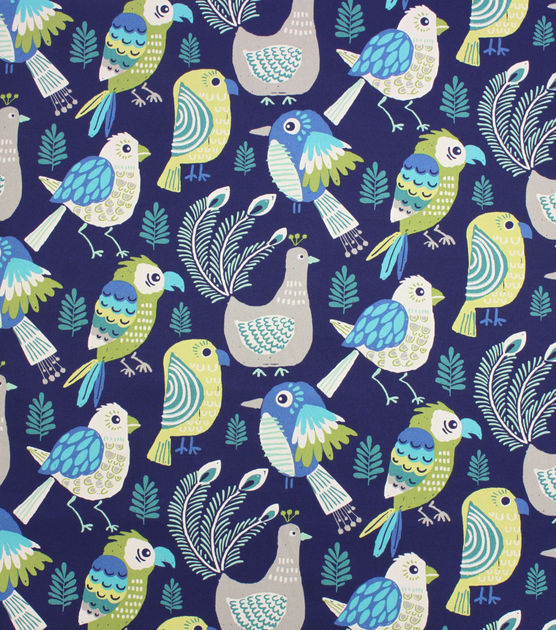
Solarium Outdoor Fabric - Kitchi Marine
CUSHION
I created a paper pattern for new foam padding and cut that out of 2" thick Air-Lite Extra High Density Polyurethane Foam. Meanwhile, my mom had graciously agreed to assist with the sewing part of this project. This outdoor fabric really caught my eye at Jo-Ann Fabric, and I liked the tie-in with the birds that used to reside at the mall (even though the birds and the benches weren’t there at the same time), so I purchased enough to cover the new cushion. My mom used the foam to trace her cutlines onto the fabric.
I think it turned out really nice, and she’s a champ for helping me out! She even had enough fabric to make two pillows.
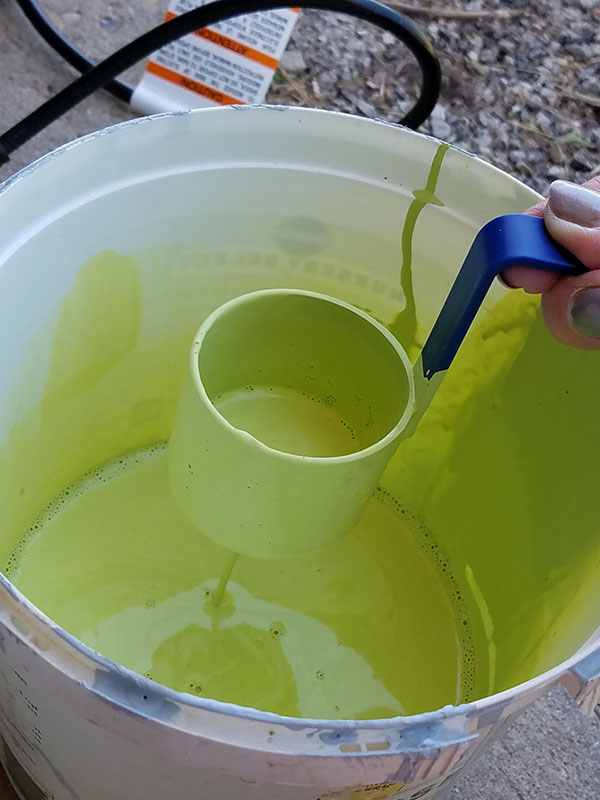
Thin paint as needed for best results
PAINT
I had been looking for an opportunity to use my new HOMERIGHT Finish Max HVLP Sprayer, so I thought spraying the bench would be way easier than trying to use a brush to paint in between all those slats. I chose a bold spring green color that I thought would stand out nicely against the brick of our home.
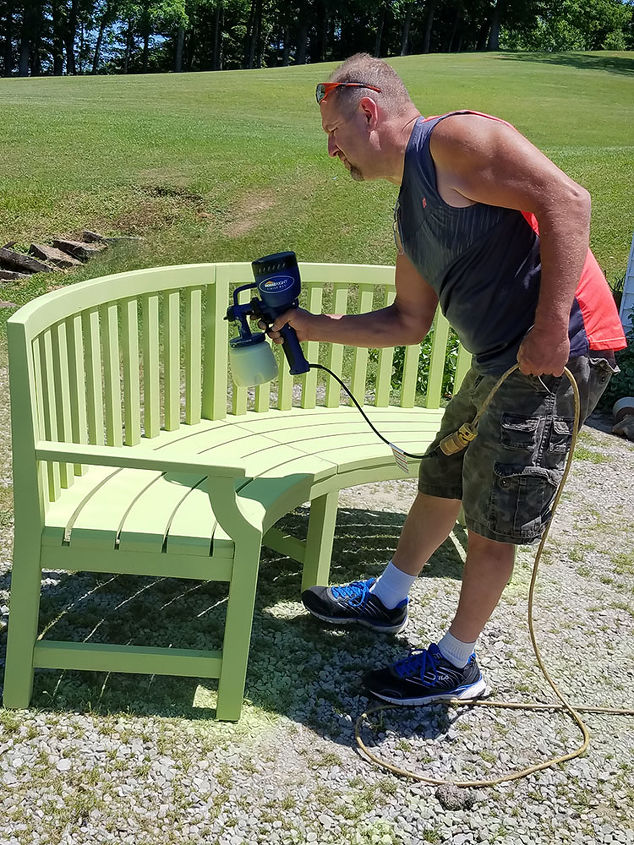
My handsome helper
Spraying with the Finish Max was a breeze, and the paint went on in a snap. My husband, who claims to hate painting, actually seemed to enjoy helping me out. (See link at the bottom for more detailed painting instructions.)
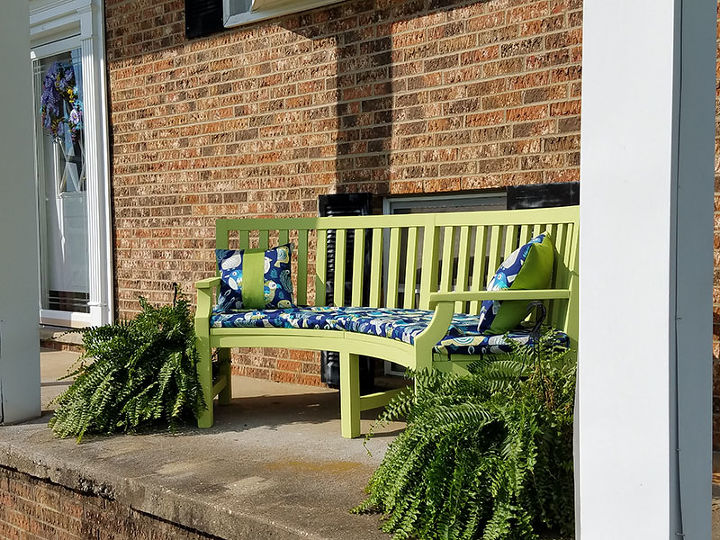
Great place to view the sunsets
I’m thrilled with how it turned out, and the fabric choice is a winner in my book. I look forward to spending many evenings sitting on the bench with a big glass of sweet tea in my hand, enjoying the sunsets with my husband.

Want more details about this and other DIY projects? Check out my blog post!


Frequently asked questions
Have a question about this project?