


DIY Hidden Wooden Cutting Board
Cutting boards are one of the most commonly used kinds of cookware when it comes to food preparation, and they never seem to have a fitting place where they belong. Or at least, that’s how it is when it comes to my kitchen.
Whether your prepping vegetables for a salad, cutting slices of meat for a stew, or creatively compiling a triple-layer sandwich, cutting boards are invaluable for keeping your counter tops clean and protecting your dishes from aggressive knife work. With their frequent use, it only makes sense to find a better way to store them away. So, I found a better way!
To solve my cutting board conundrum, I created this handy cutting board storage solution. It only cost about $5 in wood pieces and less than an hour to put together, and the payoff was well worth the effort!
Materials
Wood Glue
Drill
Screw
Measuring Tape
How to Build It
1. Gather Materials
This quick cabinet modification requires you to first make a cutting-board holder from two pieces of wood moldings (trims work too) and four wood blocks to create height. In the end, you will have a two-piece cradle which mounts beneath your cabinet to store away your cutting boards.
Take down measurements to find the length of your cabinet’s bottom to figure out how long your moldings can be. When determining the height of your wood blocks, keep in mind that you need to create enough height for as many cutting boards as you intend to to fit between the moldings and your cabinet’s base.
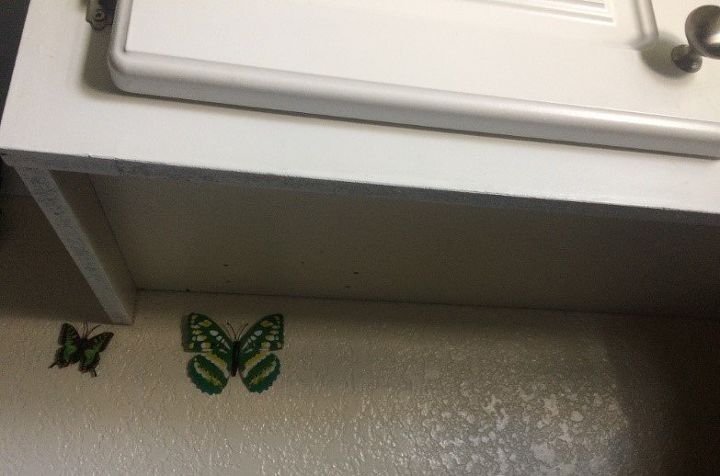
If cabinet has an uneven bottom (like mine does), then remember to compensate for its differences when planning your two holder pieces.
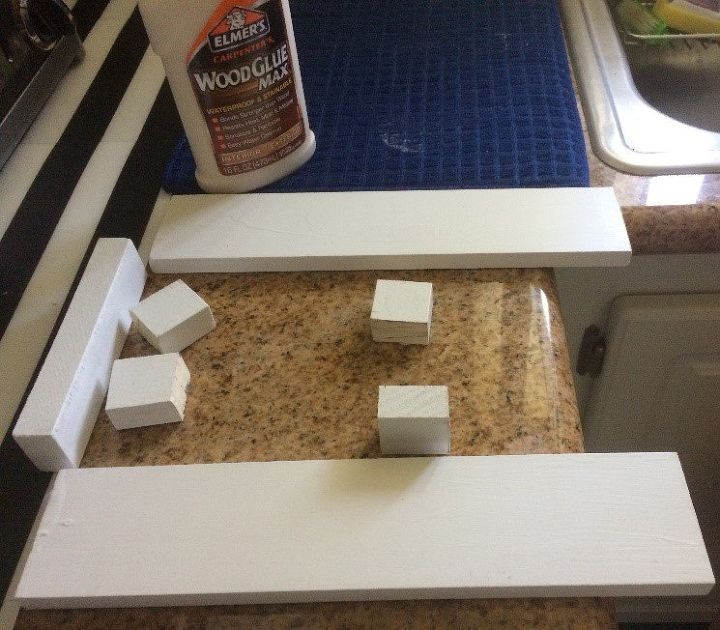
Once you have your measurements all figured out, head to the hardware store to purchase the wood pieces you need to fashion your holder. I ended up grabbing two moldings, and cutting one long piece of thick wood to size with a handsaw to get my blocks.
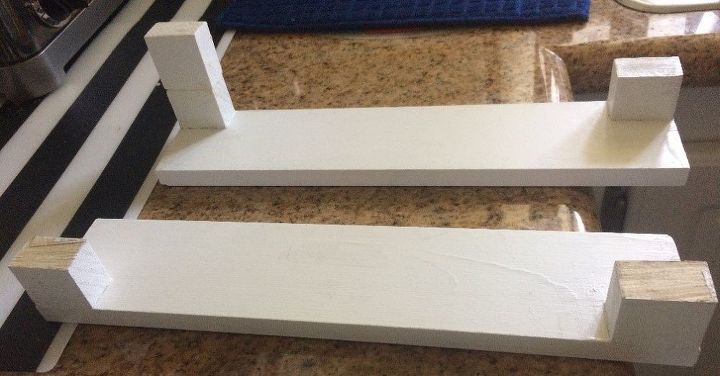
2. Shaping your Holder
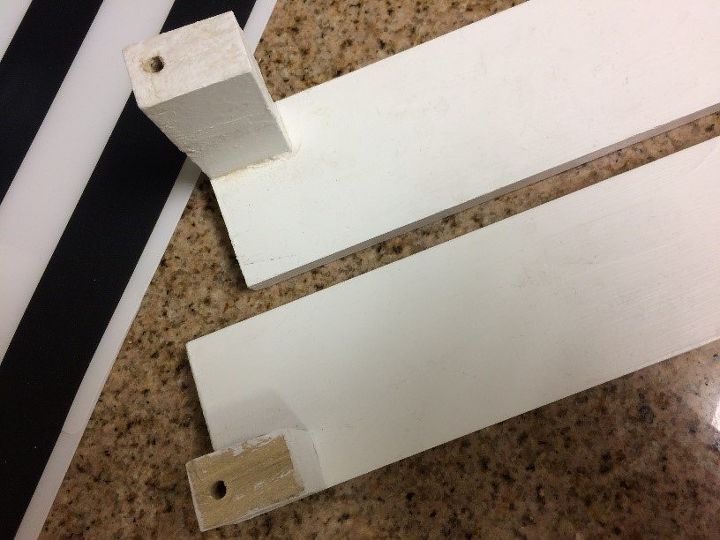
Now that you have your wood moldings and blocks, use wood glue to adhere them together so that they take on the cradle you need.
As you can see, I had to compensate for the differences between the depth of my cabinet’s base and its edges by adding extra height to one of the corners with a fifth wood block.
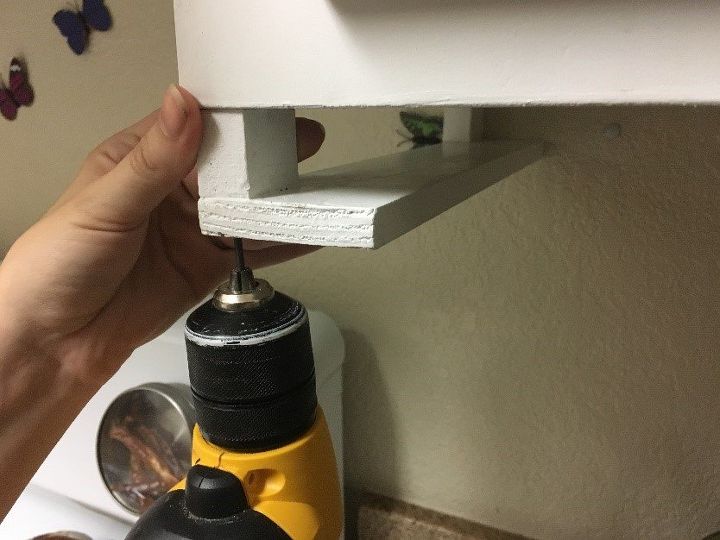
3. Pre-Drill and Drill
To give yourself an easier time with accurately aligning the screw holes of your holders to the holes of your cabinet, it’s best to pre-drill.
First take each of your holders and drill connection points in all their blocks so that the holes penetrate all the way through the molding.
Next, going through the holes you just made in your holders as a guide, drill into the base of your cabinet so that each hole in your holder perfectly matches the holes in your cabinet.
4. Mount the Holders
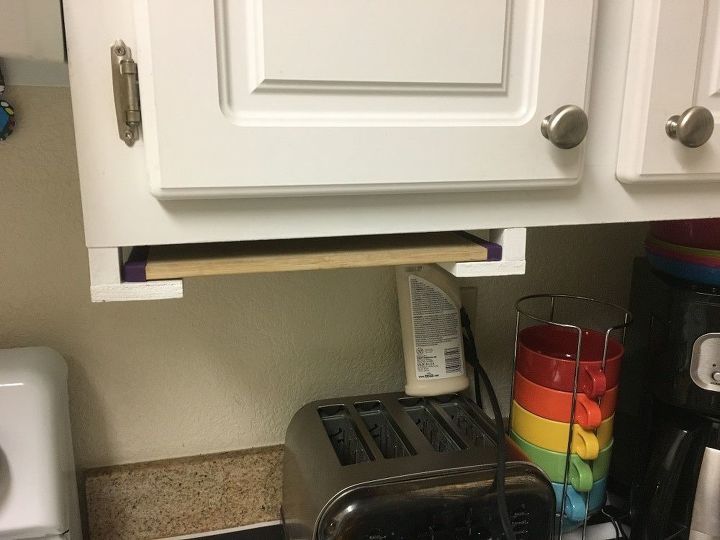
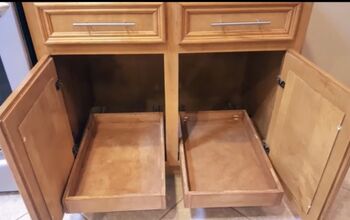
Once your screw holes are made, its finally time to mount the holders and form your cutting-board’s cradle.
Position your holder so that the holes you’ve made are in sync, and connect your holders to your cabinets with screws long enough to drive through the entire height of your holder and securely into your cabinet. Once your holders are firmly mounted, feel free to dab some paint on the exposed screw heads so that they match the color of your cabinet, and you’re all done.

Now grab your cuttings boards and introduce them to their brand new, and much more conveniently located home!
We want to help you DIY, so some of the materials in this post are linked to sellers. Just so you know, Hometalk may collect a small share of sales from the links on this page.
Comments
Join the conversation
-
I love this idea! Thanks!
-
Love this idea! I will be trying this!


Frequently asked questions
Have a question about this project?
What about when you have several different sizes of cutting boards?