


Outside Trash Storage and Walkway

5 Materials
$30
2 Days
Advanced
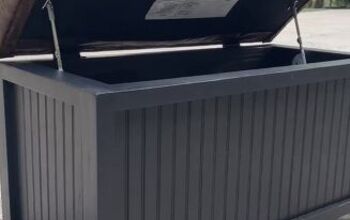
A few years ago, I built a "Blind" for the outside Trash, Recycling, and Yard waste. In a rush to finish... I laid down some square paver squares right over the dirt. It worked for a while...
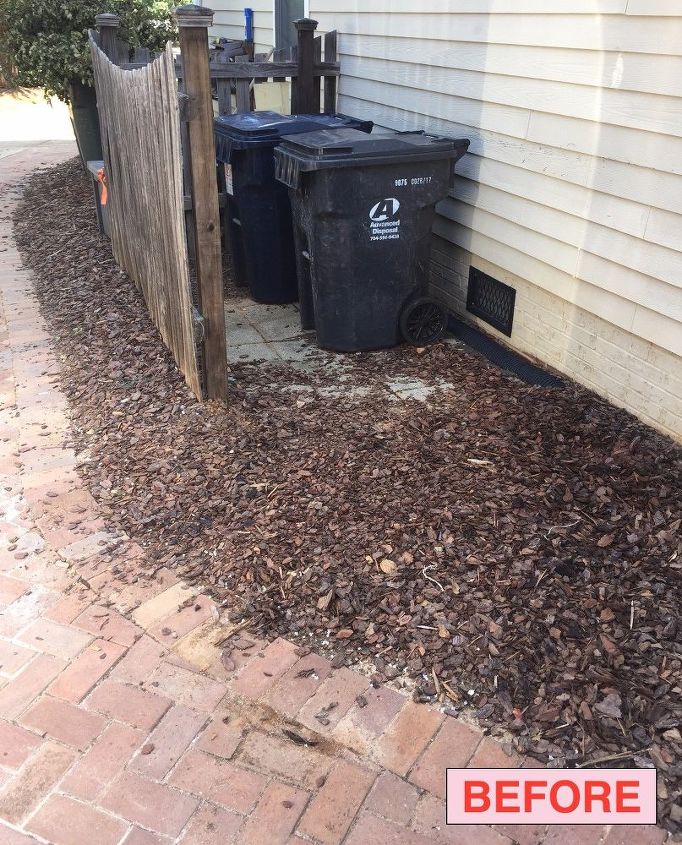
The Problem:
- Organic material as a base eventually shifts and the surface of the pavers starts to dip and wave like fans at a baseball game.
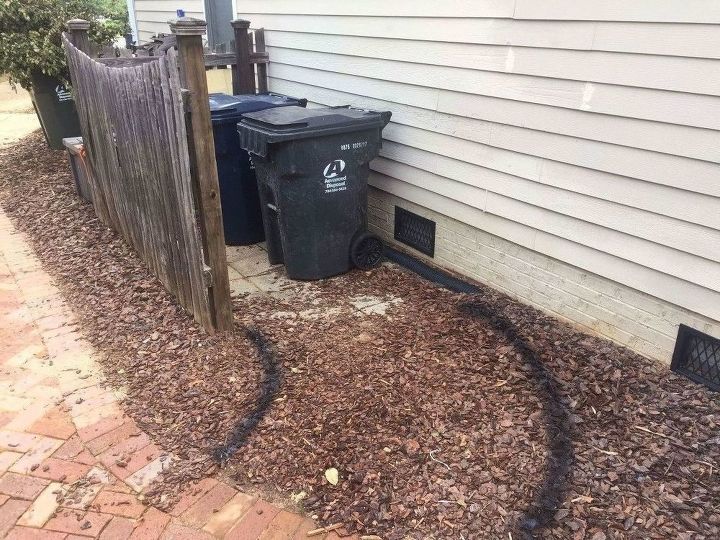
- The other issue was the mulch... we had to drag heavy trash containers across the mulch making a mess.
The Plan:
- Start over form scratch.
- Have a solid base of crushed stone instead of dirt.
- I wanted to reuse as much of the material as possible I already had.I wanted to connect this area to my walkway... a nice curved path.
Cost:
~$30 because I only had to buy the sand. I had everything else already in the back yard. If I had to buy all the materials... I estimate it would be around $160
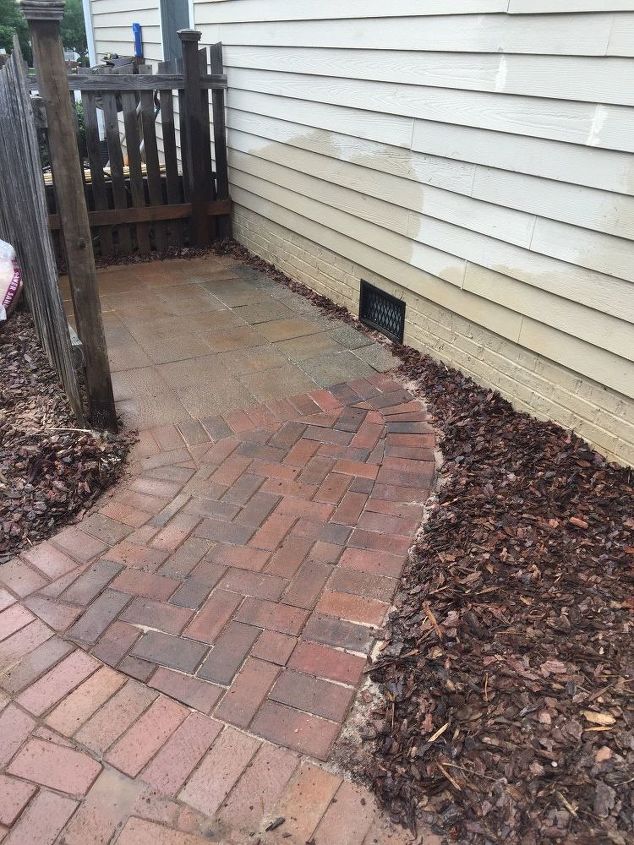
Here is what I was thinking...
Make a curved connection between the brick walkway and the paver squares.
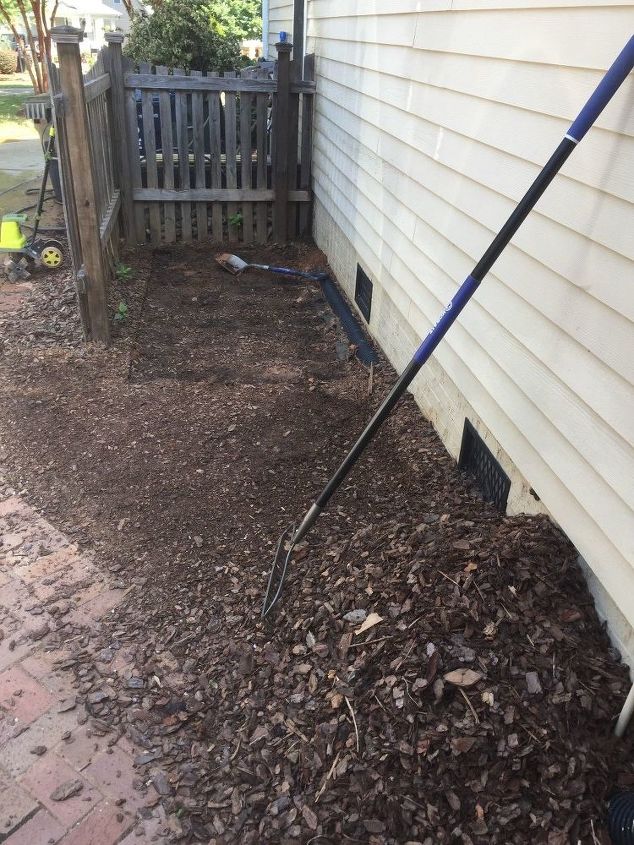
I started by:
- Removing al the existing square blocks.
- Clearing the mulchI used an electric tiller to help break up the hard dirt
I started by:
- Removing all the existing square blocks.
- Clearing the mulchI used an electric tiller to help break up the hard dirt
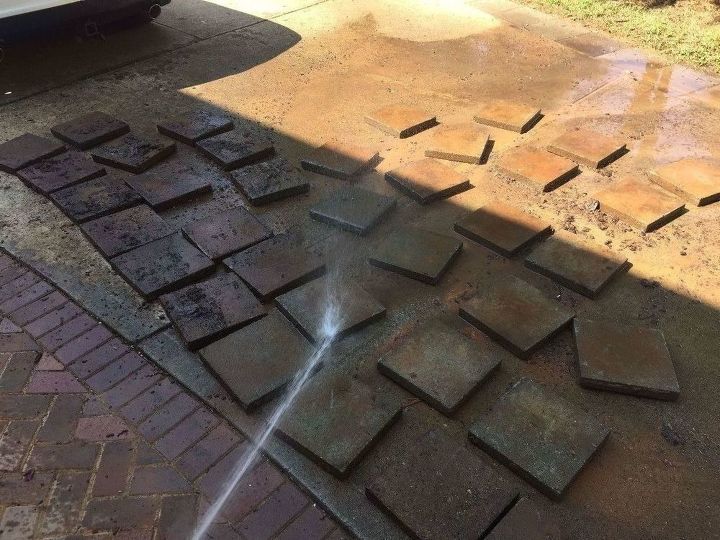
The concrete blocks were covered in mud from years of being in the earth. I needed to hose them down on both sides.
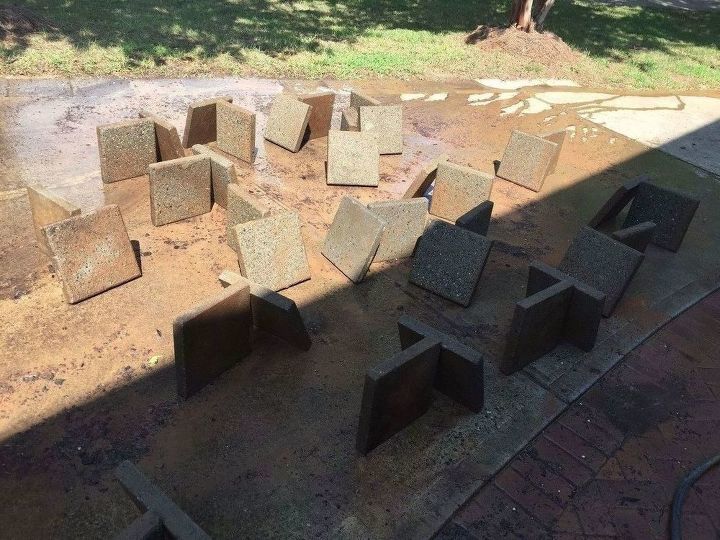
I ended up making a little Stone Henge to clean both sides and allow them to air dry in the sun.
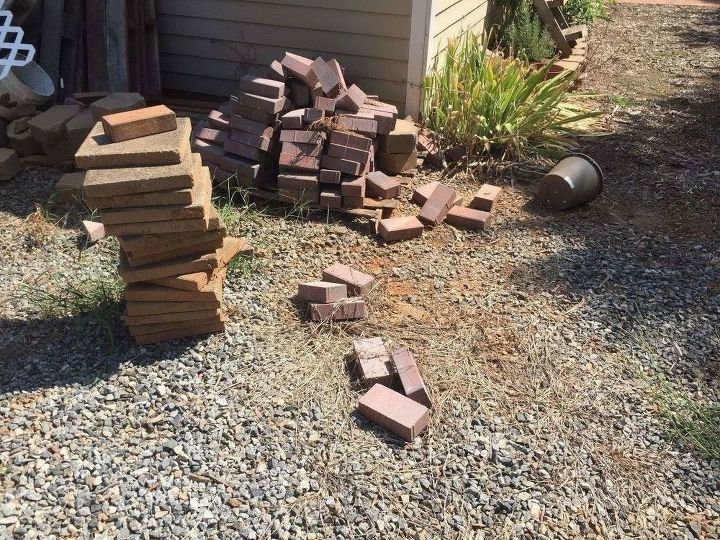
I went to my back yard where I have a pile of left over materials from previous projects. Here I had lots of leftover brick pavers and even more square concrete blocks.
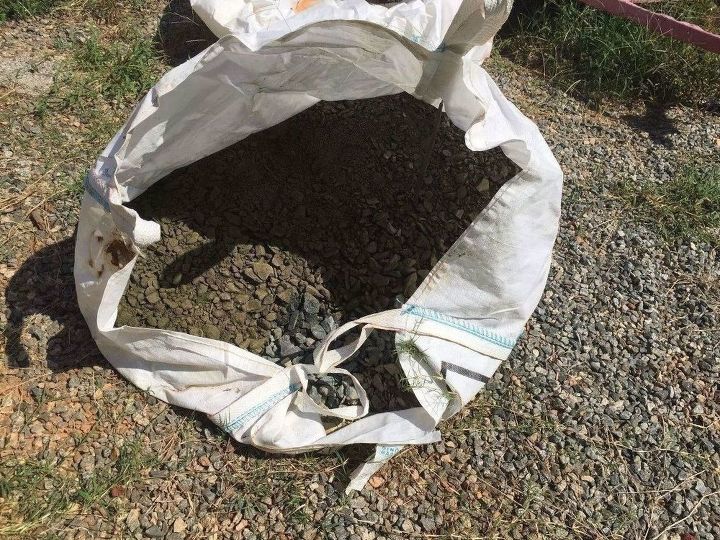
I was lucky enough to also have a bag of crushed stone. It was way too heavy to move by hand so...
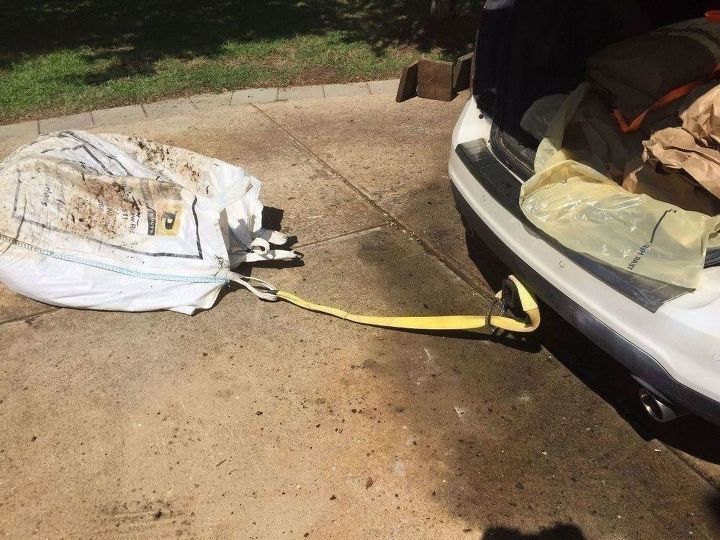
I dragged it with my car to the front yard... as close to the work location as possible.

Here I am adding the crushed stone and packing it down.
You start with a small layer (1 inches), compact it... spray it with the hose, then pack it down some more. After a few layers (I put down just under 3 inch)... it is hard as a rock... you know, because it is literally rocks!
Having the right base is so critical. WHY did I ever skip this process before. Do it right from the start!
I did not take any pictures during the install.. but this is all I did:
- I laid some paver sand down in a thin layer. TIP: You can get bags of sand 1/2 price from Lowes if they are broken open... they will put them in recovery bags. Huge savings!
- I started with the Square blocks. I left some space around them for drainage when it rains.
- I slanted them away from the house.
- I ended up having to cut the top row in half. I have a 10" tile/paver wet saw from Harbor Freight. I did need to order a new blade since my old one was useless after the recent remodels I did in the house.
- I tied the brick walkway and the square pavers. I started with a border row, then started down the LEFT side moving to the right. Lots of cuts for this pattern, but it is the strongest and looks the best in my opinion. Plus it is what I did for the walkway.. so it had to match.
- You finish with putting fine grain sand across the top to lock in the pavers.I did put some paver edging on a few sides... to help hold the curve shape. I was lucky enough to have some of those laying around in a pile. I never get rid of anything.
Here is the after with the cans in place. Nice and solid and a clean slope down to the walkway. Just what I needed! Hope this inspires you on your next project!
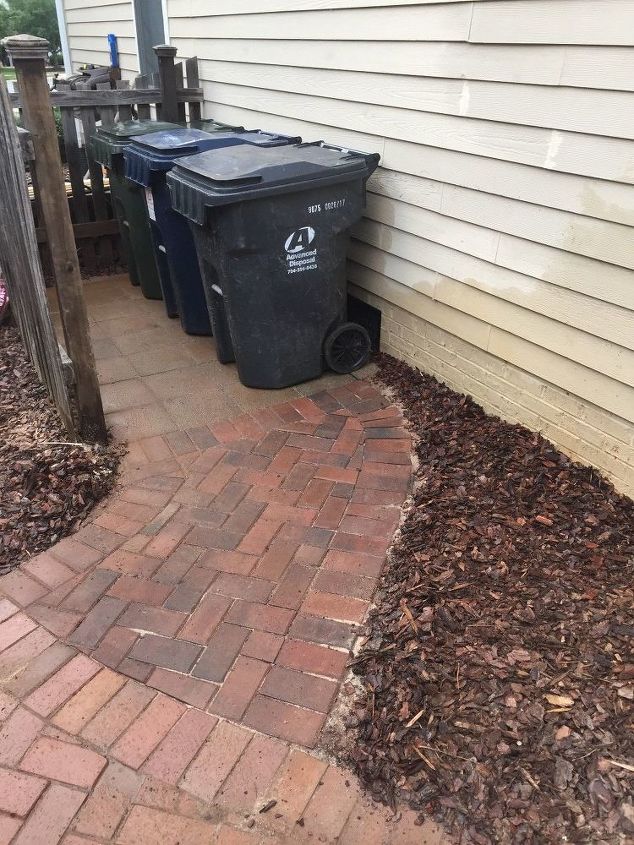
Here is the after with the cans in place. Nice and solid and a clean slope down to the walkway. Just what I needed! Hope this inspires you on your next project!
Resources for this project:
See all materials


Any price and availability information displayed on [relevant Amazon Site(s), as applicable] at the time of purchase will apply to the purchase of this product.
Hometalk may collect a small share of sales from the links on this page.More info
Comments
Join the conversation
3 of 82 comments
-
looks great
-
Looks very nice !


Frequently asked questions
Have a question about this project?
Why is almost every item mentioned on these sites purchased from Amazon?
I didn't know that I could purchase bricks and pavers from them
How thick and how many layers of crushed rocks did you do? And did you hose down each layer? How long did you let each layer dry before adding a new layer?
Won't the mulch just wash back over the bricks? I see no edging to hold it back.