


DIY Wine Stave Cross

by
Zest it Up
10 Materials
$20
3 Hours
Easy
Around here, we like to smash things up! It is especially easy to do when you have been naughty and not taken care of your wine barrels. These beauties require being watered and/or varnished to withstand the shrinking that invariably happens in the outdoor environment. It is kind of sad to see something that was made so well, so nice and snug, turn into a rickety mess. Since it was no longer sturdy enough to support table tops for us, we decided to use this luscious oak to craft a few beauties. You may have already seen some projects that we have done in the past with our last atrophying barrel: the Wine Rack, the Bench, a Wine Barrel Fountain, the Wine Rack.
Photo Cred: Jessica Helton
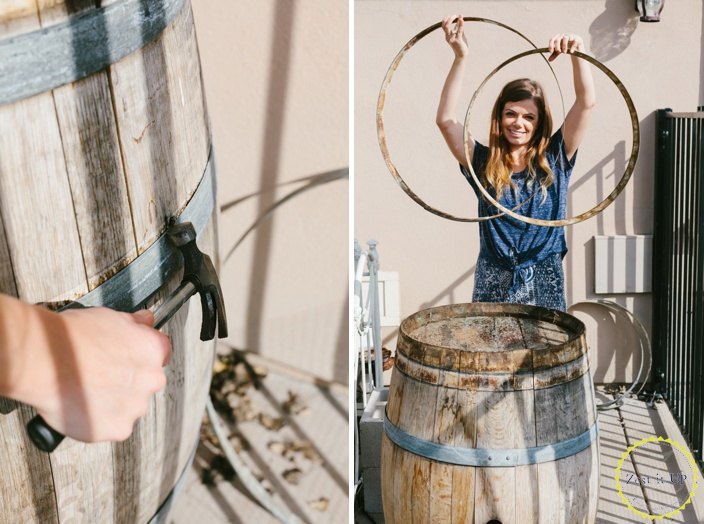
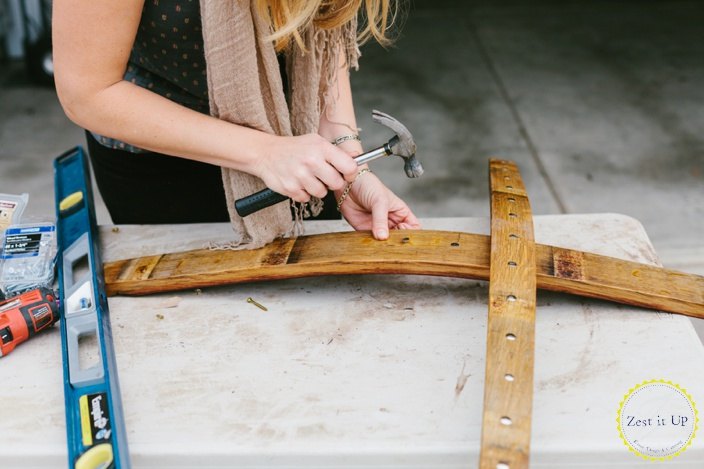
First step was to hammer down the little nails that were holding the metal bands in place. With just two hits of the hammer, the bands effortlessly slid off!
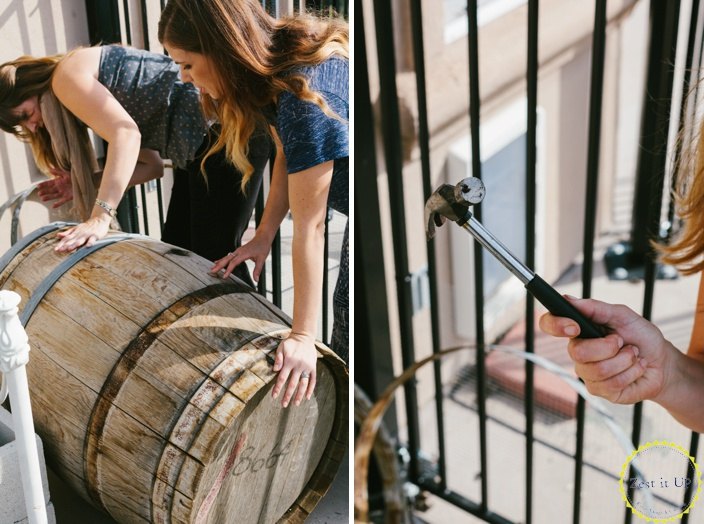
Awkwardly rolling the barrel over, we were able to remove the bottom bands and then give the whole thing a swift kick in the rear!
Time to make some art!
Supplies:
- wine staves (or 1″X4″ boards)
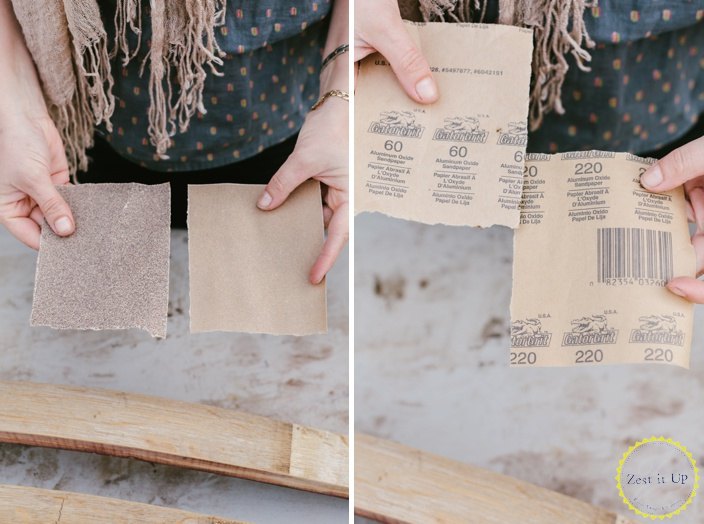
- sandpaper (both 60 and 220 grit)
- Spoon Butter or wood wax
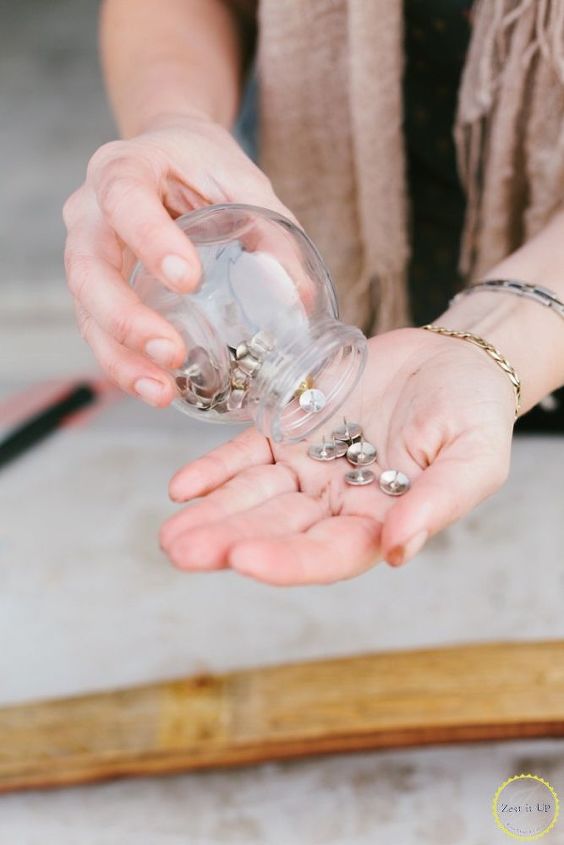
- metal tacks (I used gold)
- hammer
- level
- wood screws
- screwdriver
- two eyelet screws
- picture wire & wire cutters
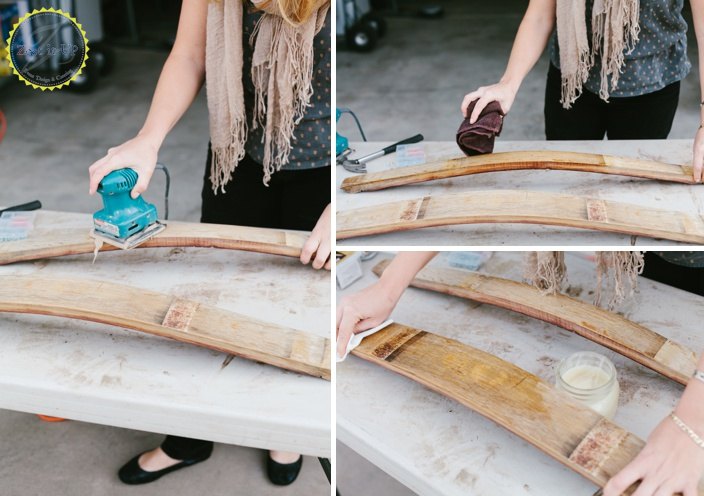
Demo done! It was time to get crafting. It is important when you sand wood to start out with a coarser grit sandpaper to even things out and then move to a finer grit to make it baby smooth. You can take the time to do this by hand, but I saved time and protected my hands by using an electrical sander (I do not need to turn my hands into a construction worker’s hands!).
After I was happy with the texture, I wiped off the dust and applied our Spoon Butter (you can find it on our blog at zestitup.com) directly to the wood. I think I could hear the wood sigh as it got reconditioned. 
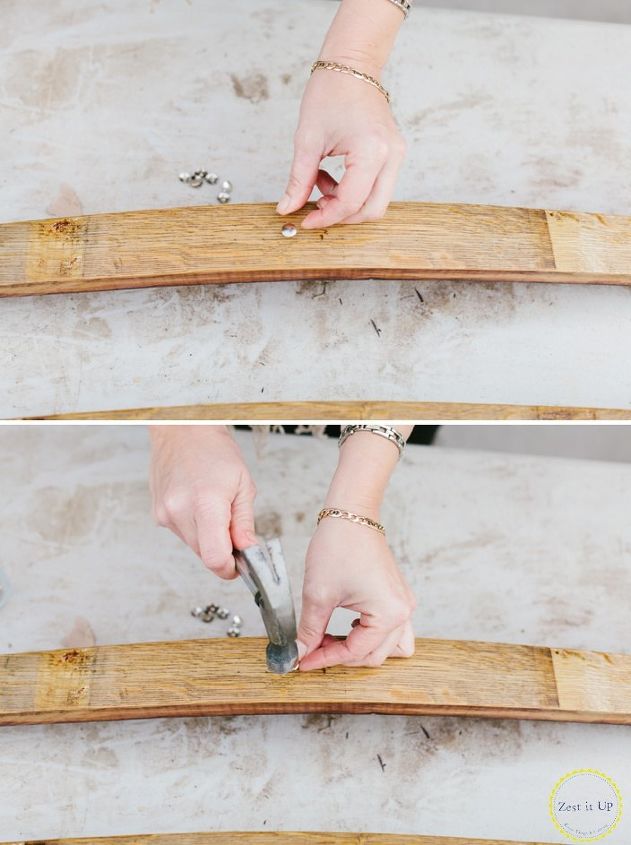
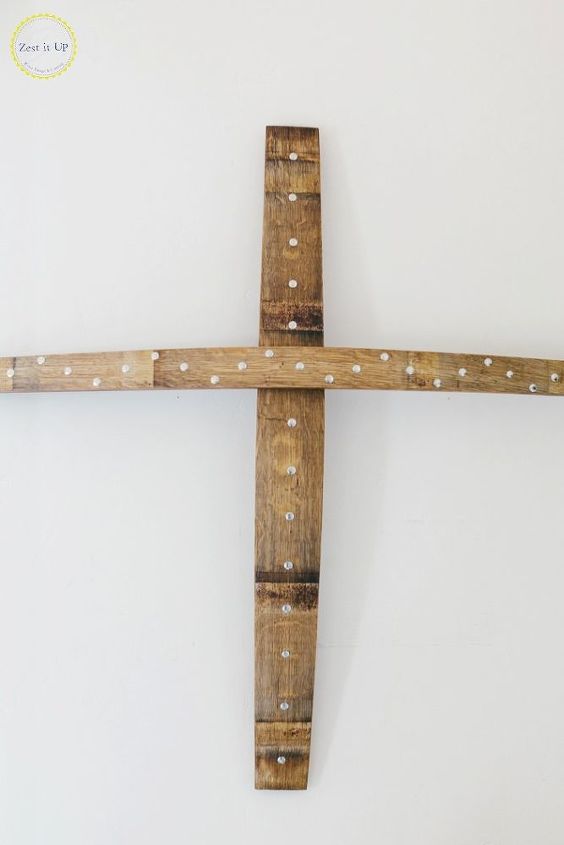
For an added touch, I decided to use some gold tacks. They kind of gave my cross a cool medieval or industrial type vibe. Bonus? They are so easy to hammer right into the wood!
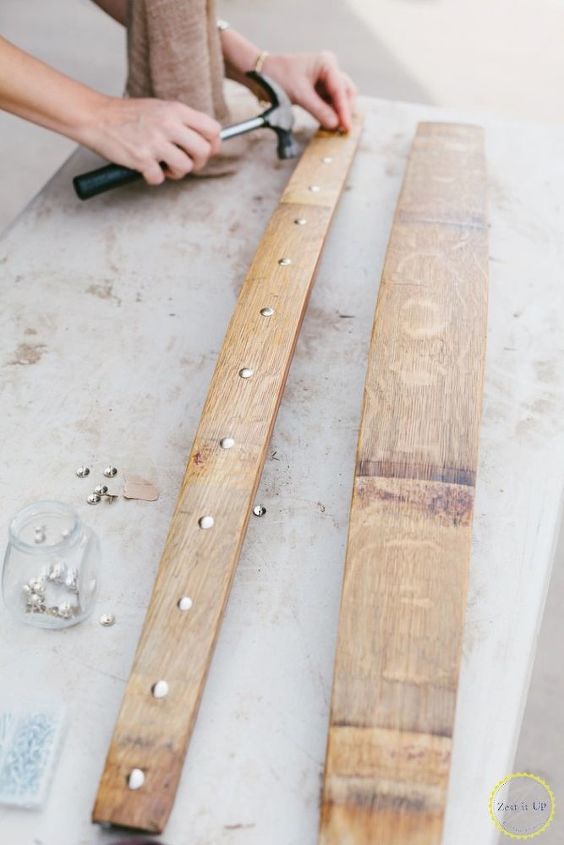
Feel free to play with the design you make with the tacks!
Can't wait to see this repurposed wine stave live it's new life as a home decor piece!
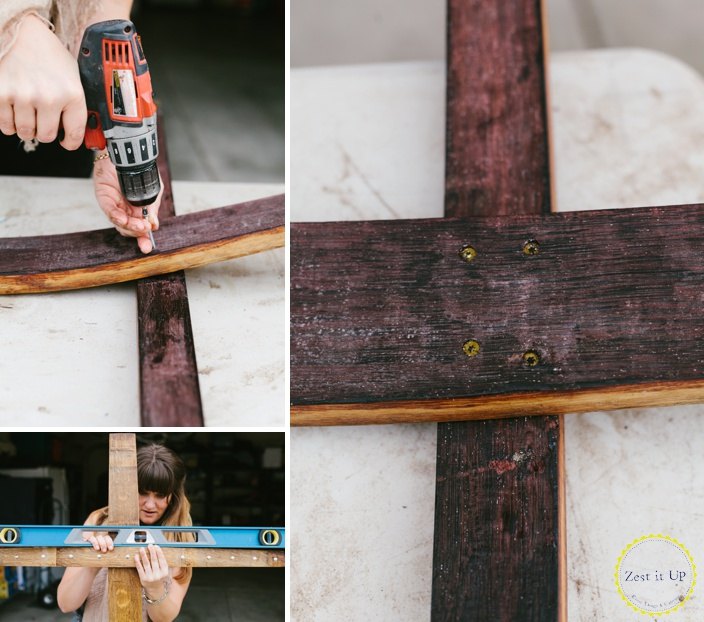
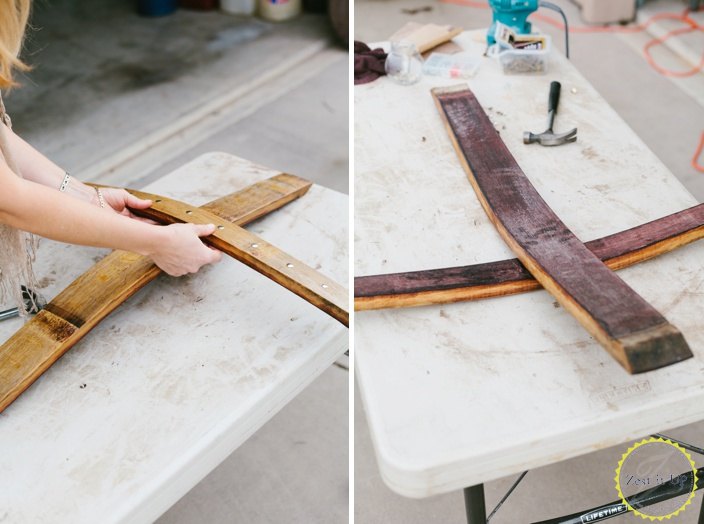
Making sure that the piece would be level, I simply used four wood screws to attach my cross from the back.
You could even put this on your front door for some unique door decor!
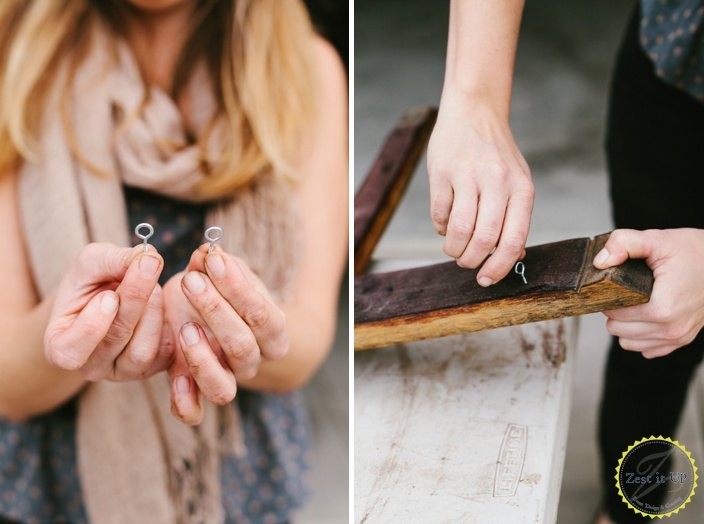
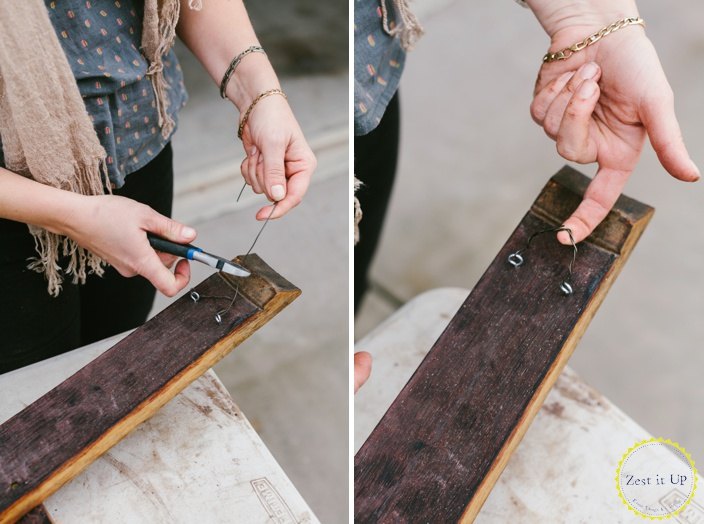
Using two eyelet screws and some picture wire, I created a hanger for my new cross.
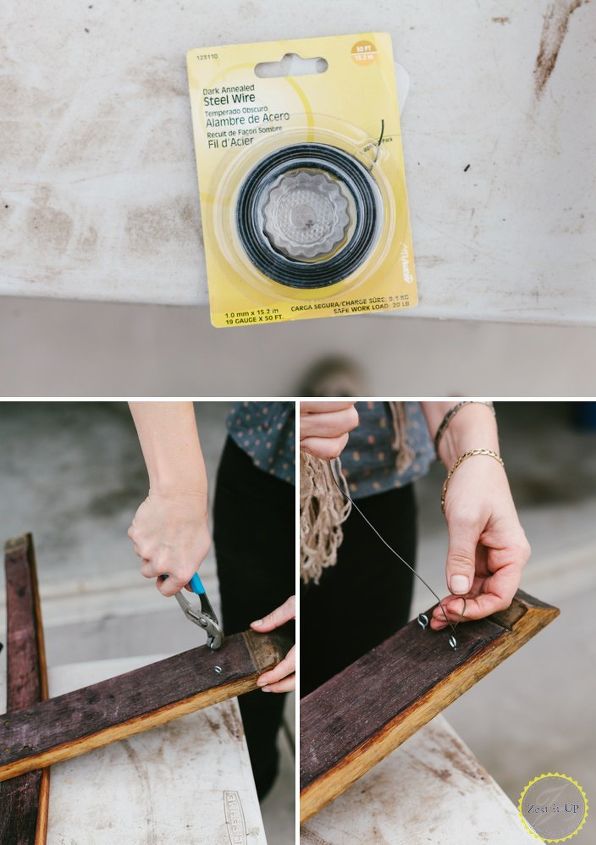
Just wrap that picture wire until you feel like there is a secure enough hanger.
The result was pretty snazzy!
Man! I love crafting something brand new out of stuff that we have just lying around! Happy crafting y’all!
xoxo
Chanda
Want more details about this and other DIY projects? Check out my blog post!
Comments
Join the conversation
2 of 9 comments
-
Lovely and for a bit of added depth you could tack a thin strip of lighter or darker leather down the center of each stave.
-
Love it, very nice!


Frequently asked questions
Have a question about this project?