


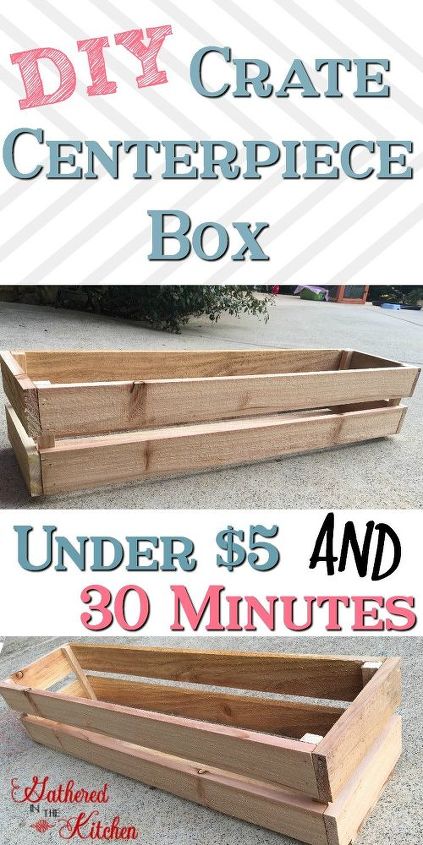
DIY Crate Centerpiece Box
$5
30 Minutes
Easy
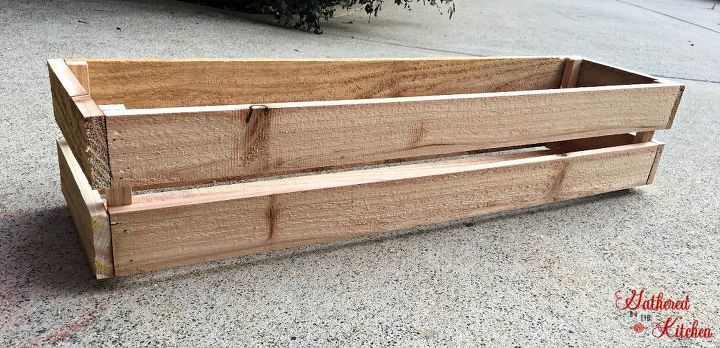
This DIY crate centerpiece box is super easy and takes just a few minutes to complete! Any beginner builder can tackle this project and feel proud of their design! The hardest part is figuring out what to decorate it with!
Supplies Needed:
Brad Nailer
Air Compressor
1/2″ Brad nails
Saw (or have your hardware store cut)
Cut List:
4 – 1×2 furring strips cut at 30″ long (this determines your length)
4 – 1×2 furring strips cut at 8″ long (this determines your width)
4 – 1X2 furring strips cut at 31″ long OR 1 – 1×8 pine board cut at 31″ long
4 1×1 pine boards cut at 6″ long (this determines your height)
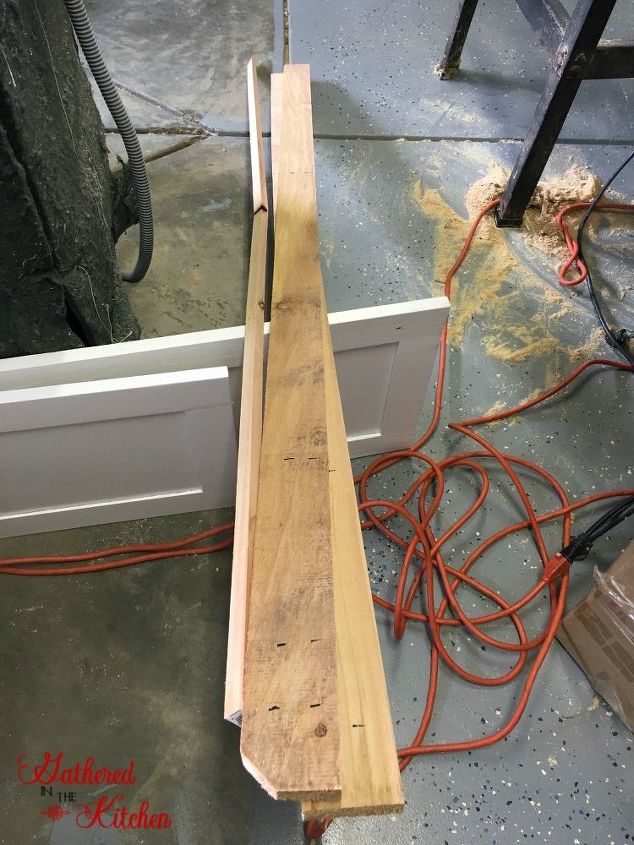
Start with cedar fence planks - mine were left over from a previous project
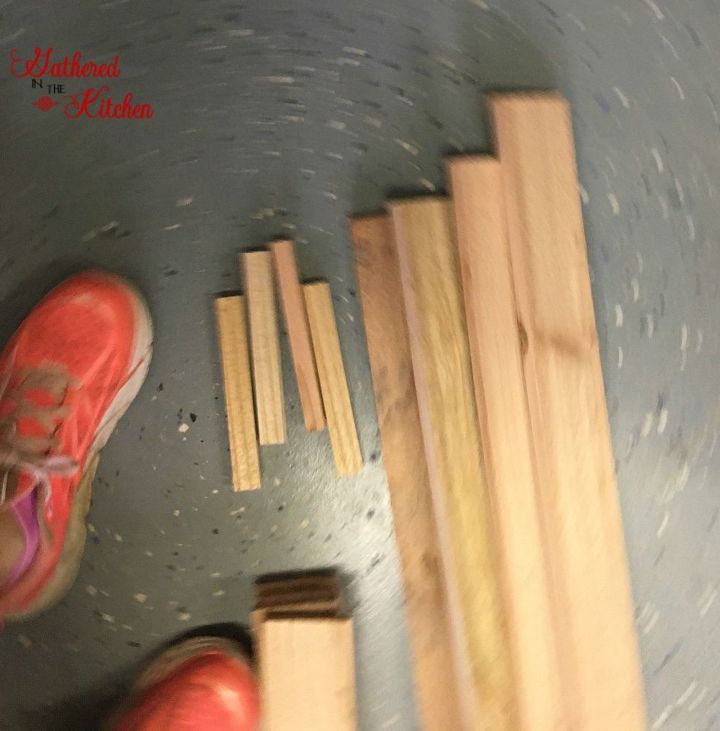
Cut your pieces to length
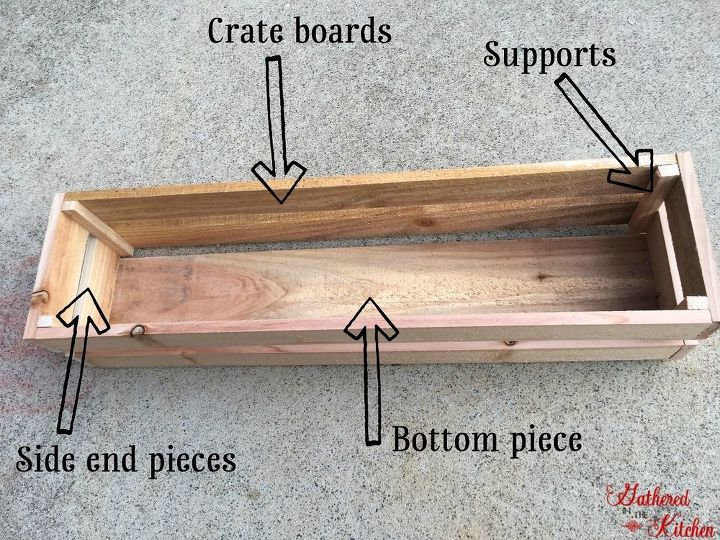
However, before I get started with the steps I made this graphic to help you understand my lingo below!
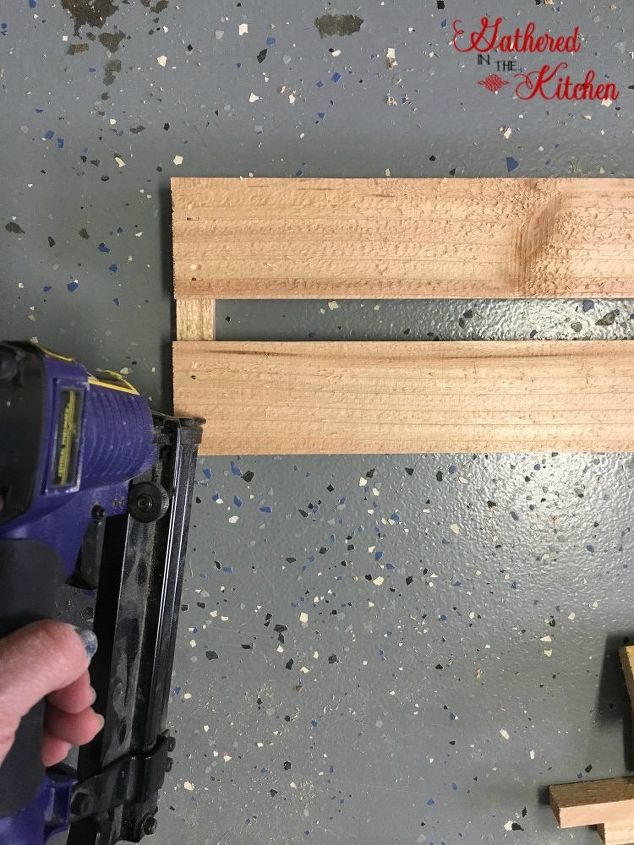
Place your support pieces vertically and lay your crate boards horizontally, making sure to line up your edges evenly. Using a brad nailer, air compressor and brad nails (be sure to use a length that will suit your wood size) nail the boards in place. **leave gaps in-between the boards to make it look like a crate!
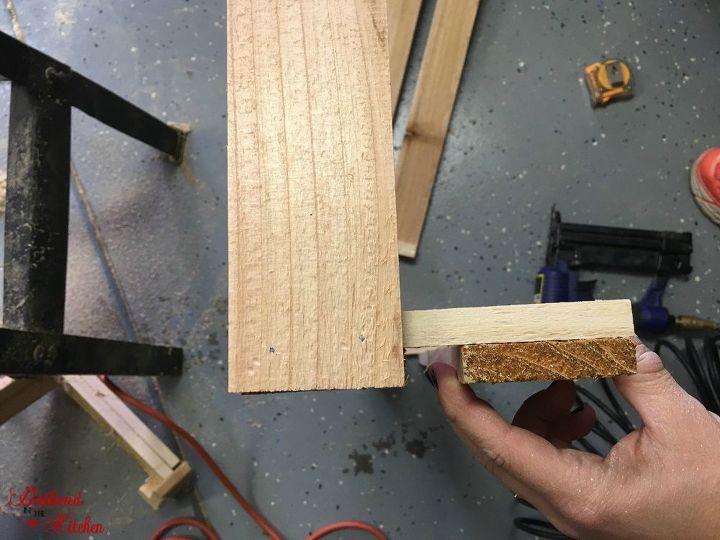
Repeat on the other end. Make two (2) of these as they will end up being the short (end) sides of your crate box.
Once both end sides are complete, lay your long crate boards (cut to the length you want for your crate box) and nail in place to the end pieces.
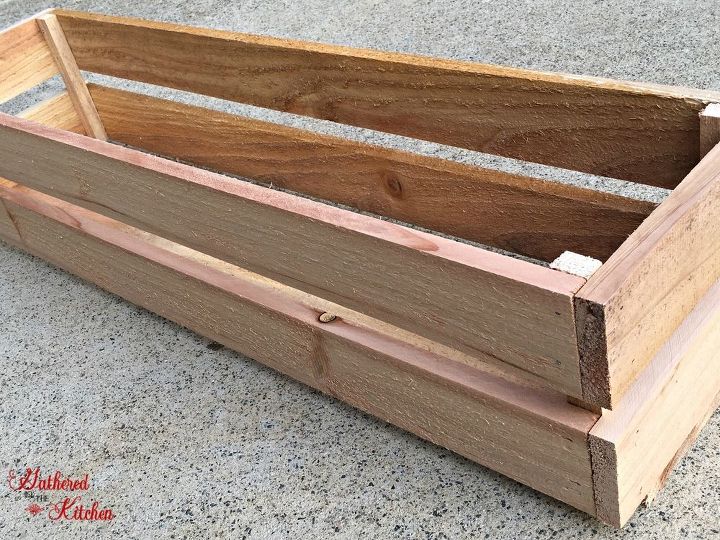
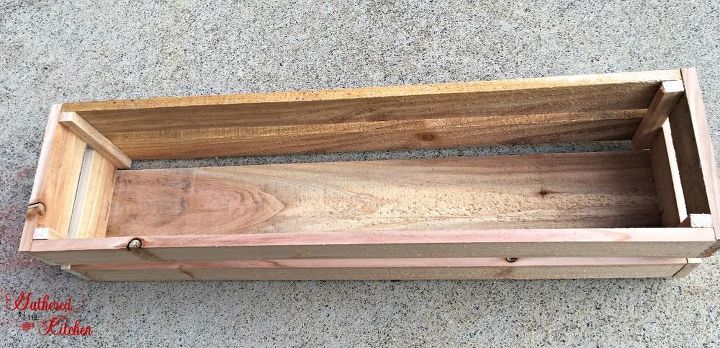
Once that is complete, your crate box will look like this. Then it is time to add your bottom piece.
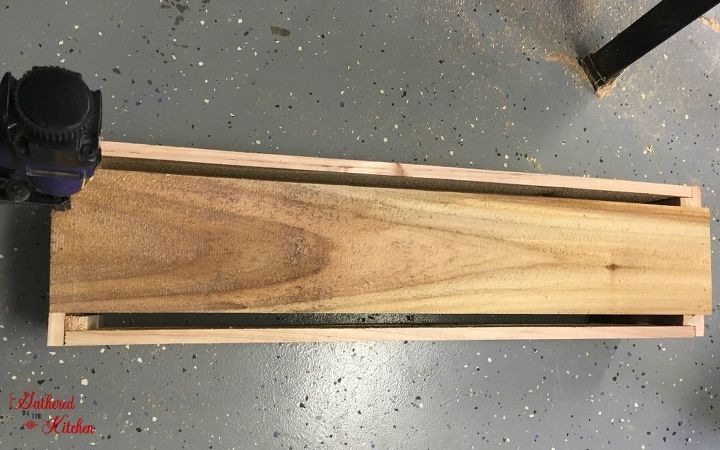
I made my width larger than the width of the boards so my bottom piece had gaps – this would be practical if you were to put live plants in this and needed a drainage system. Otherwise, I would not necessarily suggest this. Instead, make sure your bottom board is the width of your end side pieces.

Ta da! That's it!
Time to decorate!
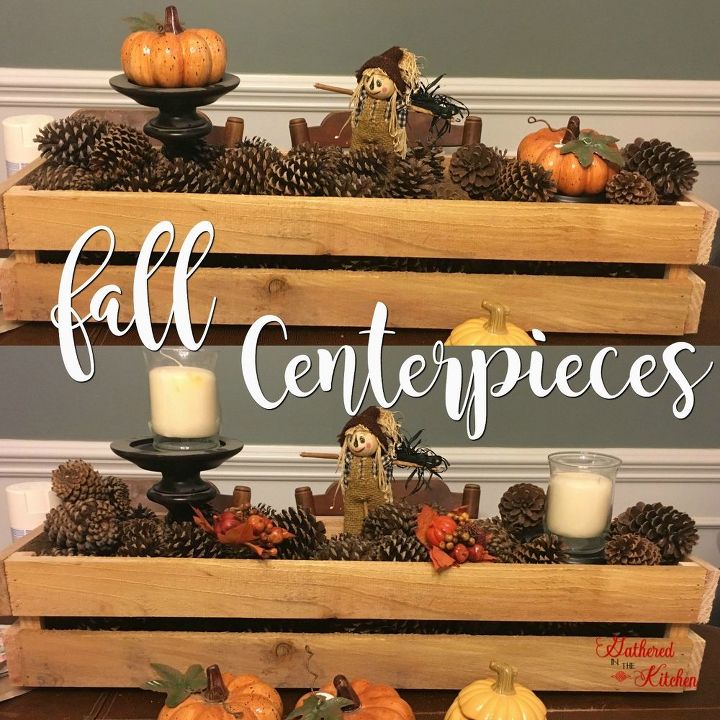
Since I made these during the fall, I filled them with fall decor and used them as a centerpiece on my dining room table.
PIN IT! And visit my blog for more great, easy, affordable tutorials!

Want more details about this and other DIY projects? Check out my blog post!
Comments
Join the conversation
1 comment
-
To complete the job, you need a good air compressor for Brad Nailer. learn more here


Frequently asked questions
Have a question about this project?
I notice you said to use 1/2 inch brads. If the furring strip is 1 inch thick. Then, how will a 1/2 inch Brad join it to the supports? Just learning. so would appreciate the help