


Meaningful and Custom Name Board
60 Minutes
Easy
Yesterday I shared with you about the ultimate trade I made with my personal trainer friend Erin. We are currently working on decorating her son’s room as part of the trade. Her and her husband created the planked and shelved wall like I made for Isaac’s room. It looks awesome, but it needed some color and custom art.
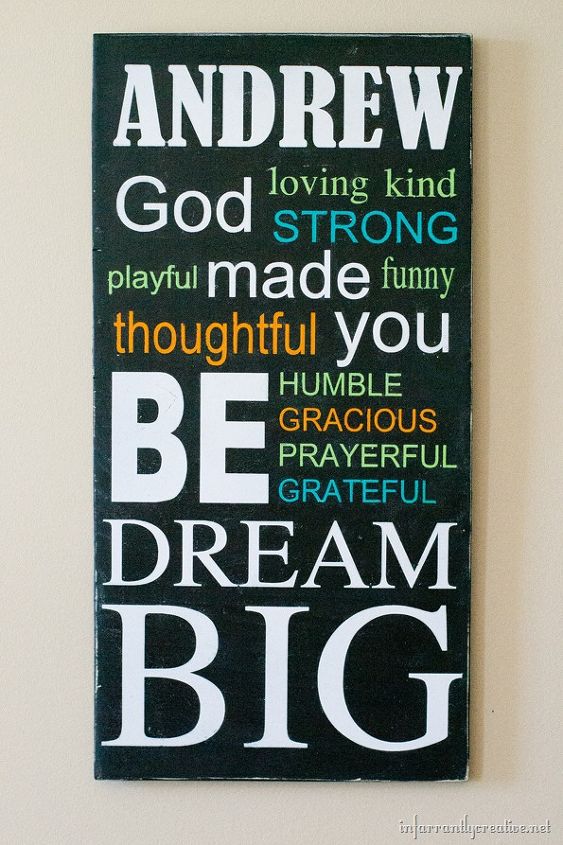
Erin wanted some meaningful art for her 7-year old son’s room, one that was encouraging but also empowering. So she came up with this idea and I designed it in the Silhouette Studio program..
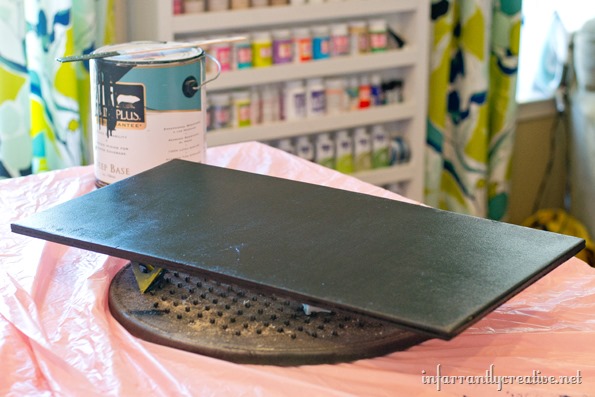
So the first thing we did was sand the board smooth and then painted it black. We used a foam roller to get good coverage.
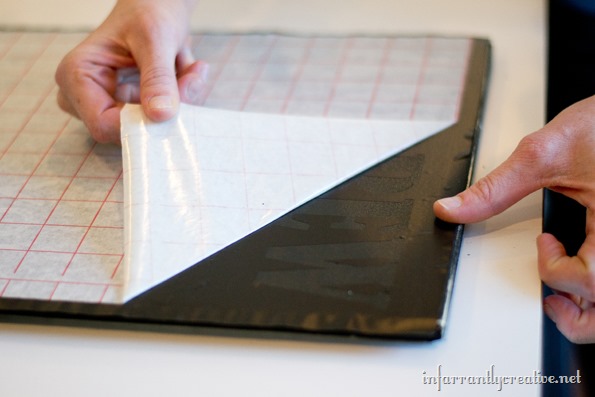
Then we transferred the contact paper stencil onto the board.
It is very important to press the bubbles out so that there is a tight seal on the board. This helps the paint to not seep through.
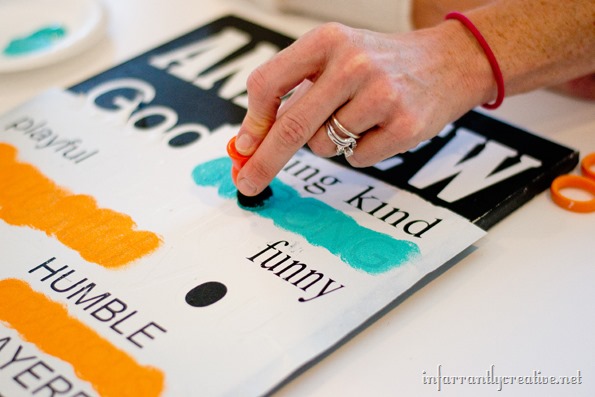
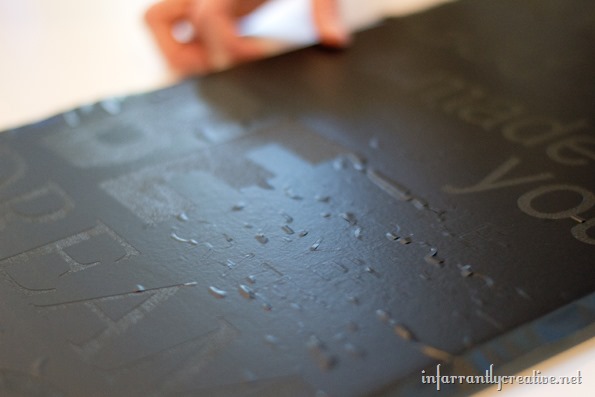
Next I moved onto the other colors using a pouncing sponge. I find using that is better than a brush because you don’t want to push paint under the vinyl/contact paper.

Want more details about this and other DIY projects? Check out my blog post!
Comments
Join the conversation
2 comments
-
I would like to start making signs with different sayings. What would be the best way to get the lettering to the board? Buy me a Silhouette Cameo machine, overhead projector (someone mention to me) or something easier or cheaper. Most of my stuff will just be sayings using letters? Thanks for your help
-
I love my Silhouette Cameo machine for doing lettering. I have never gone the projector route since it takes longer.


Frequently asked questions
Have a question about this project?