


Reversing the Trend: Switching From Chalkboard to Dry Erase.

7 Materials
$50
1 Week
Easy
As a long-time classroom teacher, I just can’t understand the trend toward chalkboard paint. In the classroom, where one needs to write constantly on the board for 6-7 periods a day, no one is fond of the chalk dust. I will admit that it’s cute for one-time use on labels. In the classroom, it becomes a real problem, getting into the tiniest crevice. It gets on your hands and clothes, and accumulates everywhere. This causes problems with our technology, as well as creating a place for dust mites, which causes many allergy problems. When you have a Promethean or Smart Board placed square in the middle of a chalkboard, it is really a problem. The dust can get into the delicate electronics and cause technological issues that are a nightmare.
This year, I was determined to stop the problems. I researched everywhere that I could find, and no one had ever turned their chalkboard into a dry erase board. There were ways to put cheap tile board over the existing chalkboard, but mine were magnetic, and I wanted to keep that feature. I knew that there was an epoxy paint that could deliver the desired finish, because I had seen it applied to an old, worn tile board in a classroom. I wanted to skip the step of hanging 4’ x 8’ sections of shiny white shower board on my walls. Unable to find anywhere that discussed the desired transformation, I then researched ways to seal the porous chalk board so that I could paint the dry erase paint over it.
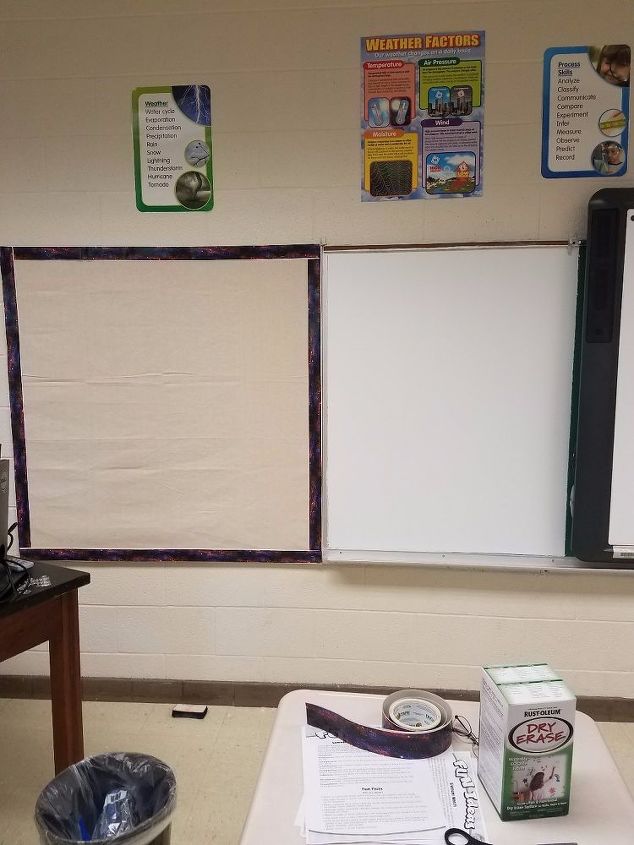
Porous surfaces like the chalkboard and sheetrock need to be sealed with a primer/sealer. I used the gripper primer/sealer by Glidden from Lowe’s to make sure that the epoxy would grip and provide a smooth surface for writing.
Armed with the information, I approached my supervisor for permission to paint the chalkboards in my room. Success!
The paint necessary for the conversion was an epoxy called Dry Erase paint by Rustoleum. It gave an awesome finish, which has really impressed the professional educators in the last few months.
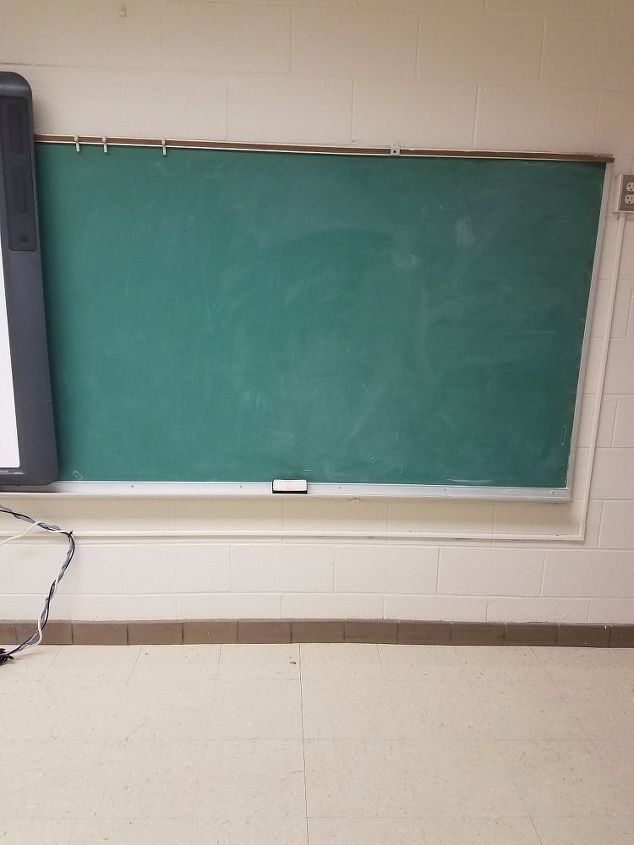
Dusty chalk board behind Promethean.
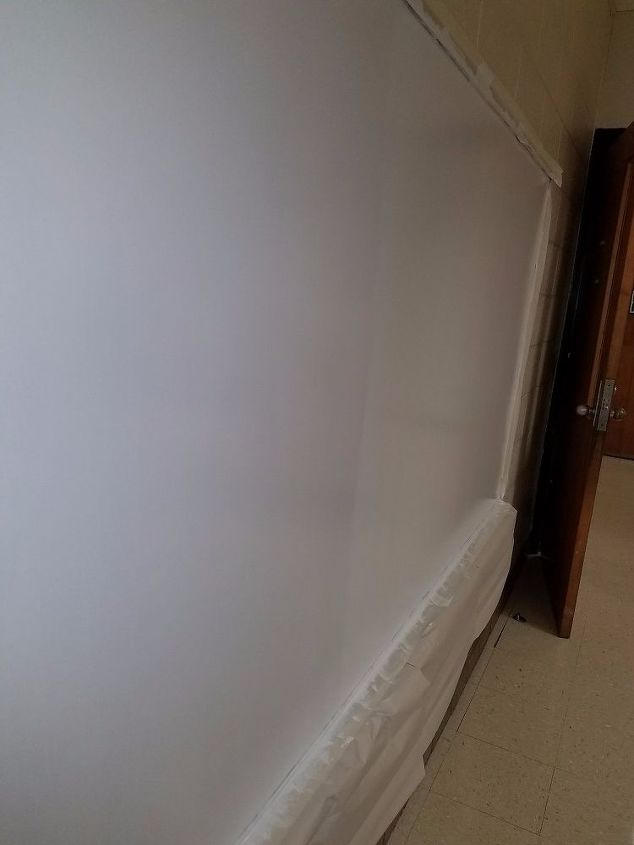
After getting permission, I masked off all the chalk boards really well. I was careful to cover everything that could accidentally get paint on it, like the floors, the electronics, tray, walls, and even the strip of cork board at the top of the board.
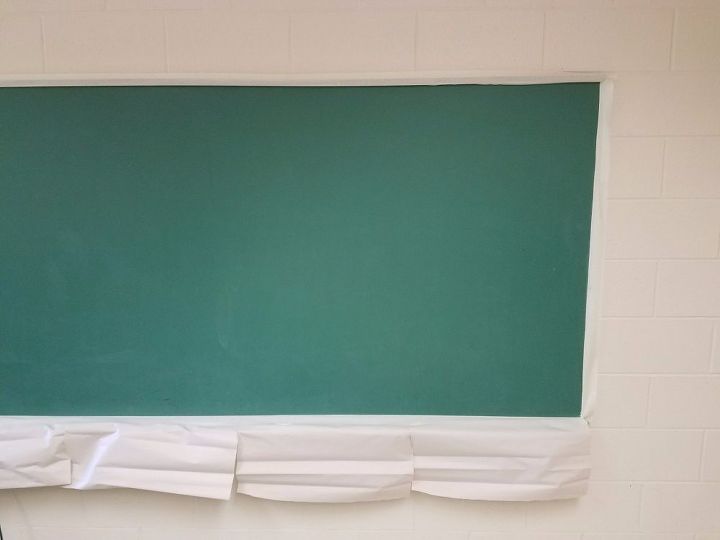
Cleaned the board really well with water.
Carefully washed the boards with water, no soap. Let dry well before attempting to prime the boards.
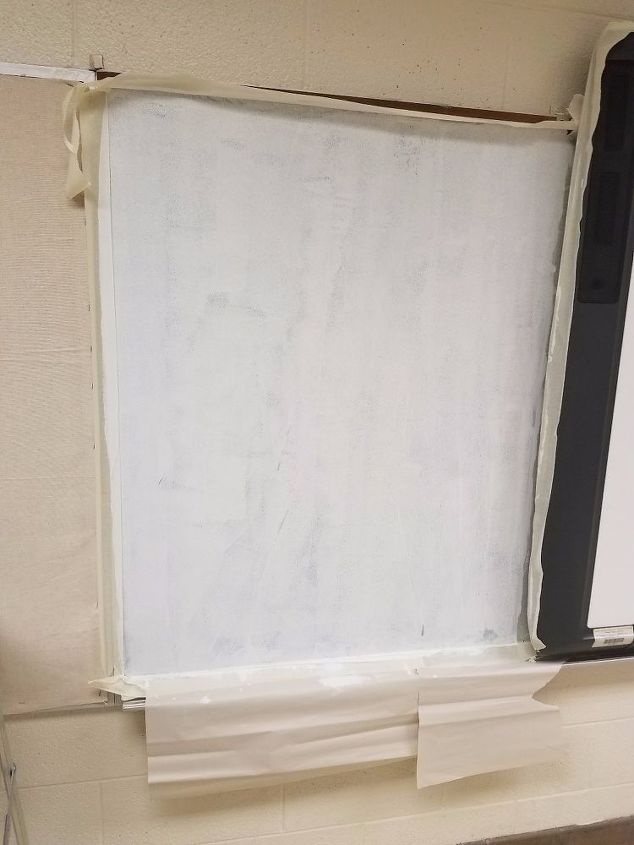
First coat of primer applied.
After masking off the boards and washing thoroughly, I carefully applied the gripper primer/sealer. It was streaky, so I decided to apply a second coat of primer. It was sealed by now, but I thought the Marker Board paint would dry clear, and the idea of looking at those streaks for the rest of the year really made me anxious. I was always taught that good prep work was the key to a good finish, and I'll show you later how right that is.
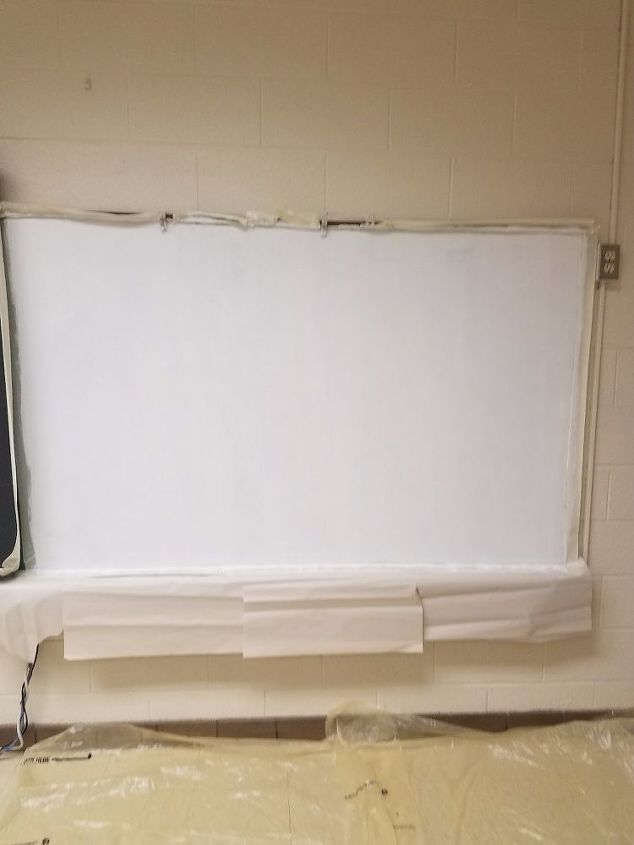
After the first coat of primer, which really only needed one hour to dry, I let it dry overnight. The available time each day in the building was limited. The next day, I rolled a second coat of primer over the first one. You can see the difference in the two pictures. This was a much better surface for the dry erase board.
First and second coats on side board.
Rustoleum Dry Erase Marker paint recommends that you apply 2-3 coats of the epoxy (after mixing the two parts and stirring well) within an hour of opening the can. I had two parts of the front board on each side of the Promethean and 16 feet of boards on the side of the room. I applied 3 coats of epoxy to the front and 2 coats to the long board on the side. You can see the difference between coats 1 and 2 on the side board in this picture. The can says that it covers 49 square feet, but that must be without primer and 3 coats on the surface. It covered all the boards extremely well.
Finished!
I pulled off all the paper and tape and cleaned up the classroom. It was time for class the following day. It's a good thing that we mainly cover policies and procedures in the first few days of school, because I was limited to writing on the Promethean until the dry erase had time to cure.
Awesome!
I had to let the board cure for 3 days, and then I was finally able to use it. This was such an improvement!
Comments
Join the conversation
5 of 10 comments
-
I was surprised you still had chalkboards, but Promethium. At least you didn't have blackboards. Of course, dry erase markers are more expensive than chalk, but there is such a difference in clarity. You did a superior job in following all the directions, and the results show it. Best wishes 😇
- See 1 previous
-
Great job! Love the tutorial! Looks wonderful! Have an amazing school year!


Frequently asked questions
Have a question about this project?