


Fall Grapevine Pumpkin Sign - No Power Tools Needed
5 Materials
$3
40 Minutes
Easy
We love all the beautiful Farmhouse-Style signs and decided to create our own. The great thing about this sign, is that no special tools or machines are needed, only your own creativity!
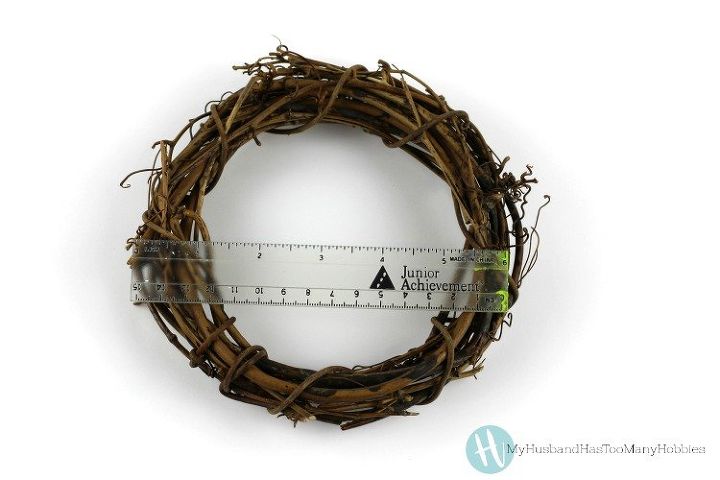
We started with a small 6 inch grapevine wreath. I believe I picked this one up at the dollar store last year. You can see the the wreath has a piece of grapevine wrapped around the outside to hold the whole thing together.
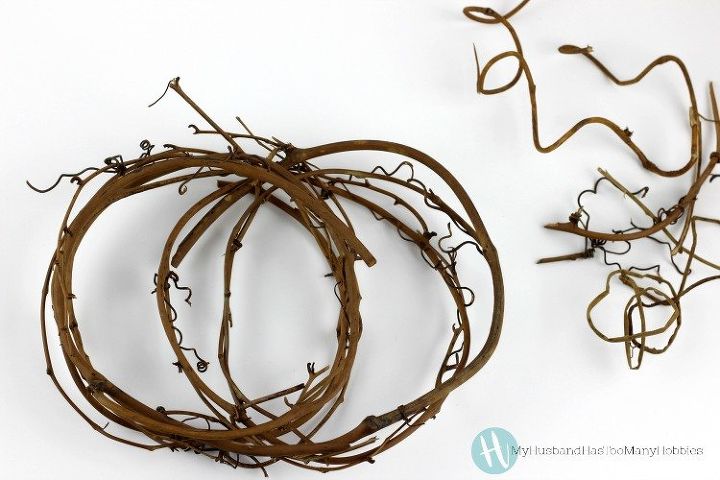
We simply cut and removed that piece of grapevine that was holding longer wound grapevine pieces together. Once it was removed, we just gently pulled the vines apart to form a pumpkin shape.

To make our sign, we used a picture frame that we already had. I think this one was purchased at Hobby Lobby. We cut a piece of white foam board to sit on top of the glass in this frame. Our foam board was a nice tight fit.
The great thing about making a sign this way is you can change out the foam board anytime you want and make signs for every season or whenever you want!
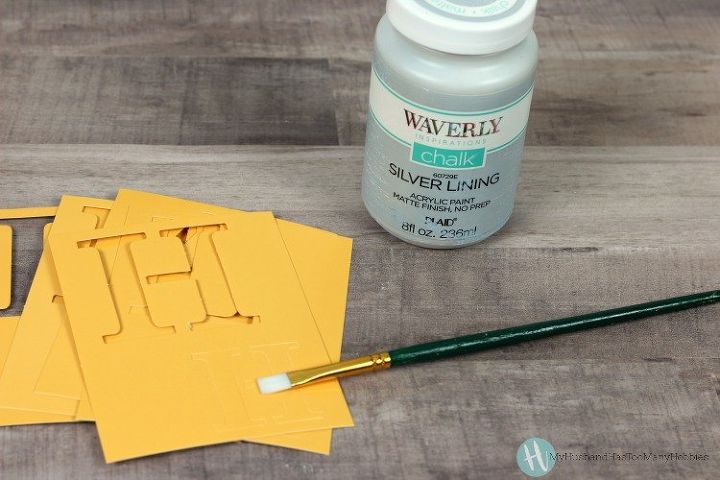
We created the words on our sign, the good old fashioned way, with simple letter templates (these were purchased at Wal-Mart). We used a pencil to trace the letters onto the whiteboard where we wanted them. Using a light gray chalk paint, we filled in the letters with paint.
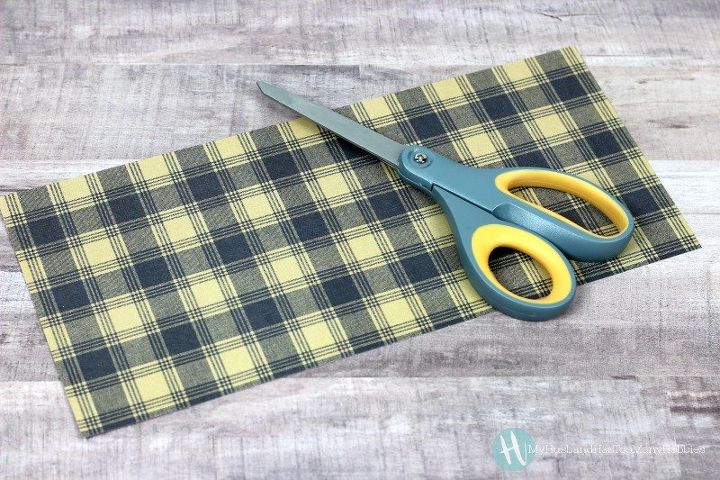
We used scrapbook paper for the leaf and cut a leaf shape out by hand.
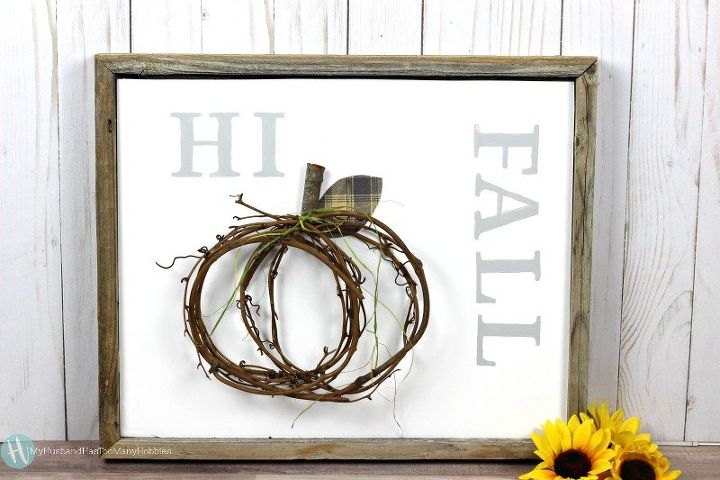
To put it all together, we used hot melt glue to attach the grapevine pumpkin. It only took a couple dots of glue to attach. We added a piece of a stick we found in the yard and hot glued it on for a stem. The leaf was added with another drop of glue. To finish it off we tied a green raffia ribbon to the top of the grapevine wreath.
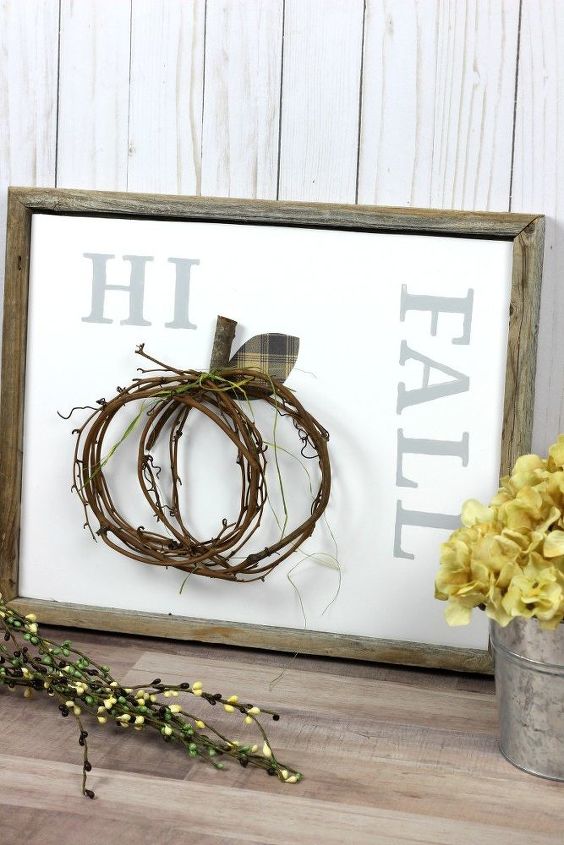
We love it! Looks great on the wall, on the mantel or part just about any fall display.
For more information on this project, stop by and visit us at the blog!

Want more details about this and other DIY projects? Check out my blog post!


Frequently asked questions
Have a question about this project?