Decoupage With Fall Leaves

by
Craft Invaders
(IC: blogger)
3 Materials
1 Hour
Easy
Fall is such a wonderful and inspiring time to craft. Here we find a way to decoupage with fall leaves allowing us to enjoy them all year round!
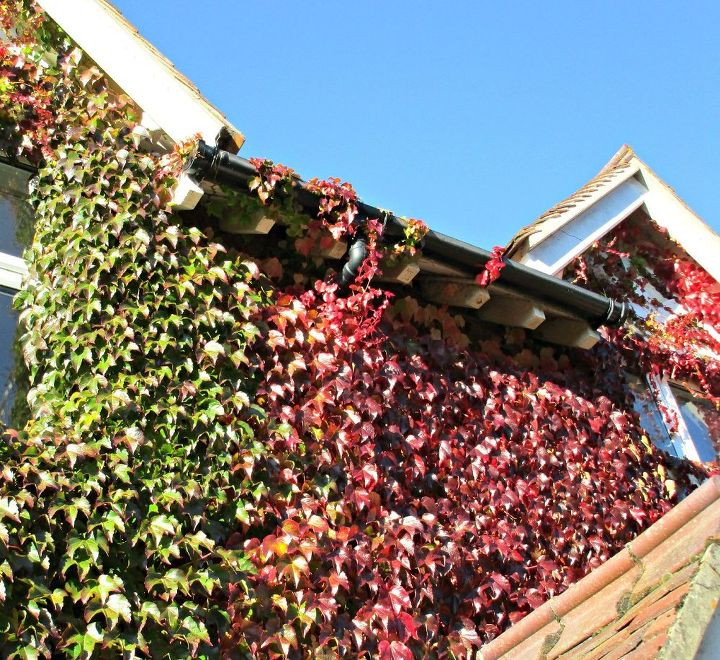
We have a beautiful Virginia Creeper that grows up the side of the house, and at this time of year, its leaves turn the most stunning Crimson. Although lovely, as you can see from the photos, it really is the most rampant of plants, and every couple of years Hubby asserts his authority over it. This weekend was the fateful weekend when it all came off.
The kids and I collected some of the smaller leaves up (we like to be helpful!) and decided we would try and decoupage with them. On close inspection, the leaves don't lie flat, but have a bit of a curl to them, so before we started we stuck them in the telephone directory, under a pile of books for a few hours to try and flatten them out - much in the same way as we did in Using Pressed Leaves to Decorate Candles. This time, however, we wanted our leaves to still be fresh, not dried, so we just left them overnight, which did the job nicely.
We decoupaged onto a Kraft notepad. Before we started, we painted a layer of slightly watered-down PVA glue (white school glue) to the blank cover and let it dry. Traditional decoupage is the art of decorating with cut out pieces of paper. The finished artwork is then covered with many layers of varnish, giving a beautiful glossy effect. There are many different decoupage paper and glue products on the market, but for our crafting adventures, we have always had great results with scraps of paper we already have around the house, and plain old PVA glue.
Working a patch at a time, we applied a generous layer of the slightly thinned glue, applied our leaf, and immediately coated the top surface again with glue.
We continued working like this until we had covered the whole cover of the notepad. We then put it to one side to dry.
Once the glue was completely dry we painted over another layer of glue. Our finished notepad has had two extra coats of glue on it, and the surface feels nice and robust.
The finish on the leaves is almost leathery once the glue has completely dried and preserved the leaves so well that the notebook looked much the same some months later. Over time the leaves darkened a little, and the notebook is still in use almost two years later.
Enjoyed the project?
Suggested materials:
- Fall leaves (Garden)
- Plain Notebook (Home)
- White PVA Glue (Home)

Want more details about this and other DIY projects? Check out my blog post!
Published September 17th, 2017 11:23 AM









Frequently asked questions
Have a question about this project?