


How To Install 3/4 Round Moulding
$13
1-2 Hour
Medium
Recently we underwent a major renovation in my house. When all was said and done, the floors in the upstairs bedroom just didn't mesh with the walls anymore! So, rather than spend a fortune on new flooring, I just spent $13 and installed some decorative moulding to the existing woodwork. For the full, in-depth tutorial, visit my blog!

The gap between the wall and floor...
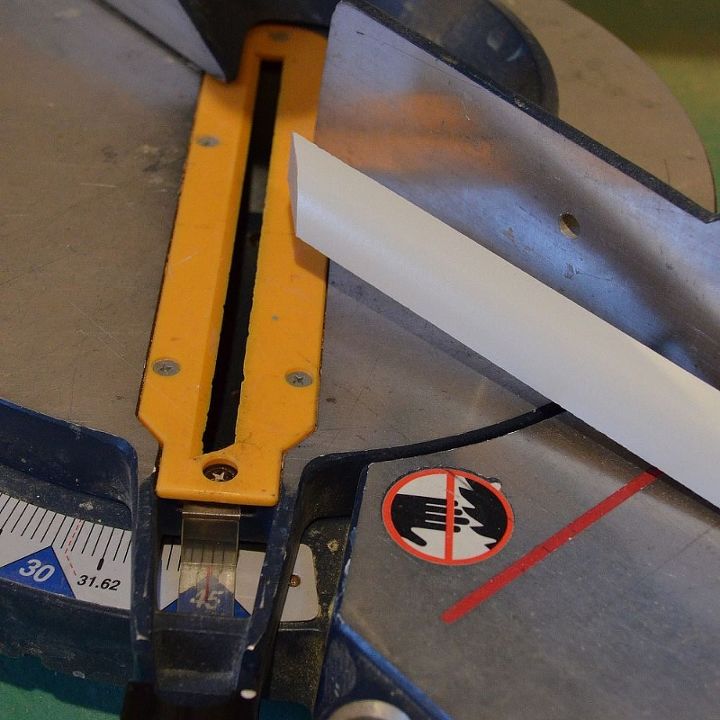
Measure and cut your pieces of moulding. For angled cuts, adjust the saw to 45 degree angles (opposite angles for pieces that meet in the corner).
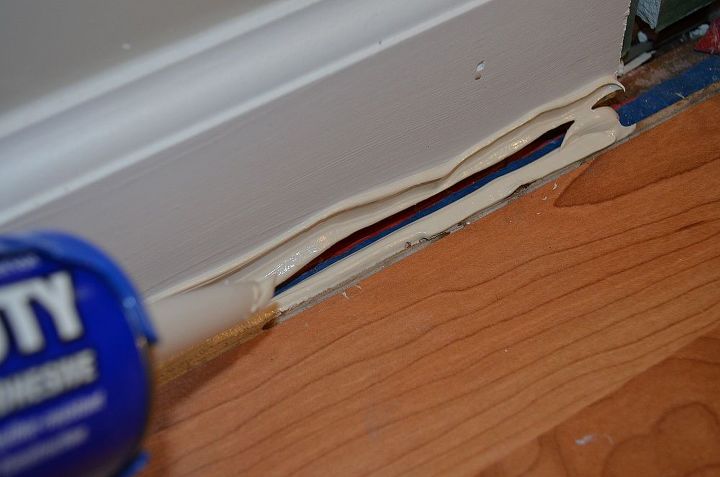
Use Liquid Nails or regular nails to attach the moulding to the existing boards.
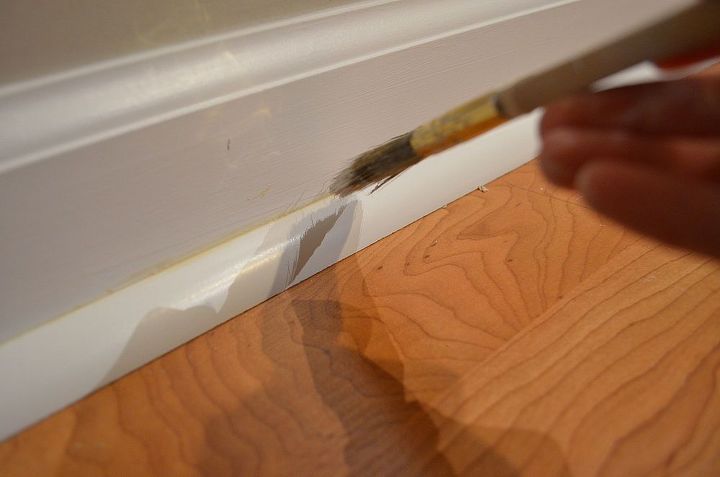
Paint the mouldings to match.
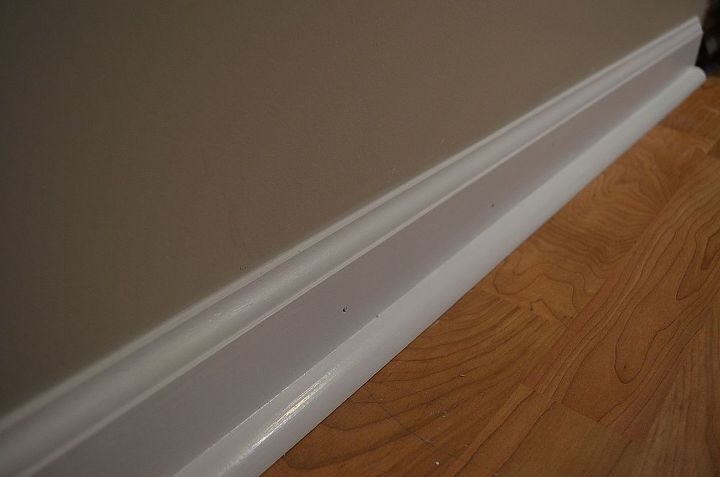
The finished product!
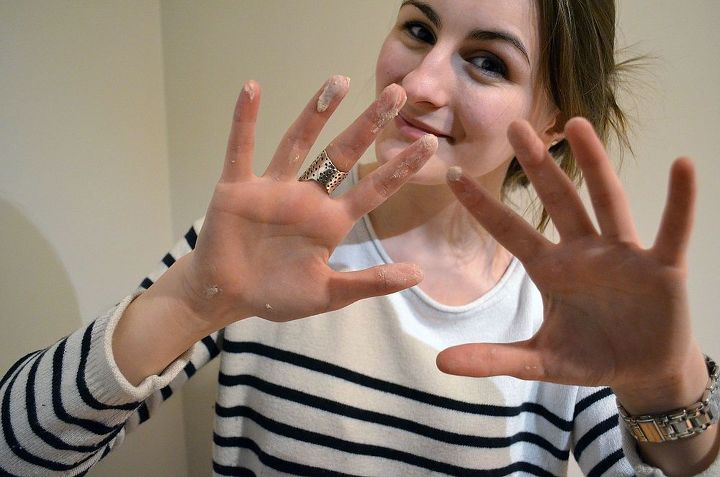
Have fun with the project, it's a little messy!

Want more details about this and other DIY projects? Check out my blog post!
Comments
Join the conversation
2 of 6 comments
-
When you price it out, you will find that it is much more expensive than the raw wood kind, but it is 'finished' and ready to nail in place. By the time you get flooring down, you are willing to pay the price!
-
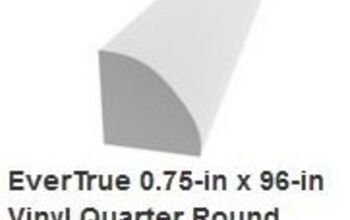
Have always loved the look with that extra piece of molding added. It looks finished & professional. But, you've stumped me. I thought that was called Quarter Round moulding in that is only covers 90 degrees, i.e. a quarter of a circle.


Frequently asked questions
Have a question about this project?