


Make Your Own Copper Brackets for a Wash Cloth Hanger.

8 Materials
$20
1 Hour
Medium
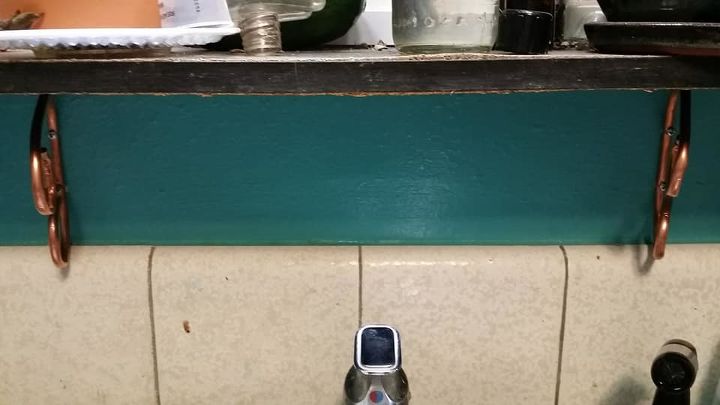
We got a couple of puppies a few months ago and they kept snagging my wash cloths that I would put on the oven door handle to dry before they went in the kitchen laundry bucket. They then proceeded to chew them up. So I needed an alternative. A few weeks ago my dad gave me a bunch of copper pipe scraps so I got an idea.
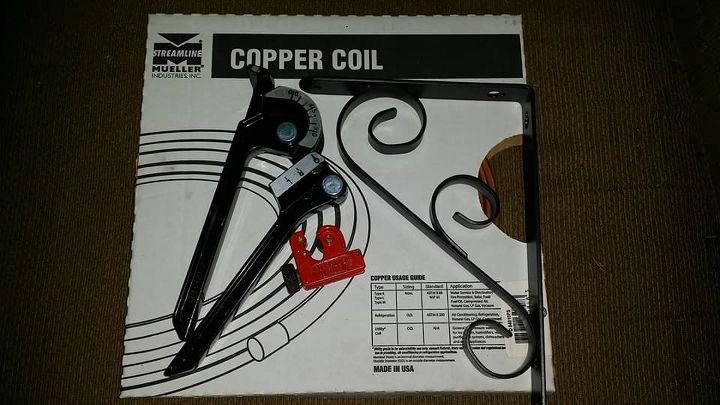
Gather the supplies. I bought a $12 tubing bender. I already had the tubing cutter and the copper coil is leftovers from connecting the old fridge water line. The bracket is for another project. I just used it as a guide. Not pictured is the copper rod and the end caps.
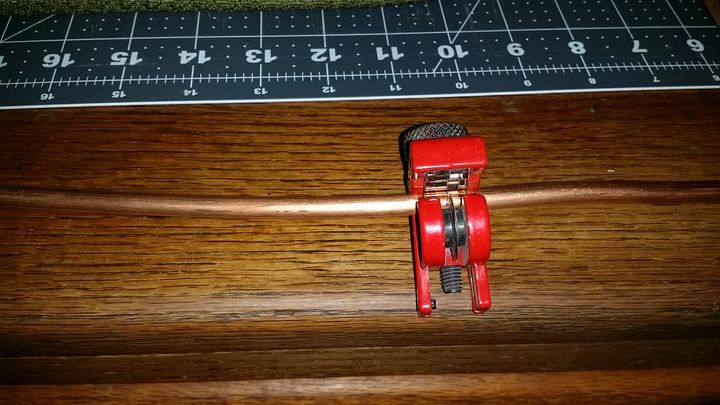
Step one: cut your copper tubing to the desired length. I rough estimated using the bracket that is for another project. This part is a little tougher than you might imagine. It took me a good 5 minutes of twirling that thing to get it to cut through. I don't know it it was dull or if I am just getting old. The idea is put it on the pipe in the area you want cut and tighten the wheel so it makes contact with the pipe/tubing. This cuts I believe 1/4" to 3/4" it might be as much as one inch but I never tried anything that big. After twirling it around a bit tighten it again and twirl some more. Keep doing that until it cuts through.

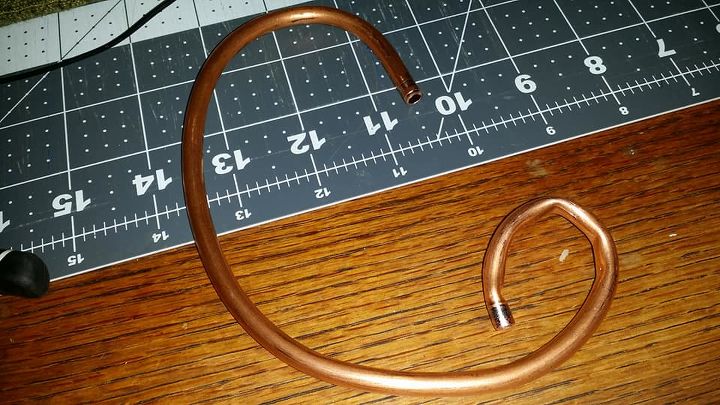
Next up get the tubing bender this one bends 3 sizes, it has a channel in it for each size. The smallest it will do is 1/4" which is what I had. It will also do 5/16 and 3/8. This part was fairly easy and I would have been done but, I needed a tighter curl. Off to go find some pliers.
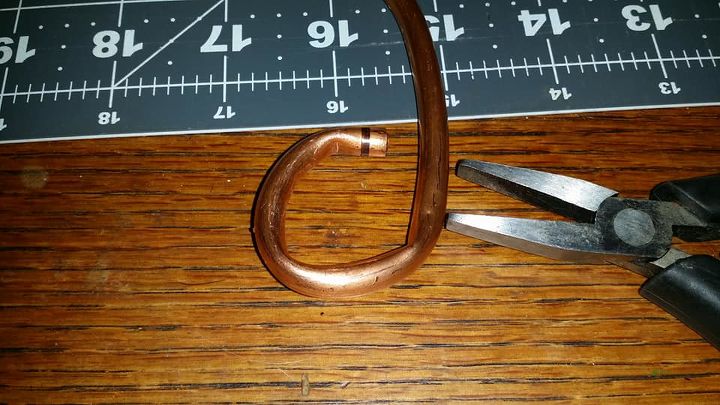
With pliers I got a tighter curl but it isn't very pretty. Turns out in the end you really don't see it so I'm not too worried about it. And, in my opinion it isn't too bad for a first attempt at something. I always read these things out loud to my Hunny to be sure it sounds right. He said fill the pipe with water and freeze it and then when you bend it you won't get that kink in it like I got. Personally this was tough enough to bend as is, so I don't know if I could have done it frozen.
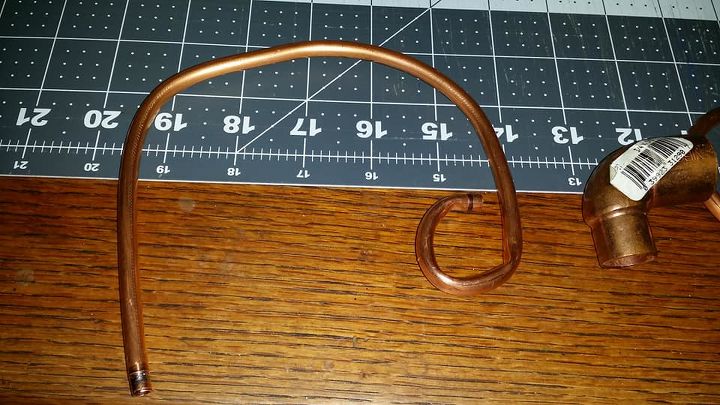
Now on to the other end, yes I wanted a curl there too. I just put the bender where I thought it needed to go. The spot where this is going isn't very big. I couldn't find a bracket small enough and that is why I am making my own.
Just keep moving and bending and periodically go see if it fits in the space where you need it to go.
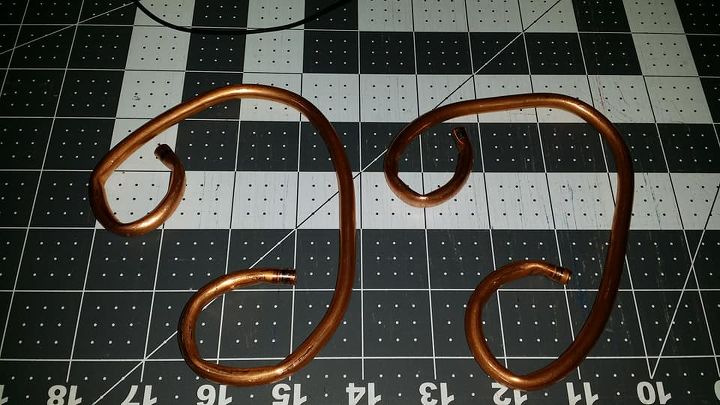
Got one done moved on to the second. This was as close to the same as I could get. It's going over the sink and under a shelf... Plus 90% of the time it will have a wash cloth hanging from it. This could also be done as a paper towel or cloth towel holder, just not over the sink.
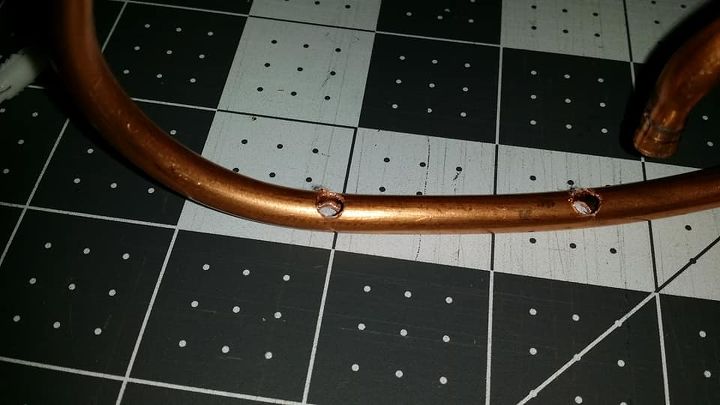
Now I need some holes in it to attach it to the wall. I got out the metal drilling drill bits. And it wasn't as easy as I thought it would be. That small of a round surface, the bit kept slipping off. I applied a little more pressure and finally got it through. I did this on a block of wood in the house, it was just too hot to go outside. I had to vacuum the carpet very thoroughly those metal shavings are nothing to mess with.

Hold the bracket up to the wall and with a sharp tipped pencil make a mark through the screw holes.
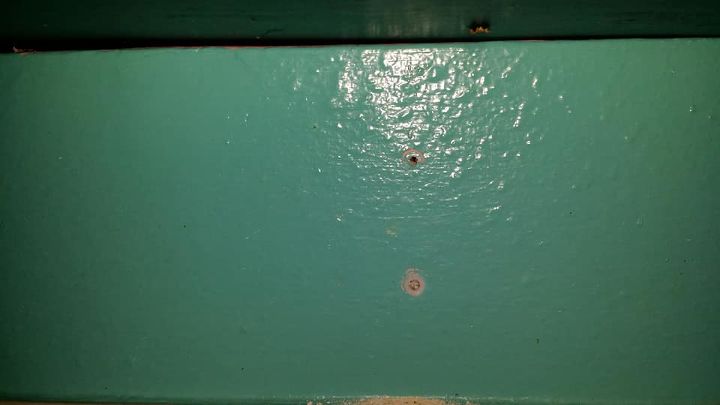
Use a smaller drill bit than you need. This was in a window and I was pretty sure there was a stud in there somewhere. The top had the stud the bottom did not. So the top I left as a tiny hole the bottom I got the proper sized bit and made the hole bigger and inserted an anchor.
Repeat with the other bracket at a distance that looks good under your window.
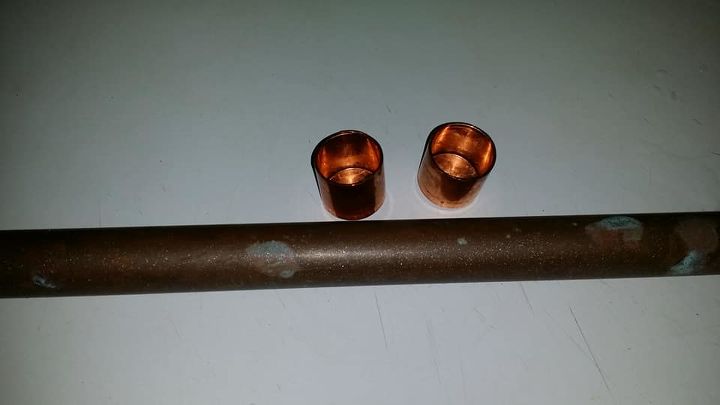
This is my old copper pipe from my dad. It happened to be a good enough size to fit under my window so I didn't have to cut it. I popped a cap on one end and threaded it through my brackets and popped the cap on the other end. I don't think this is 100% necessary but I'm a Klutz and just new I'd bang or scrape my hand on the cut end. I also imagined it would make a nice spider home and I definitely didn't want that. The weather is changing and I have more than enough freeloading bugs sneaking in my house looking for a warm place to winter.
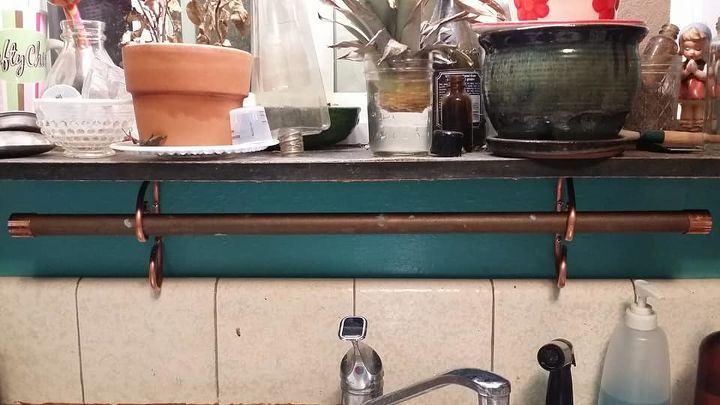
And here is the finished drying rack. At first it was crooked but the copper bends fairly easily and I was able to straighten it with minimal effort. Please excuse the messy window. That will be another project soon I hope.
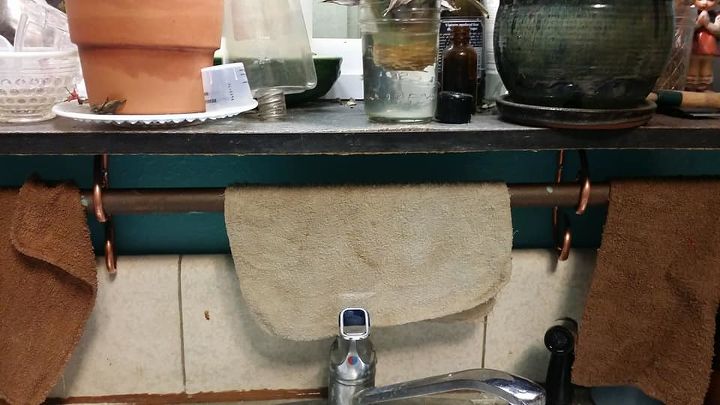
And here I have a few cloths drying on the "Line"
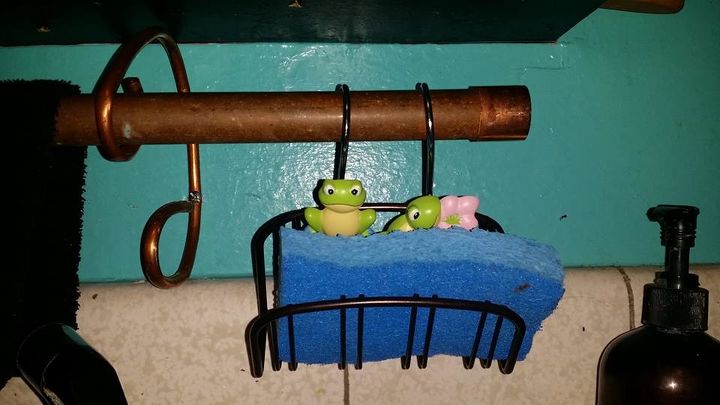
And lastly, while shopping at Burlington I found this sponge holder for like $2. It had suction cups on it. I popped those off and I didn't have any S hooks big enough but I did have some shower curtain hooks that didn't do a very good job of holding up the shower curtain and they seem to work perfect for this.
We want to help you DIY, so some of the materials in this post are linked to sellers. Just so you know, Hometalk may collect a small share of sales from the links on this page.
Comments
Join the conversation
2 comments
-
Brilliant, and they look beautiful!


Frequently asked questions
Have a question about this project?