


How to Make a LAMP - Out of TEA CUPS!
by
Nikki Boyd
6 Materials
$30
1 Hour
Medium
Sometimes, it takes thinking out of the box to DIY a unique home decor item. Here is what I made with Tea cups.
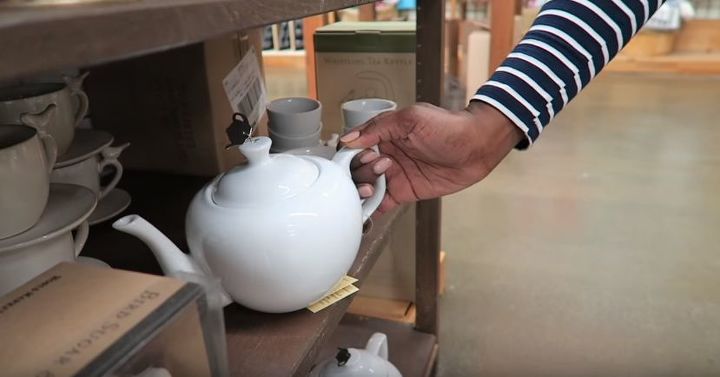
Hi friends it's Nikki here to show you a tutorial of how to make a lamp out of tea cups. The first thing you want to do is shop for the project's items. If you want gorgeous white dishes for your lamp or if you prefer a more colorful option just go explore in your local stores for your taste. I love shopping for white dishes! Just make sure that they will stack on one another and balance properly. You also want to buy some other supplies. Pick up e6000 glue so we can adhere the pieces to each other. Also grab a diamond drill bit so we can drill holes in to the porcelain which you will see shortly. Also head over to Home Depot or Lowe's to purchase a lamp kit. Your local hardware store should also carry it. Lastly, get a lampshade to add. Lastly, you will need a piece to rest the lampshade on. I found a stunning linen shade which I am very excited about. Take out your drill as well and it's time to get rolling.
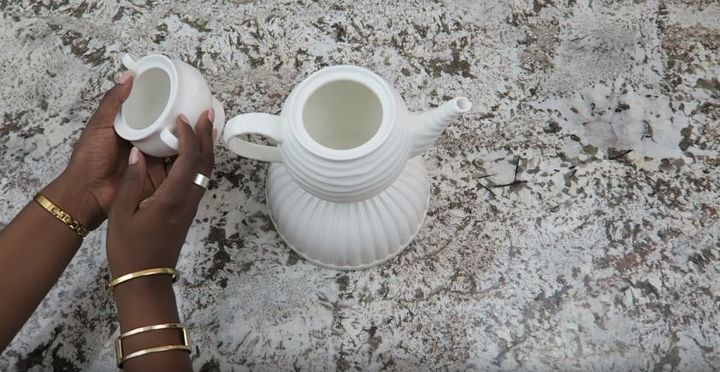
I wanted to first arrange my tea cup pieces on top of one another to kind of create the design that I liked. I found a design that I really liked so it was time to begin the process of attaching them.
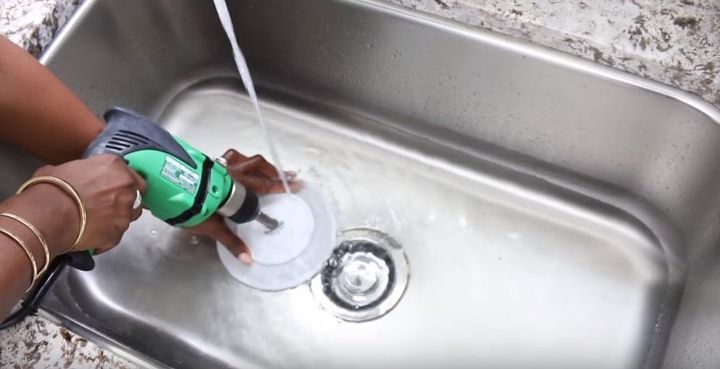
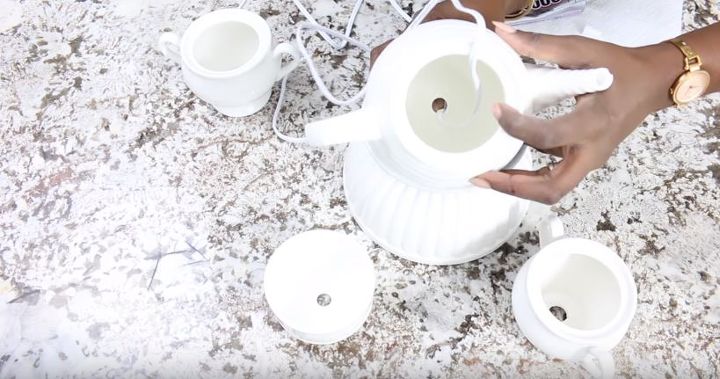
Now it is on to the most difficult part of this DIY. We need to drill a hole in the center of the tea cup pieces for teh wiring of the lamp to go through. Don't be intimidated though! It's a good idea to drill under the water of your sink. Have the water running over your piece and be real careful when using the drill. Do not place the actual drill under the running water, only the drill bit. Notice how I begin hitting the surface at an angle and then straighten the drill. Remember to allow the drill to do the work! Watch it create a perfect hole in the center.
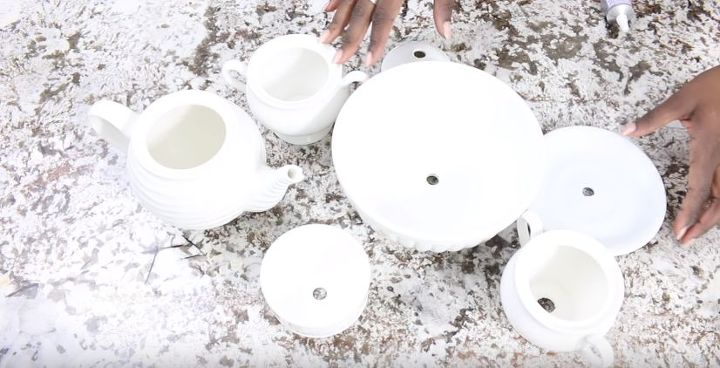
Repeat this process for each piece you picked up from the store as we will be sending the wire from the bottom all the way through the top. Take your time!
Now that all the pieces have a hole in their center it is time to assemble them all together. First though, send the wire of the lamp through the holes starting from the piece you choose to place at the bottom and carefully work your way up. After the wire is through the first piece, use the glue around its lip and then send the wire through the next piece and push them together against the glue. Keep repeating this process all of the way up your design!
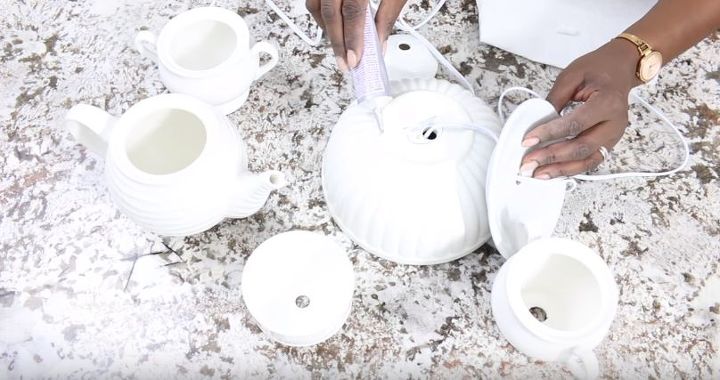
So fun to see it start coming all together!

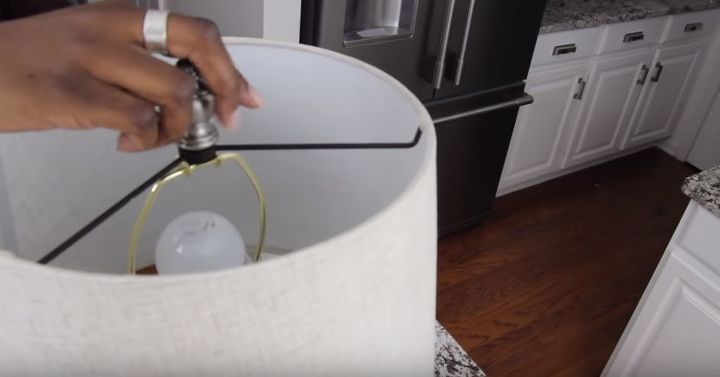
Follow the instructions on the light kit to attach the bulb and make sure to test that the bulb lights up before you connect it. Then finally, attach the linen shade and tie the knob to secure it to the lamp!
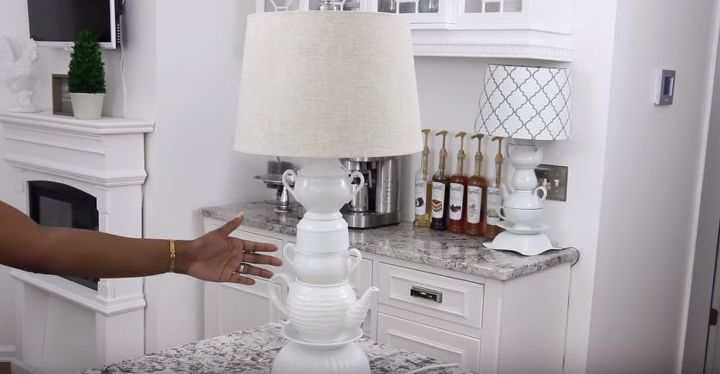
Here I have my final piece, a beautiful teacup lamp!
Visit my website at
{
"id": "4296775",
"alt": "",
"title": "",
"video_link": "https://www.youtube.com/embed/8GnIx1eiNfY",
"youtube_video_id": "8GnIx1eiNfY"
}
{
"width": 634,
"height": 357,
"showRelated": true
}
Resources for this project:
See all materials


Any price and availability information displayed on [relevant Amazon Site(s), as applicable] at the time of purchase will apply to the purchase of this product.
Hometalk may collect a small share of sales from the links on this page.More info
Comments
Join the conversation
2 of 123 comments
-
Absolutely LOVE this. Can’t wait to give it a try. Thanks for sharing!
-
Really neat idea! Love it!


Frequently asked questions
Have a question about this project?
Would the drilling process be the same with lead crystal?
How is the harp attached? Did you make space for the cord under the lamp? Very pretty.
Absolutely scared when I see the electrical cord on the drill and running water! How about using a cordless battery drill for SAFETY?