


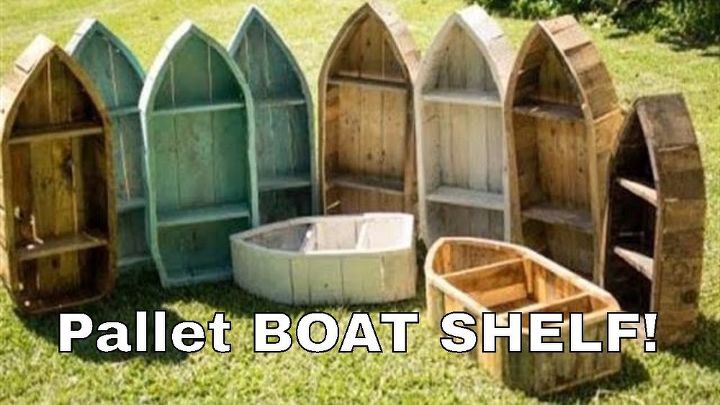
Boat Shelf From Reclaimed Pallet Wood

2 Materials
$10
45 Minutes
Easy
In this tutorial I will teach you how to make a simple and very (very) rustic boat shelf from reclaimed pallet wood. Be sure to pick out some decent pallets and have a sharp saw blade!
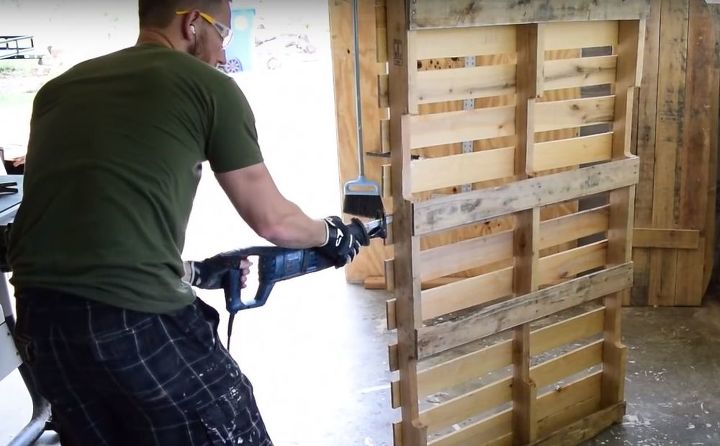
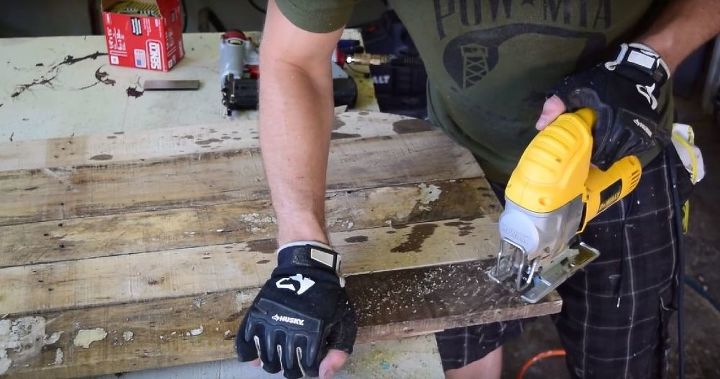
Start by finding a decent pallet! Make sure they aren't used for chemical transportation or any other bad materials. They come in a variety of woods like oak, cedar, pine and many more species. I like to use a reciprocating saw to cut the nails with a wood and nail blade. It makes life a whole lot easier than hammering out nails.
After you cut all the slats, cut a couple dozen down to around 6 to 9 inches. These will be for the sides of the boat shelf.
Gather some of the long boards you cut together and make a backing, using cut pieces as brackets to hold everything together.
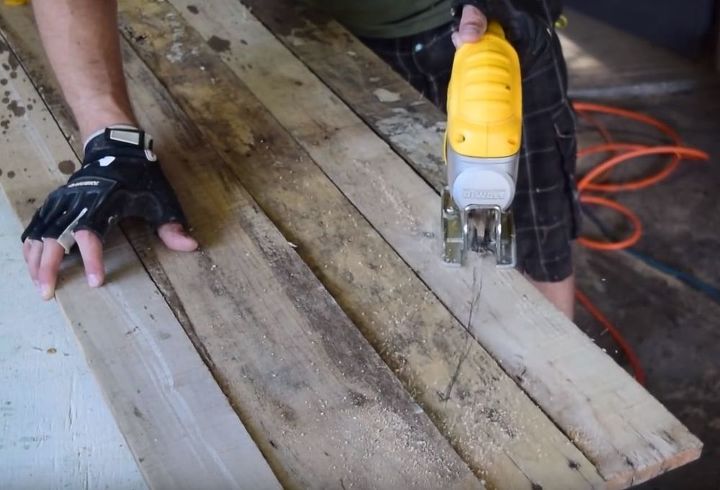
I free hand a curved line towards the center of the boards, starting at least half way up the boards on the side and cutting towards the middle.
Cutting small curves near the bottom of the boat shelf.
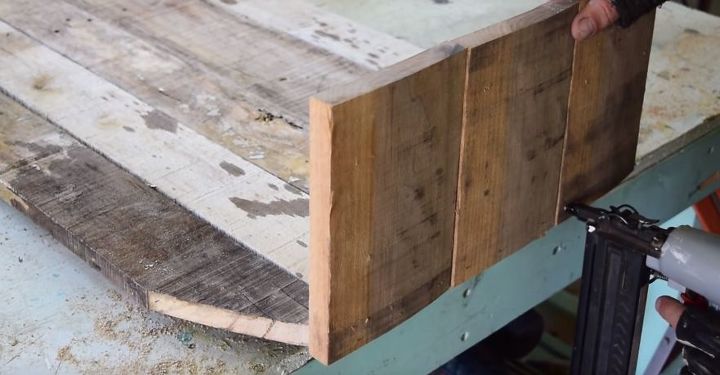
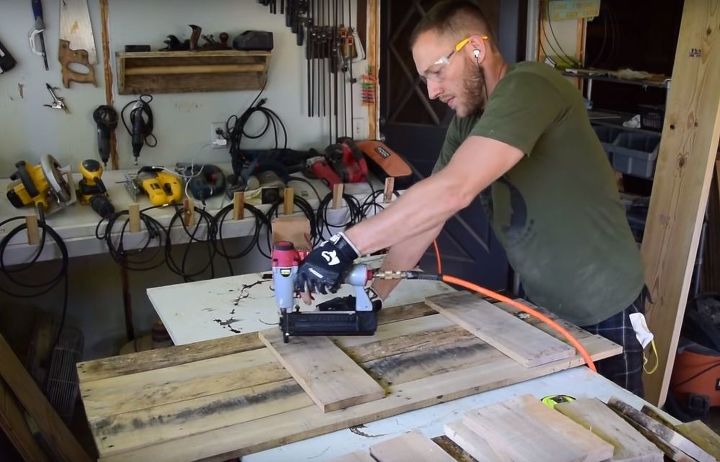
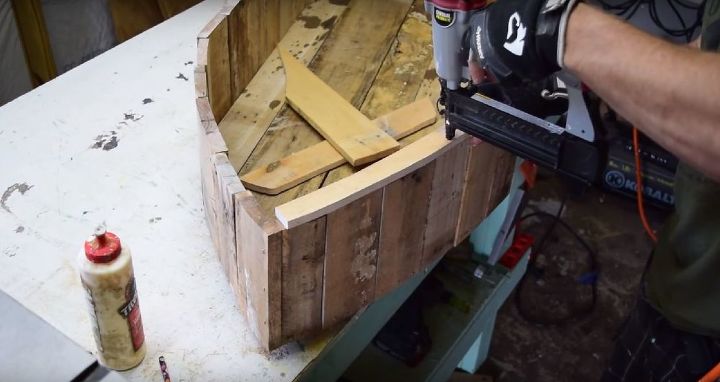
Crank up the compressor and brad or staple your 6 to 9 inch boards to the sides, you can cut them down on your bandsaw or table saw to create thinner pieces if you need to squeeze into tight areas or need to get around a curve.
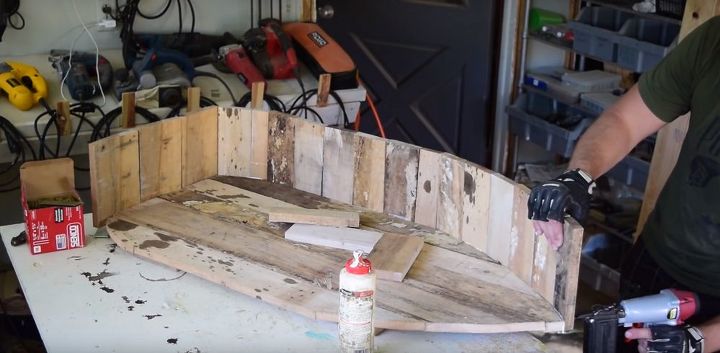
Continue nailing the side boards in and then move onto the trim pieces.
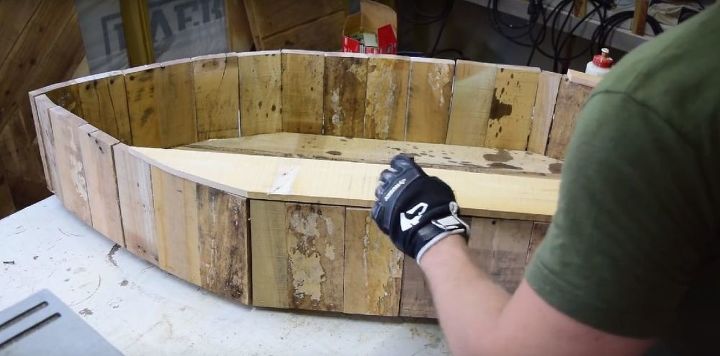
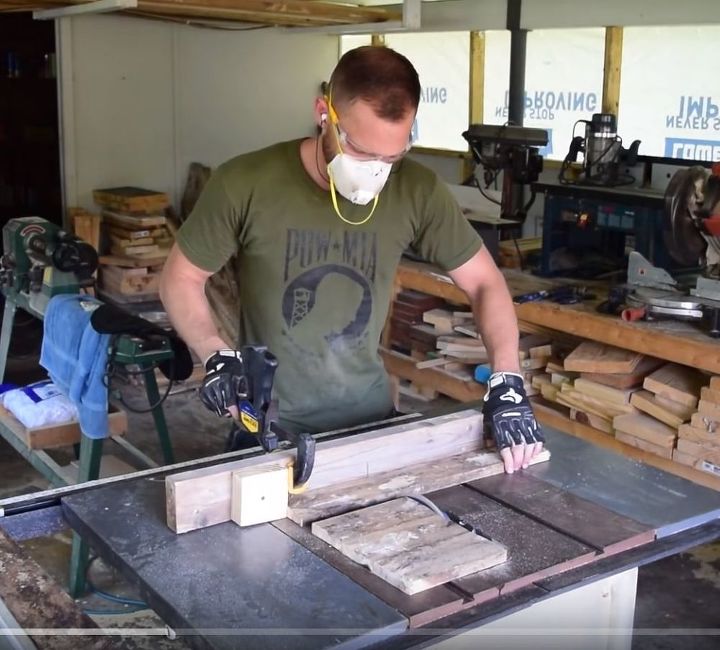
These will be the trim pieces. I line them up with the side boards and trace the curve, then free hand it on the bandsaw. You can also use a jigsaw. They are normally around 1 inch wide.
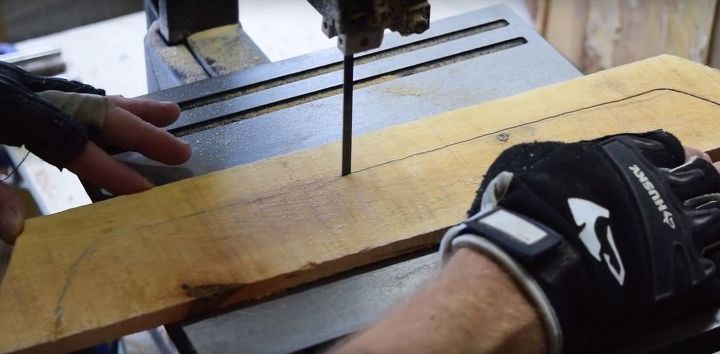
A picture of the trim piece getting free hand on the bandsaw.
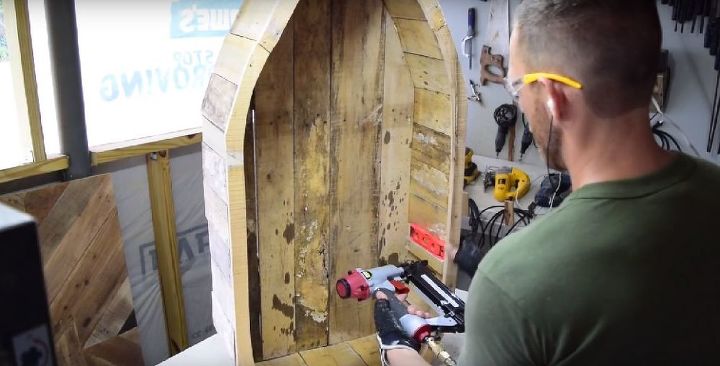
It takes about 5 pieces of trim to go around the entire boat shelf. 1 for the bottom 2 for the side/middle and 2 near the top.
Cut 4 - 1 inch high boards to the depth of your boat shelf, behind the trim piece. Make sure it is level and nail it.
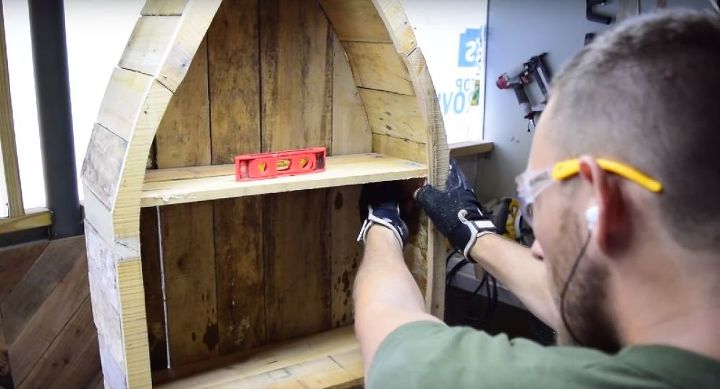
Add boards on top of those brackets for your shelving! You're finished! These boat shelves are very rustic and very easy to make, they don't require a lot of woodworking knowledge or skill and practically anyone can make them! It was a very fun and unique project. I sell these for profit at craft shows and people love them! A very profitable design that I hope others can use! Thank you for checking out my tutorial and be sure to subscribe to my youtube channel for more great stuff!
{
"id": "4307579",
"alt": "",
"title": "",
"video_link": "https://www.youtube.com/embed/U_brLGbzNzU",
"youtube_video_id": "U_brLGbzNzU"
}
{
"width": 634,
"height": 357,
"showRelated": true
}
Comments
Join the conversation
2 of 34 comments
-
One of the best uses I've seen for a wood pallet. Nice work!
-
These are very cute. I don't have a place to put 1 but I'd sure like to have 1. Maybe one day we will make one


Frequently asked questions
Have a question about this project?
How much do you sell these for?
How much you sell these for?
Seems a lot of people are asking how much you sell them for, why are you not responding? I'm left to guess so I'd say any where between $25.00 - $35.00 each, depending on size, paint, stain, etc. I have two that have this sheets of copper on the outsides of them. I draped fish nets on them and they look really cool!!!