


DIY Faux Fern Arrangement {for Under $25}
7 Materials
$25
20 Minutes
Easy
Hi, I'm Christene from the blog Keys to Inspiration. My blog is all about helping you discover creative, simple, and affordable ways to design a home you love!
Today I want to share my latest home decor project - this gorgeous faux fern arrangement. One of my passions is creating home decor and teaching others how to create too! Even if you don't think you're a crafty person, I can show you how easy it is to create beautiful things for your home on a budget.
Confession: I may have a love affair with faux greenery right now! There’s just something about adding greenery into a room that makes it feel alive! Even when the greenery isn’t real.
Faux greenery has come a long way in the last few years. Today you can find stems that look just as good, if not better than the real thing. And that’s a big deal for those of us who can’t seem to keep the real plants alive.
There's one faux greenery option that I am totally in love with but just doesn't fit into my budget. So, I took a trip to our local Michaels Store and was able to make my own version of this faux fern arrangement for less than $25!
Let me show you how I did it, and you can make one too!
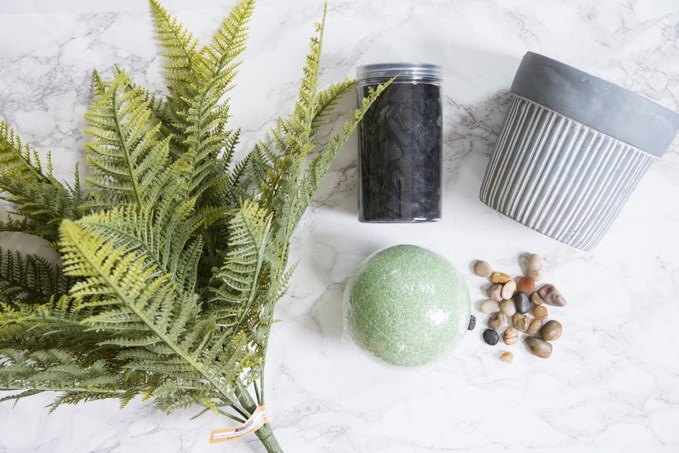
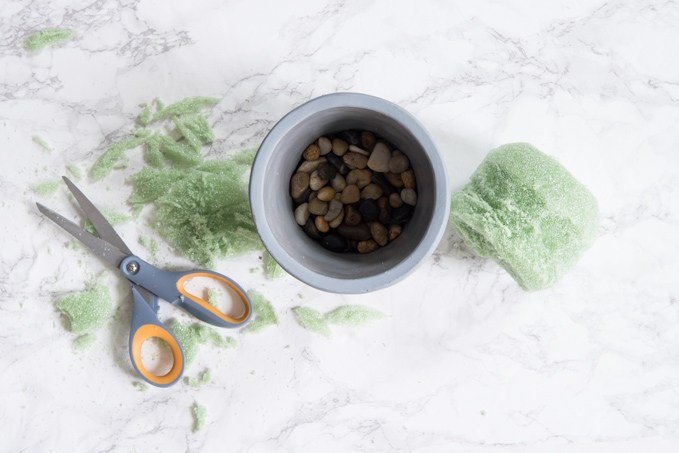
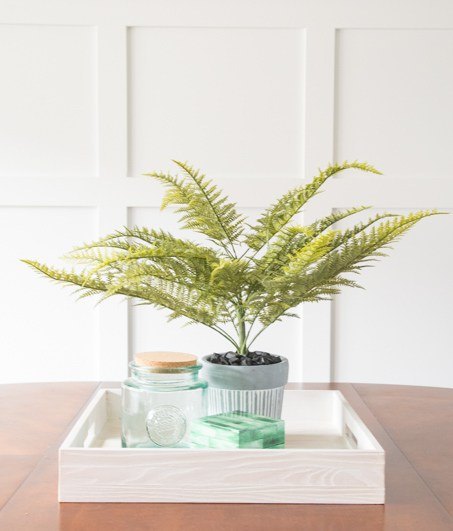
First, you are going to need a planter to hold your arrangement. I found this striped cement planter that I thought would be perfect. It mimics the cement look from the inspiration arrangement. Also, it’s gray, and I love anything gray!
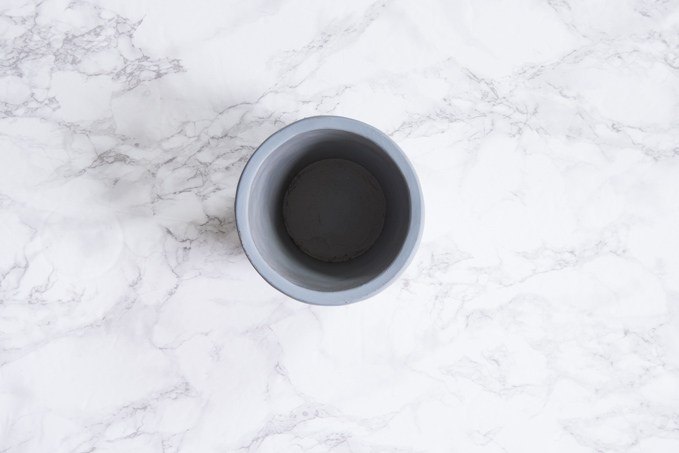
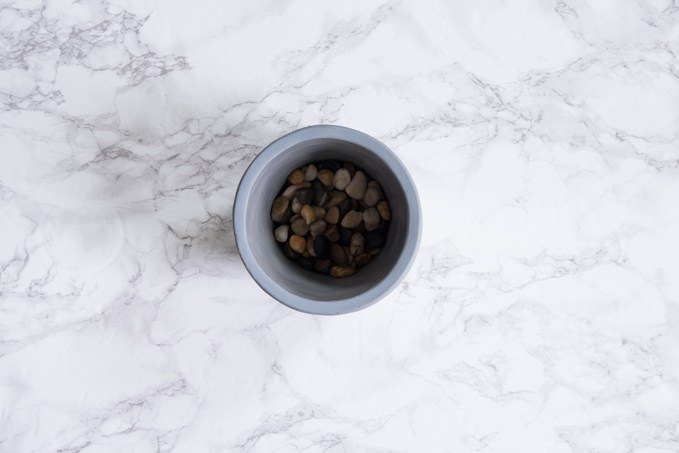
Because we’re working with fake plants, we won’t be using any soil. That also means that there’s nothing weighing the planter down. And since the fern greenery stem we’re using is fairly large, you’ll want to make sure your arrangement doesn’t topple over.
Take a few handfuls of river rocks and place them at the bottom of the planter. I only filled my planter with about an inch and a half of rocks.
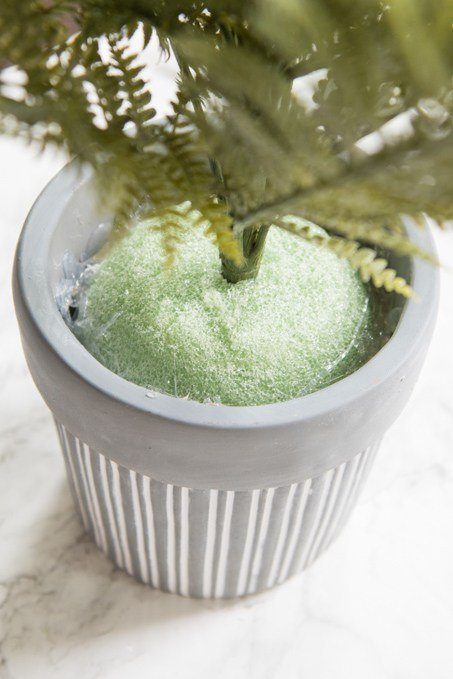
Next, you’ll want to get a styrofoam ball that fits inside of your planter. This styrofoam ball was the exact same diameter as the top opening of my planter. Try to find one that fills the opening as best as you can.
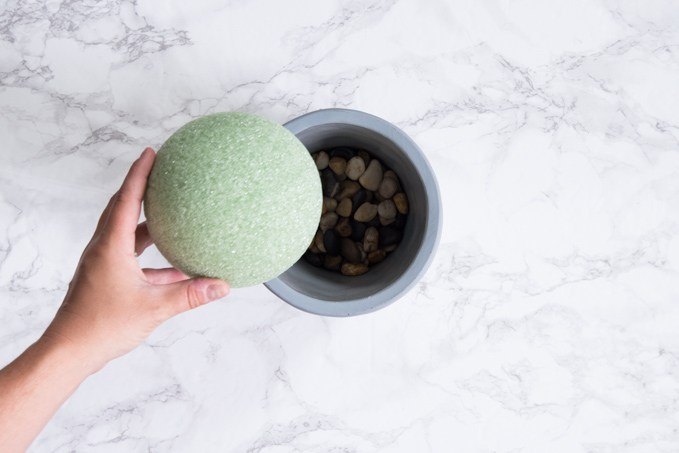
Since my planter is tapered, the styrofoam ball didn’t sink down low enough below the edge. I didn’t want the styrofoam to be visible over the edge of the planter, so I started shaving away pieces of the ball using a pair of scissors.
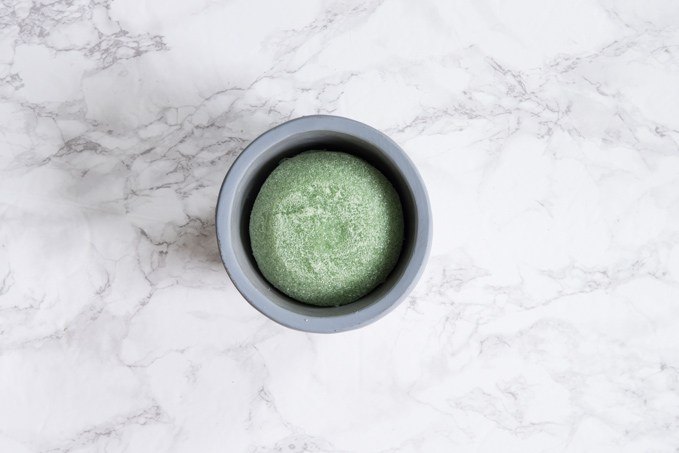
I ended up with a sort of “hamburger shape” once I was done. I removed enough of the sides so that the ball could fit into the tapered part of the planter. I also slightly flattened the top so that it didn’t peek out over the edge of the planter.
Here’s what mine looked like once it had it inside the planter.
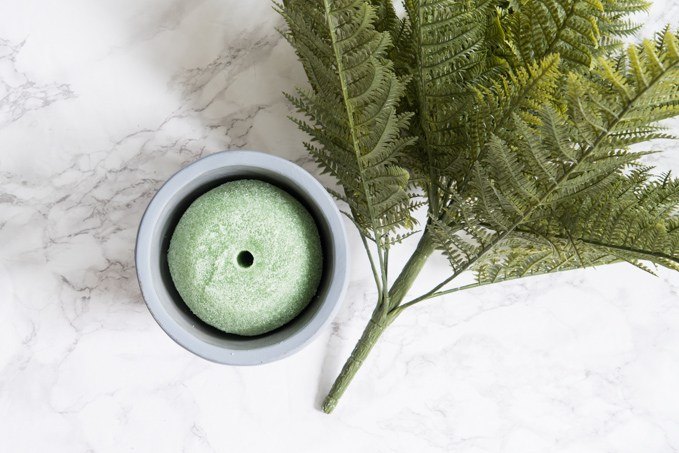
Now, it’s time to add the fern stem. Take your {affiliate} faux fern greenery stem and push it straight into the styrofoam. Make sure that as you’re pushing the stem into the styrofoam that you’re keeping it upright and straight.
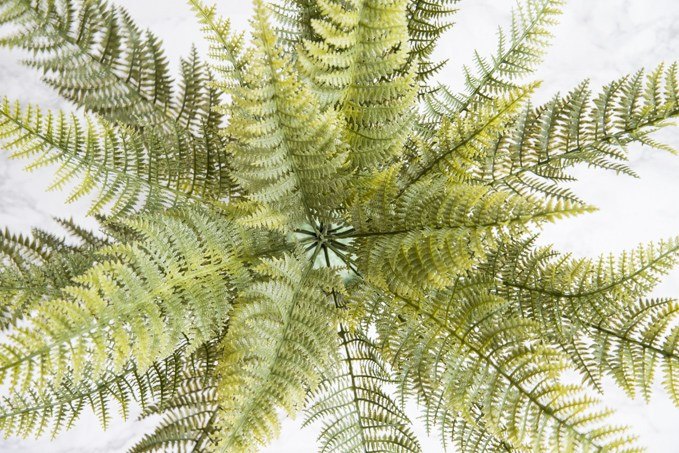
Once you have the fern stem at a height that you like, remove it from the styrofoam and set it off to the side.
Now, this is the part of the project where I should have done the steps in a different order. At this point, I should have used hot glue to attach the styrofoam ball to the sides of the planter. But, I was so excited about my fern arrangement that I just decided to glue the stem in first.
You can do this project either way. But, it would have been much easier to attach the styrofoam base to the planter without the fern stem already attached to it. You’ll see why from the pictures. I had to keep moving he fern branches out of the way to get the glue in there.
Next, use the {affiliate} hot glue gun to secure the fern stem into the styrofoam base.
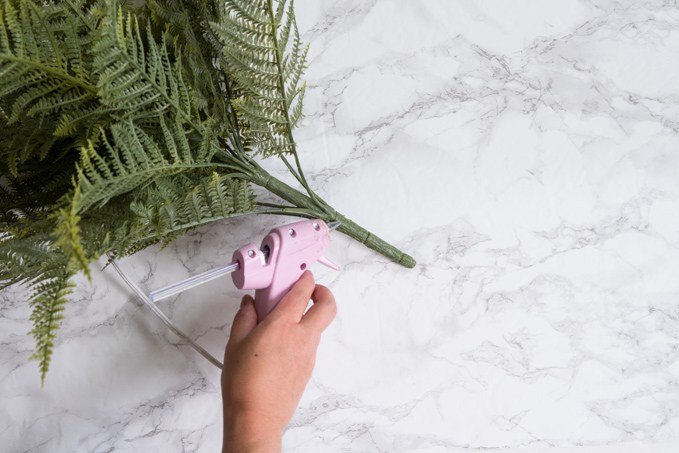
Now, you will need to attach the styrofoam base to the sides of the planter. Otherwise, the fern will just topple over.

Using a LOT of hot glue, I filled the space between the styrofoam ball and the planter walls to create a solid base. This took a little bit of time to get enough glue in there to fill all the gaps. Once the glue was dried, I had a super solid planter.
Again, this would have been much easier to do before I attached the fern stem.
To finish off the faux fern arrangement, you will want to cover up the styrofoam with a more natural looking material.
I decided to use a matte black vase filler. I’m not exactly sure what material this was, but the pieces seemed like burned mulch chips. They had an ashy texture to them and the black color came off on my hands.
Working one piece at a time, I glued each vase filler piece onto the styrofoam base. I took the time to individually hot glue the pieces so that they wouldn’t fall off of the arrangement.
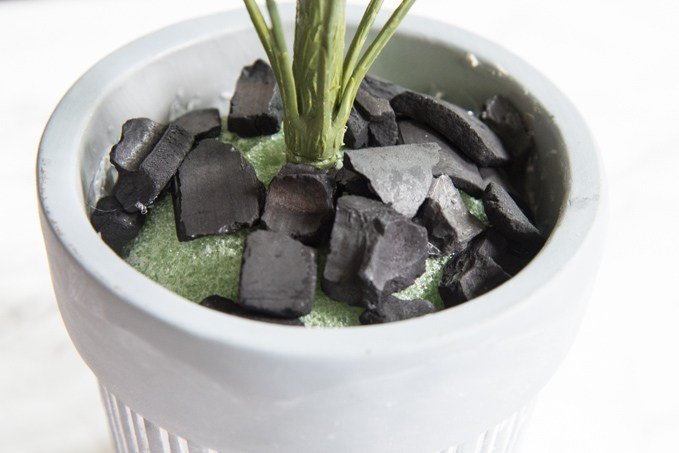
Keep gluing and overlapping the vase filler until you can no longer see the styrofoam base.
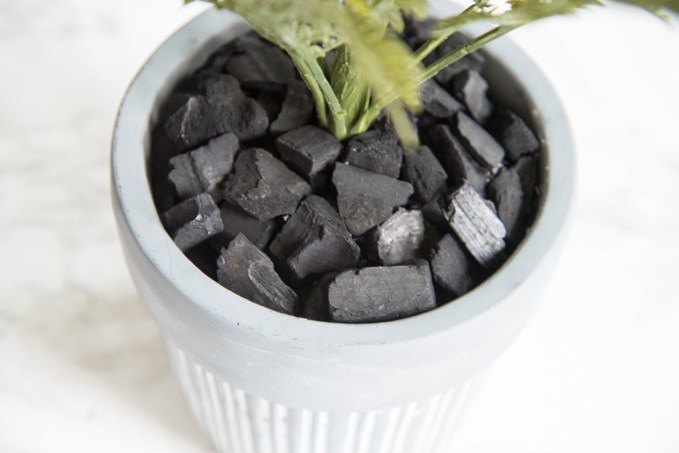
Finally, once everything is glued down and in place, your faux fern arrangement will be done!
Isn’t it cute!? I love the contrast of the cement gray planter with the matte black vase filler. It creates a pretty, modern look for this faux arrangement.
Isn’t it cute!? I love the contrast of the cement gray planter with the matte black vase filler. It creates a pretty, modern look for this faux arrangement.
For under $25, I’d say that this was a pretty successful DIY project. I was able to recreate the look of the inspiration faux fern arrangement but at a budget price.
What do you think about my new DIY faux greenery? I’d love to hear how you would style it in your home.
You can see the full DIY tutorial for the Faux Fern Arrangement on the blog. Just click on the link at the end of this post.
>> Christene
Connect with me on Facebook -- [facebook.com/keystoinspiration]
I also love Instagram! -- @keystoinspiration
Resources for this project:
See all materials


Any price and availability information displayed on [relevant Amazon Site(s), as applicable] at the time of purchase will apply to the purchase of this product.
Hometalk may collect a small share of sales from the links on this page.More info

Want more details about this and other DIY projects? Check out my blog post!
Comments
Join the conversation
2 of 29 comments
-
I did this with a silk philodendron plant for my kitchen window and it looks even nicer than the live plant I have!
-
wow you can sure tell the instructions and excellent up close photos!!! you make it look easy. I love how the planter came out. thank you for this tutorial.


Frequently asked questions
Have a question about this project?