


Dollar Store Trash Can To A Pottery Barn Inspired Planter
6 Materials
$10
2 Days
Easy
We love mixing different natural elements together in our home design. The modern rustic and industrial decor is one of our favorites however, I [Diane] find that some things have to grow on me before I get attached to it and concrete/cement was one of those things. Looking through Pottery Barn's online website, I ran across cement planters that were very expensive and I thought I can replicate that at home! Let's get started and I'll show you how I did it.
Oh, and before I forget, pop over to our blog to receive occasional email updates from us and receive a FREE "TO DIY" printable you can download to help keep all your DIY projects organized. Click here.

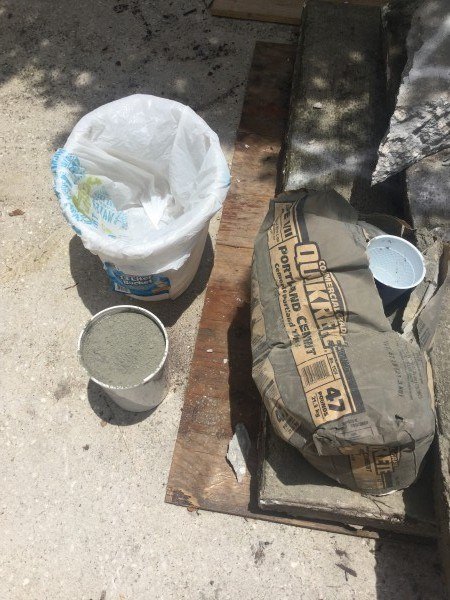
STEP 1: Lay out all your materials. Here's what you need: 1)1 bag of Portland cement 2) Water3) Disposable gloves to mix the cement and water or a painters stick 4) Plastic containers for whatever form you want to mold5) Spray cooking oil or Vaseline6) Sanding sponge
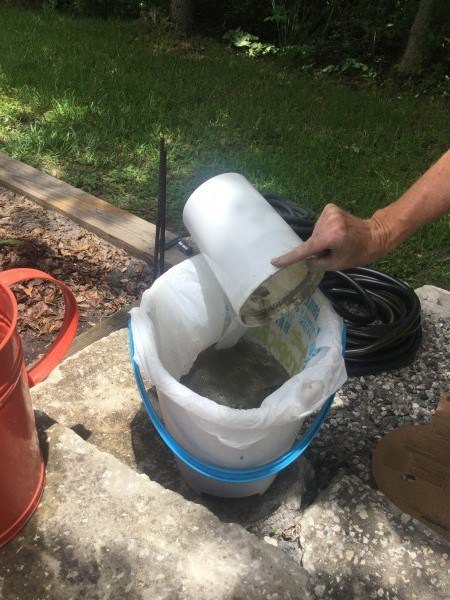
STEP 2: Line a small bucket with a plastic grocery bag to mix the cement and water in. This would make for an easier clean up after and I am all about that! For the molds, I had an old tall plastic food container that I liked the straight cylinder look. You can also use some round or square plastic food containers.
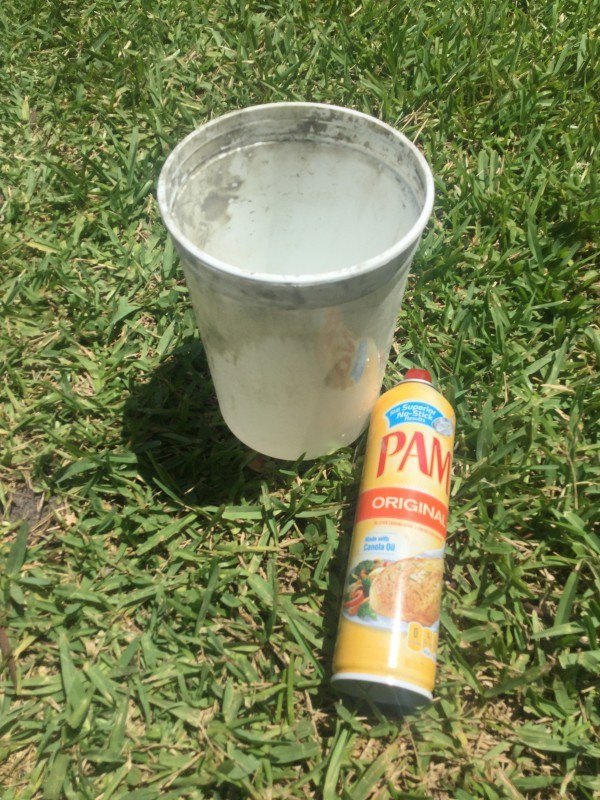
STEP 3: Spray your plastic molds you have gathered with a cooking oil or spread vaseline on the inside of the molds. I used this food container as a mold, a dollar store trash can and plastic plant liners as my three molds.
STEP 4: I used approximately 1 part water and 1 part cement to start with but needed to add more cement to get the right consistency. The thinner the mixture the longer it will take to harden but plan on a good 24 hours either way. I tried to get mine like brownie batter. (This picture is of my dollar store trash can. I just mixed the cement and water right in the can. I did not spray it with cooking oil and it came out just fine)
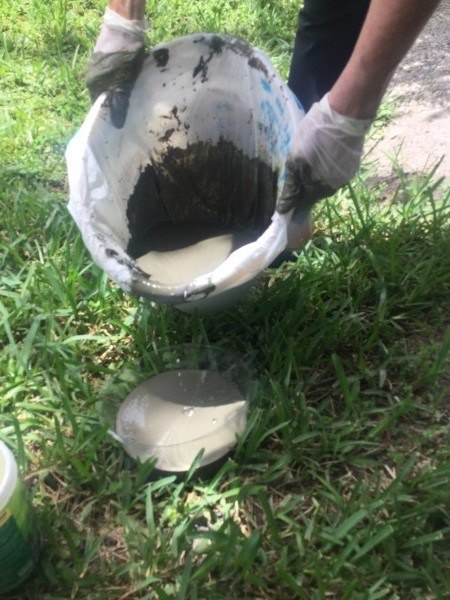
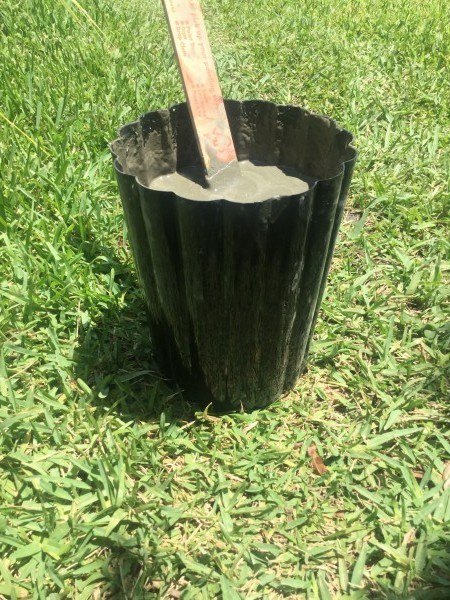
STEP 5: Next is pouring the cement mixture in the molds then placing an inner mold into the wet cement so that it creates a cavity for plants or candles when it is dry.
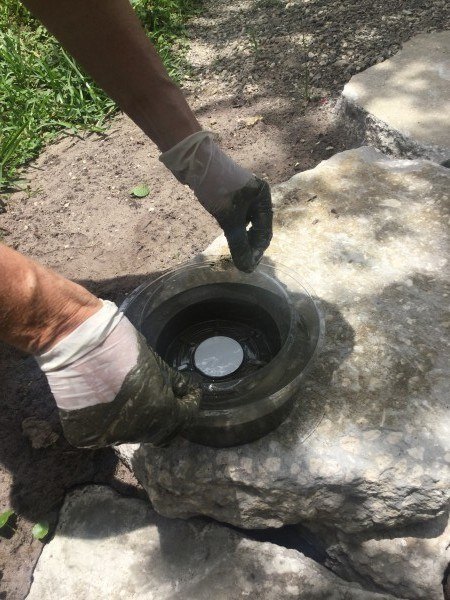
STEP 6: When placing the inner liner in the wet cement, carefully center it. I pushed it down enough where I thought I could plant a few succulents.
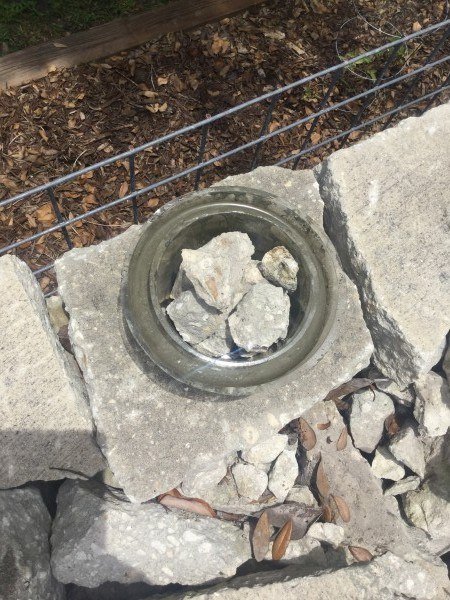
STEP 7: You will need to place some weight on top of the liner to hold it in place. Here, I used some broken up concrete and rocks. It can be a little tricky adjusting it so that all sides look even.
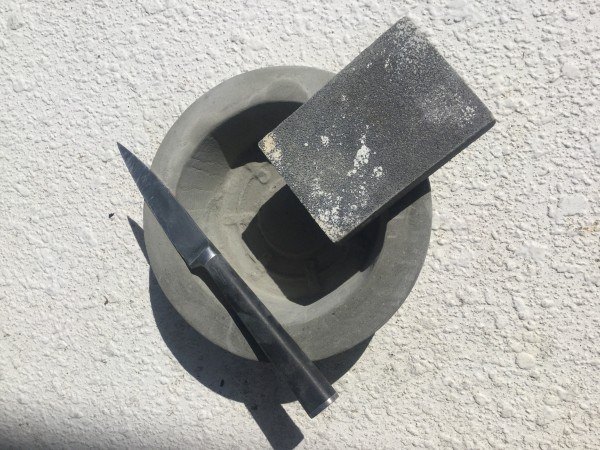
STEP 8: Let the cement harden overnight then remove the molds. I wanted a smoother look so I took a regular kitchen knife and scraped off some rough edges then sanded the cement with a sanding block. It came out super smooth.
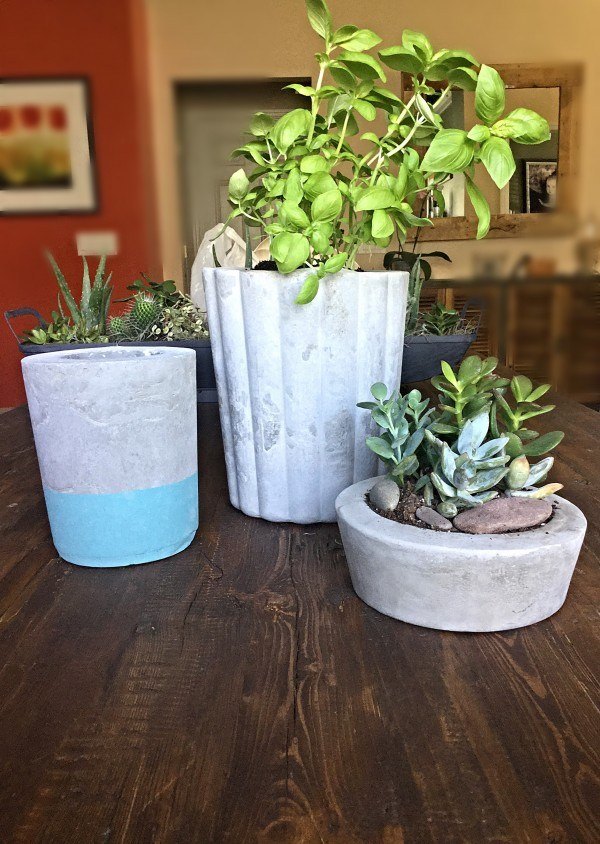
Here are the 3 finished products. The one on the left is from a tall plastic food container. I added some blue chalk plant on the bottom and use this as a candle holder. The middle one is from my dollar store trash can and the smaller one is from using plastic planter liners.
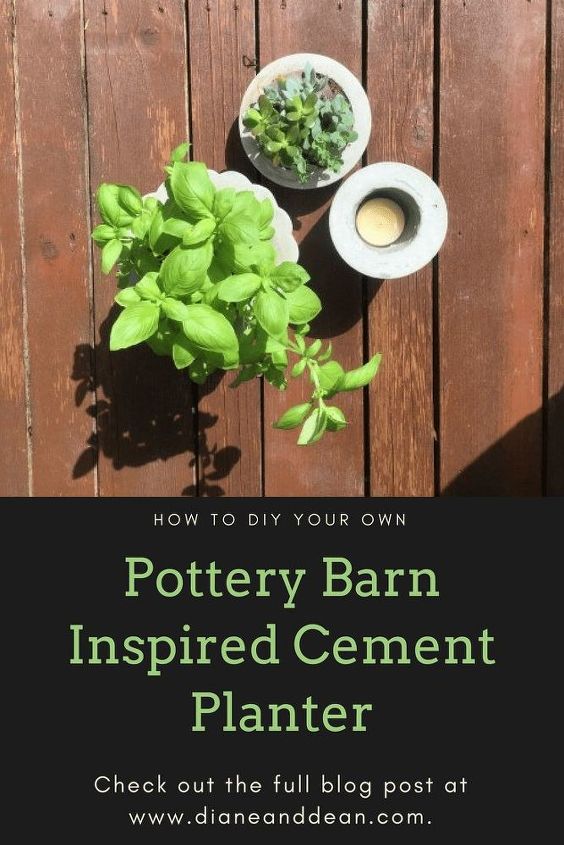
Have fun making your own Pottery Barn Inspired cement planters.

Want more details about this and other DIY projects? Check out my blog post!
Comments
Join the conversation
3 of 22 comments
-
You can find a lot of good material on this as it is referred to as hypertufa....just google and find more great ideas.


Frequently asked questions
Have a question about this project?
Do these need a spray sealant before painting or using?
I’ve been looking for this instruction, thanks! Did you use the whole bag of cement to make these three containers? The tallest one looks white, did you mix paint into the cement?
Is there a hole in the bottom of the pot for drainage?!