


Built-Ins Around the Fireplace Part 1
3 Materials
$1080
1 Week
Medium
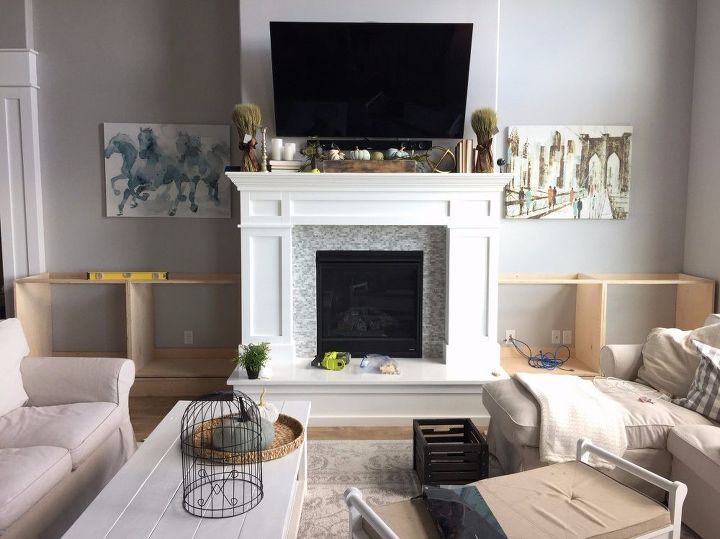
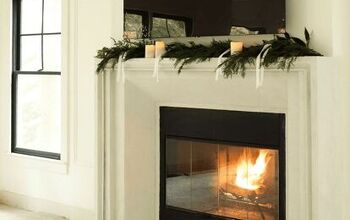
I recently shared the reveal of my biggest DIY to date–my built-ins around the fireplace. I am SO in love with how they turned out because it makes my home feel so much more custom and beautiful. Sometimes I look at them and I’m like “I can’t believe I built that.” It always seems so fantastic and overwhelming when you look at the finished product but I’m going to break it down in the next couple of posts for you to read so you can see how I just took it one step at a time. Hopefully, you will feel more confident in your ability to create these yourself!
For pretty much as long as we’ve lived in our house (which is going on three years now) we’ve planned on doing built-ins around the fireplace. Last year I completed the mantel makeover which was the first part of this project and this year I finally got around to doing the built-ins around it. I couldn’t do any big projects this summer while my kids were home so literally the day they started school I went and got the supplies for these.
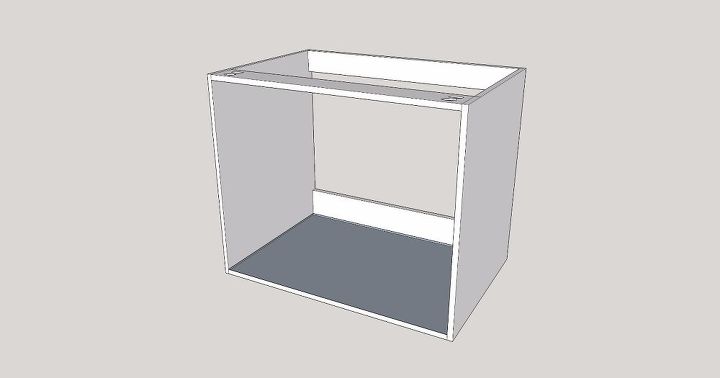
Here’s what the cabinet carcasses looked like–and please ignore the messy home of mine. My house is always in shambles when I do a big project.
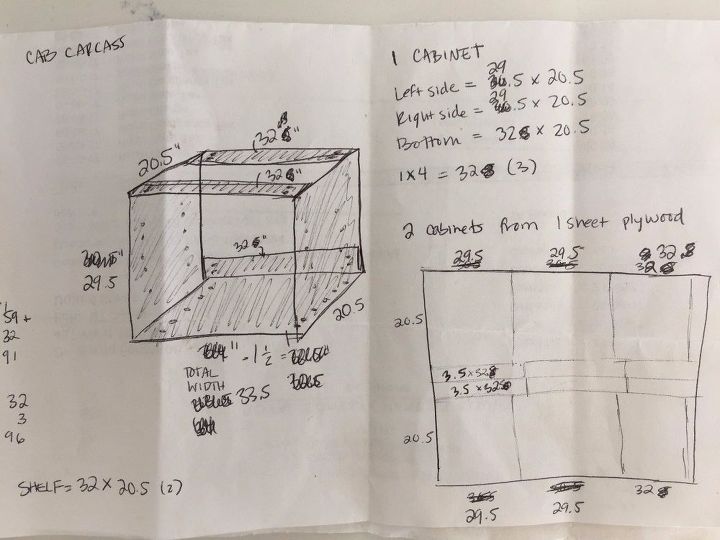
First of all, I measured and planned it all out.
The space I had on either side of the mantel was about 69″ wide and 23″ deep. I planned out my cabinets very carefully, to be 20.5 x 32 x 29.5. This would allow me to get two cabinets out of 1 4×8 sheet of plywood and be nearly the exact size for the space. (You can cover the gaps up with filler strips.) The entire carcass would be put together with pocket screws and glue. All the pocket holes would be in places where it would be hidden (on the back and bottom.)
Here is a photo of my initial caveman etching which shows more details. It took a little concise calculating to get the right numbers, especially so I could make good use of the 4×8 sheet of plywood.
I didn’t want a toe kick for these so I decided to build a separate base. This has pros and cons to doing it this way but it’s what I chose so oh well. I ended up buying 4 4×8 sheets of plywood. I got three of cabinet grade plywood which is more expensive and very smooth and then 1 sheet of the courser stuff for the base top. You could also do cabinets out of 3/4″ MDF if you’re going to paint it. Truth be told I’m not sure if anyone will every know the difference. If you live in a high humidity place, you’d probably want to stick with wood but I don’t. I ended up using MDF for the upper bookshelves because it’s a little cheaper. It also cuts more cleanly.
Here’s how you construct a cabinet carcass:
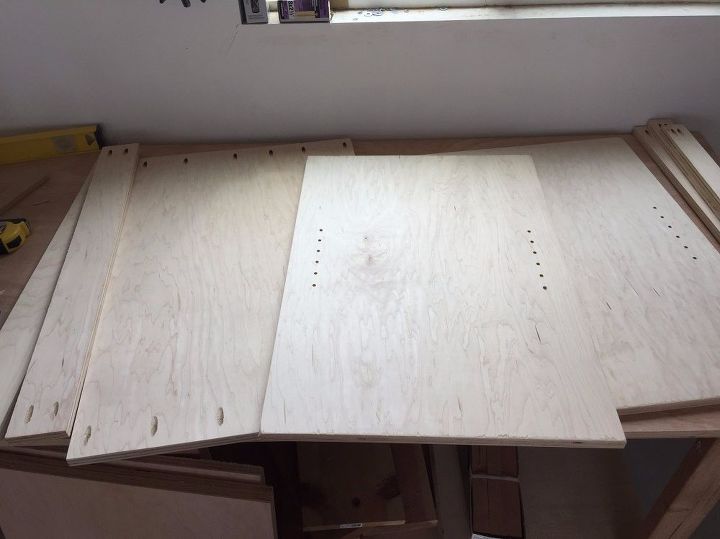
Step 1:
Pre-drill all the pocket holes and bookshelf holes. I used a spacer block and the Kreg Bookshelf pin jig for this step. I used the Kreg Jig for the pocket holes. Make sure you know which direction goes up when doing the bookshelf holes so they line up with each other. I will share a post on how to use this jig very soon!
Step 2:
I then assembled the sides and bottom with pocket holes going into the sides (a Kreg right angle clamp is essential for this step!) using glue and 1 1/4″ pocket screws. I made sure the pocket holes are on the bottom so they won’t show and that the bookshelf holes are facing inward.

Want more details about this and other DIY projects? Check out my blog post!
Comments
Join the conversation
2 comments
-
Looking good! Your "blueprint" looks just like mine do
 Can't wait to see more. I know it will be perfect.
 -
Thank you!


Frequently asked questions
Have a question about this project?