


Make a Color Wheel From a Wood Block

by
Megan Aubrey
Do you understand the color wheel? The wheel in which all of our colors are based upon? The little wheel that can explain how to pair the perfect colors together? I created a chunky, beautiful color wheel from a block of wood to help remind me how to use color in my crafts and décor. Step One:
Find your hunk of wood. I can’t really take credit for this since my boss had some scrap wood lying around and kindly cut me a nice circle of wood. However, I do recommend using a piece of wood from a hardware store since wood from nature has not cured yet so it will crack and flake. It all depends on how long you want the wheel to last.
However, buying a round wood plank from a craft store or even a wooden charger would work just as well. You just need something round.
Step Two:
Sand your wood block smooth on the sides and top. I rubbed some Minwax Dark Walnut stain around the outside to give it some depth.
Step Three:
Identify the middle of your wood block. That has generally already been marked to make your circle. Then divide the circle in 12 equally sized slices. I did this by dividing it in half and then into quarters. Then, each of those quarters needs to be divided into three equal sections.
Honestly, a little measuring and eyeballing can get this done quick. I wasn’t looking for absolute perfection because that type of math didn’t seem worthwhile to me. You know, still trying to prove that I won’t need geometry in real life (so not true for a DIYer).
Also, I used very faint lines so it’s pretty hard to see. Squint hard.
Step Four:
Pull up a color wheel online. You will use this to base your color wheel on. I then took my colored pencils and picked out the shades that matched each section of the wheel. Then, you just color straight on the wood. Yes, it’s that easy. Just color your wheel.
Step Five:
I can’t help but bling things up a little. To add a little glitz and definition to the top of the wheel I drew gold Sharpie lines to divide the colors. Then, to add a little sheen to the outside of the wheel I, took a metallic rose colored craft paint and rubbed into the stained area. Now it has depth and sheen!
Now you have a beautiful wood color wheel!
You can also use this as beautiful decoration in your home. It can be a giant coaster, a plant stand, artwork, an added layer on a side table…the options are endless! Would you ever use a giant color wheel as decoration for your home? Have you ever made any project decisions using a color wheel?
wheel
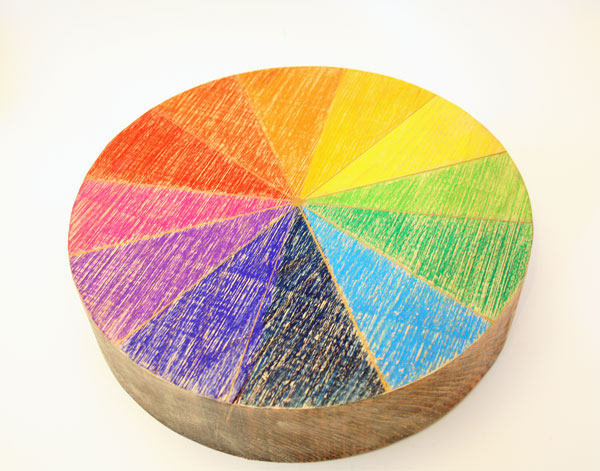
The chunky wooden color wheel. Use it for color inspiration but also as decoration. Plant stand anyone?
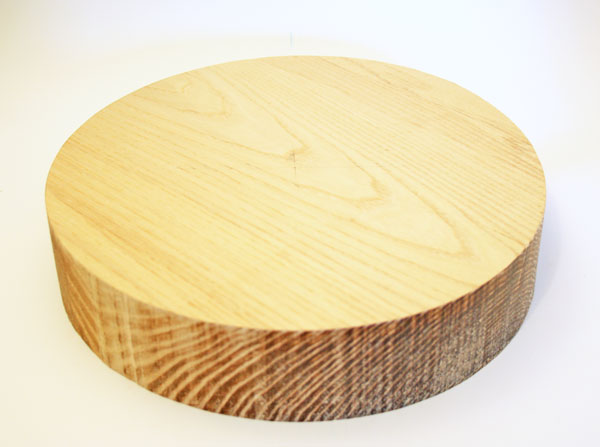
Step 1: Find a nice think hunk of wood and cut it in a circle. You could also use a pre-cut wooden circle from a craft store or a wooden charger.
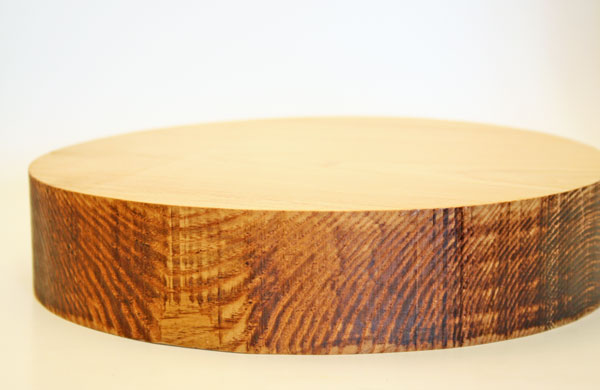
Step Two: Sand your whole block. Then stain the edges to create some depth.
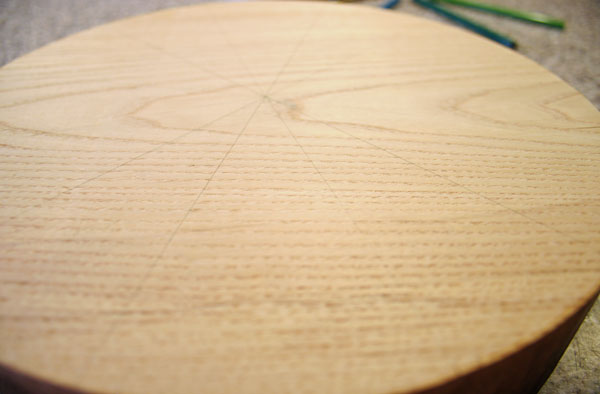
Step Three: Identify the middle of your wood block. From there divide it in half, then quarters, and then make each quarter into a thirds so you have 12 equal slices.
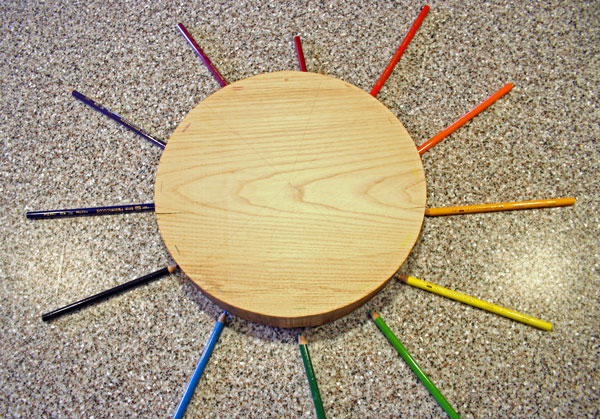
Step Four: Find a color wheel online and use it to pick your colored pencils in the right shades. Then color each section in with the pencil.
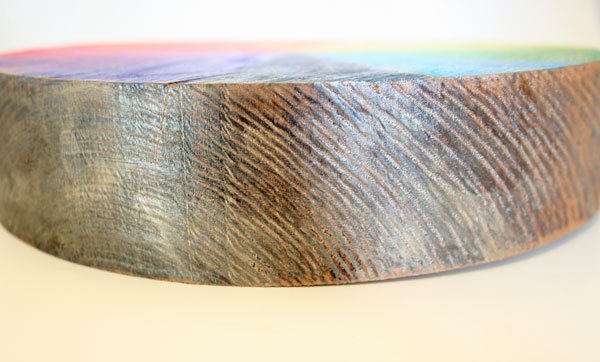
Step Five: I glitzed up the edges a little more by rubbing a thin layer of metallic paint across the edges as well.
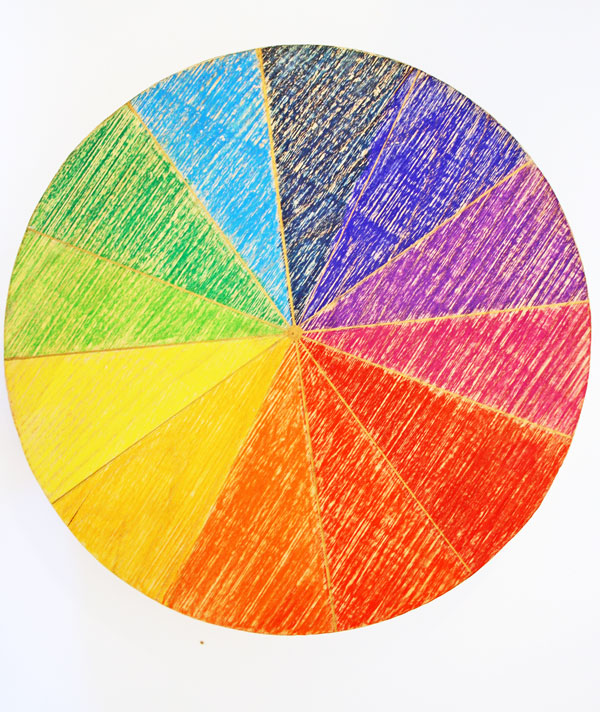
To add definition to the wheel I outlined each slice with a gold Sharpie.
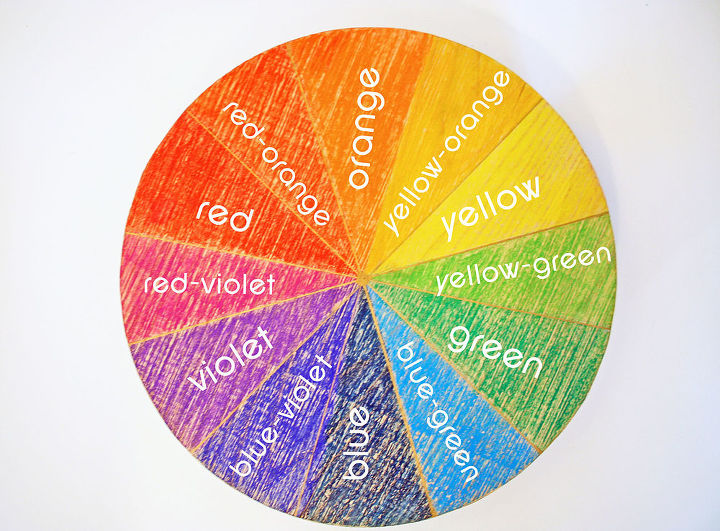
The color wheel labeled (via Photoshop - not actually on the wheel) so show you the colors.
Want more details about this and other DIY projects? Check out my blog post!


Frequently asked questions
Have a question about this project?