


Easy and Cheap DIY Board and Batten Wall

This faux board and batten is an affordable and easy way to add a special charm to your walls. And you can do it yourself in one day. It costed me approximately $60 for all wood pieces, and I used about one quart of leftover paint.
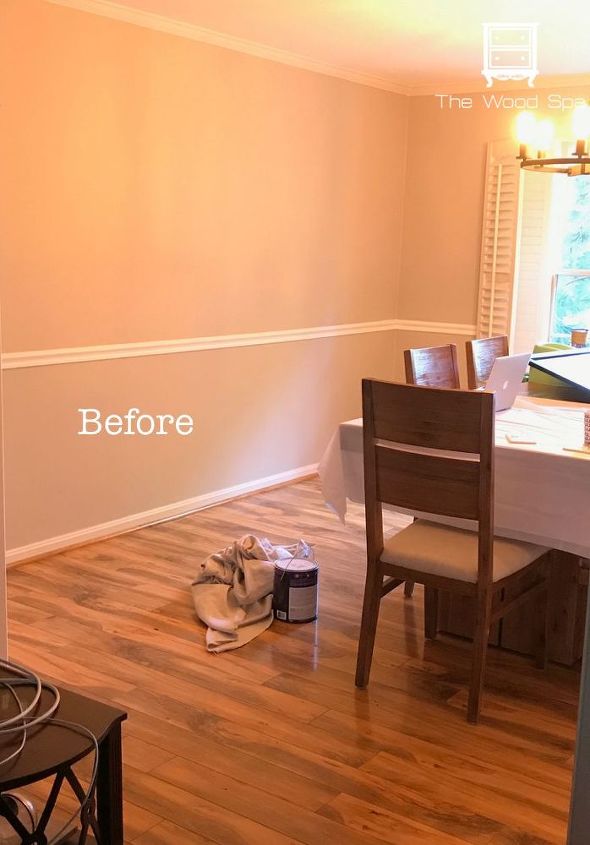
My dining room walls were painted light gray with white baseboard and chair rails. If your walls don't have the chair rail (the wood trim in the middle), you'll need to add it. They are placed about 30 "above the baseboard.
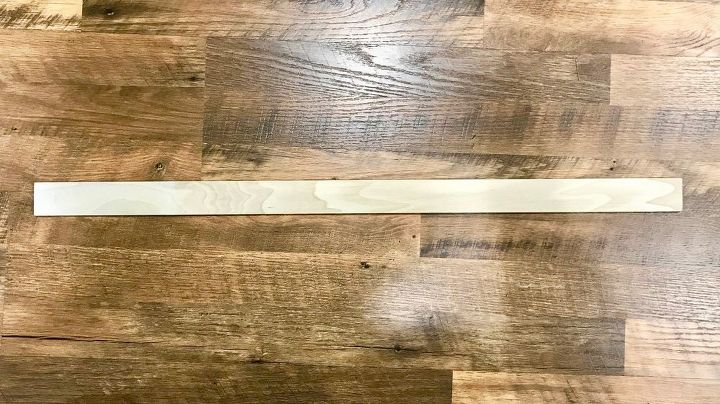
I bought 28 of these pieces of wood at Home Depot. They cost $1.96 each, measure 4’L by 1 1/2″W and are just about 1/4″thick. You can find them in the Lumber Section, where all crown moldings and door/window trim are.
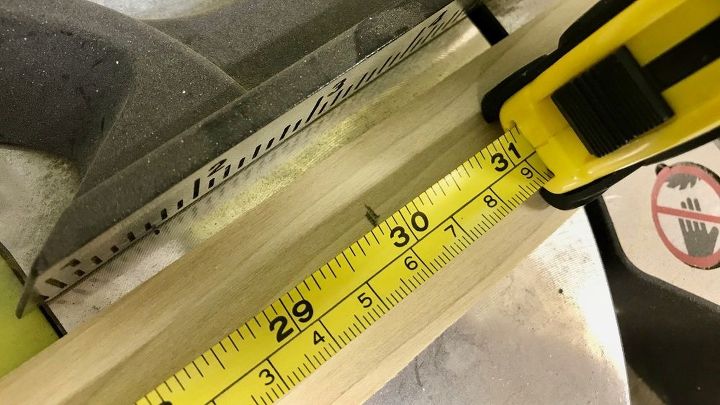
I cut them 30"long, which is the distance between the bottom of my chair rail and the top of my baseboard.
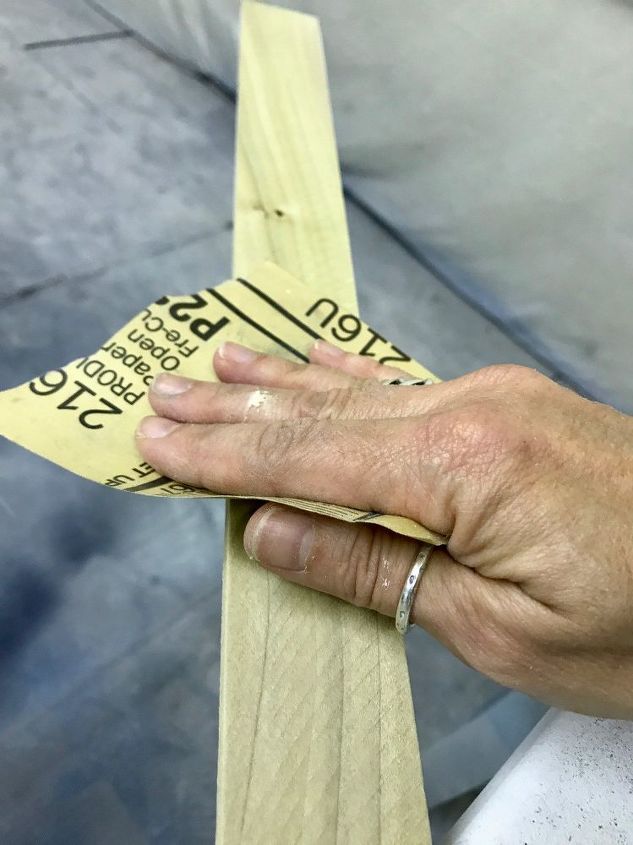
Light sanded them with a 220 grit sandpaper to get a smooth surface.

Painted them white, using the same color of the bottom of the wall where they would be nailed to. I used my paint sprayer to save time, but you can roll or brush your paint.
Notice that first I painted the bottom area of my walls the same color I painted the wood strips (Behr New House White).
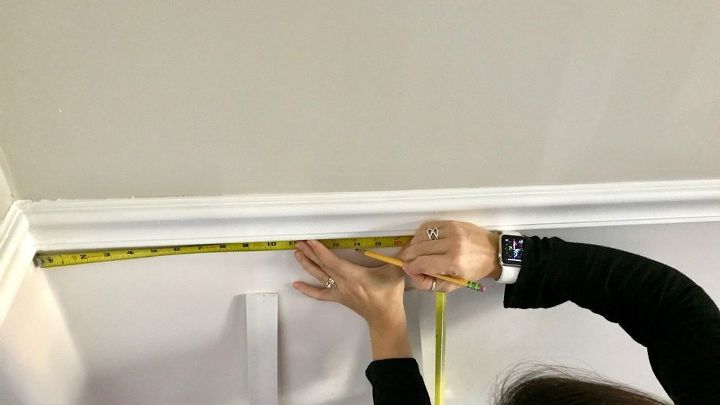
With a pencil, I marked the spots where each stripe should go. I left 14" between them but that distance is up to you. Just make sure you avoid landing on top of an outlet. That is why it is better to plan and mark in advance where each piece will go.
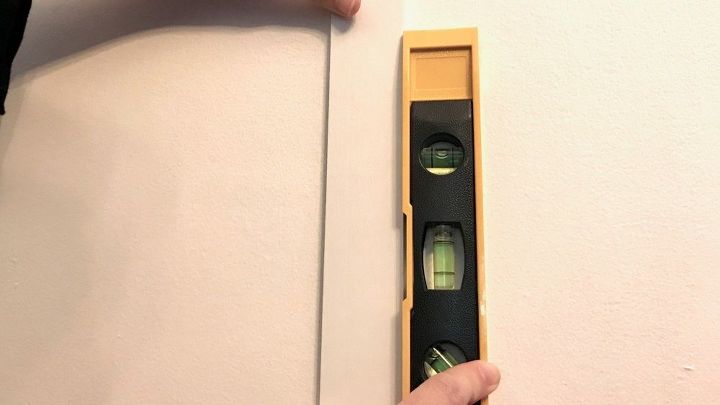
This level helped me check if the pieces were straight before nailing them.
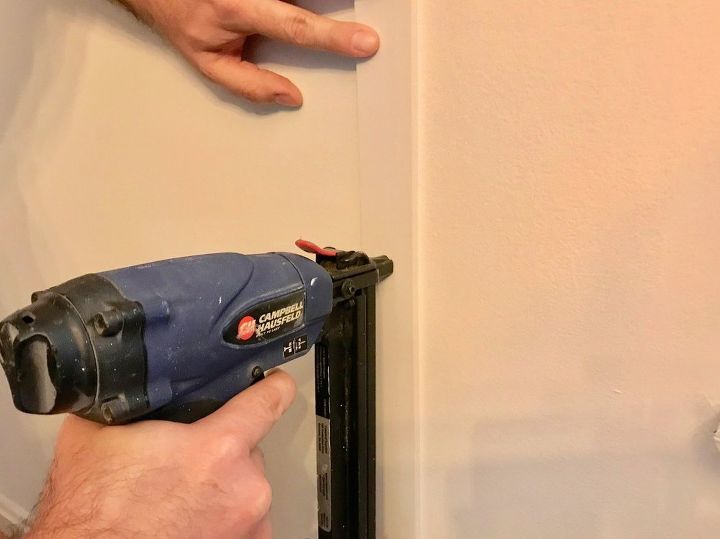
I attached each piece to the wall with a nail gun. Three nails (top, middle bottom) were enough. Finally I patched the holes with spackle, then sanded and touched up the paint with a small brush. Watch my video tutorial to see exactly how I did it.

Here is how my dining room looks now!
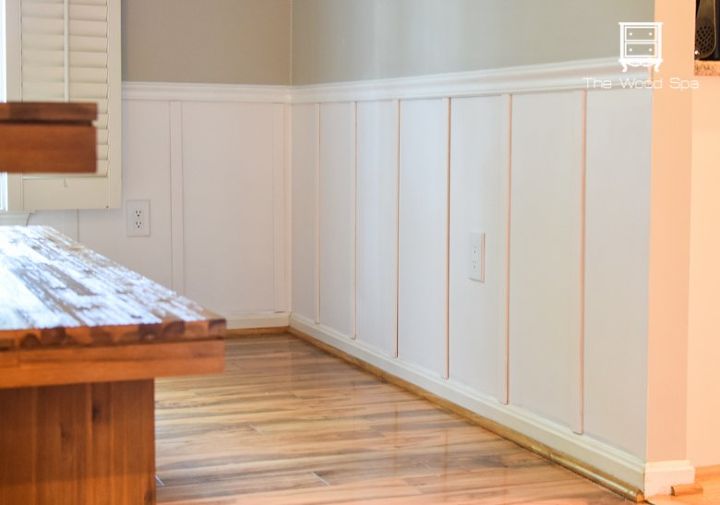
I hope you enjoyed this tutorial! Check my blog post for more pictures and detailed information.
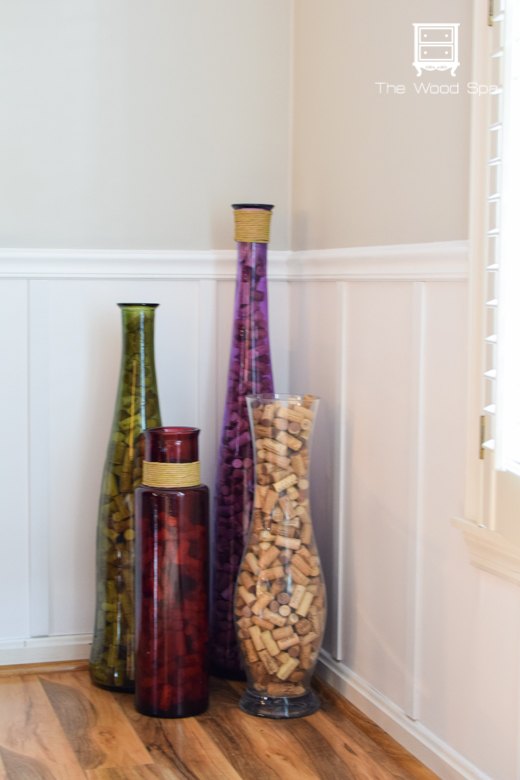
Wondering about the corks? This is how much wine we drank in 15 years :)
Watch my video tutorial!
Resources for this project:
See all materials


Comments
Join the conversation
-
Your video should be must viewing by any DIY blogger. It was quick, none of that talk-talk-talk most of them have. Just perfect!! Thank you!
-
Great idea. Lovely.


Frequently asked questions
Have a question about this project?
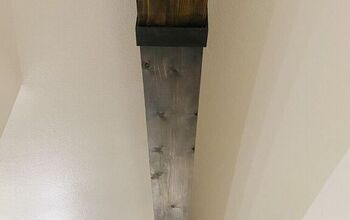
How would you put them on a wall going up a stair case?
Where did you pay the glass bottles.
What Kind of paint did you apply to the wall & wood?