


Lining Furniture With Fabric

by
Patricia
4 Materials
$25
2 Hours
Easy
If you have a piece of furniture where the interior has seen better days, it's easy to freshen it up and give it a luxurious feel with fabric.
I found a toile fabric that I used for inspiration for my armoire project.
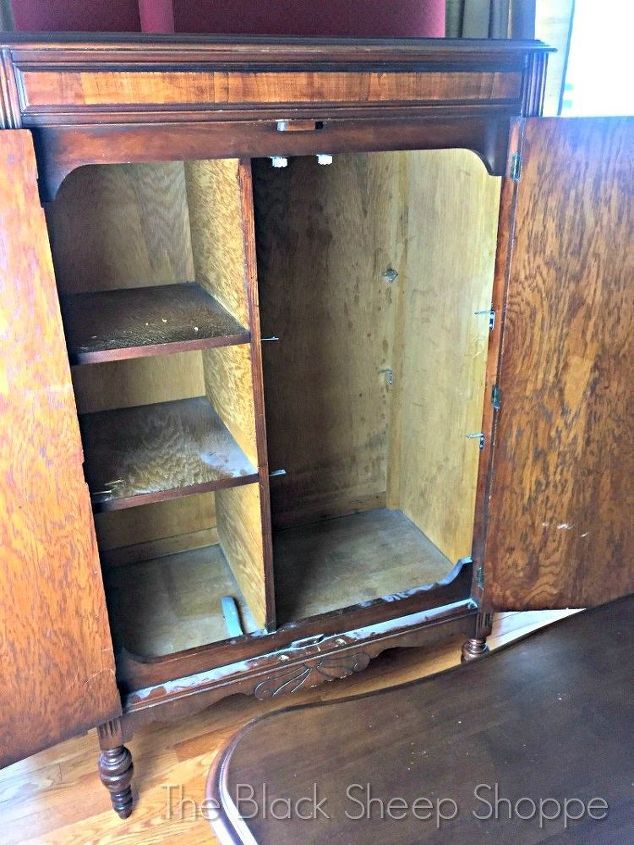
The original interior was unfinished and dirty. Frankly, it just wasn't anything that I would want to put my clothes in.

I painted the exterior of the piece before working on the interior. I wanted to make sure that I was happy with how the exterior coordinated with the fabric before going further. Once I was happy with the design, it was time to work on the interior. I gave the entire interior a base coat of Old Ochre chalk paint.

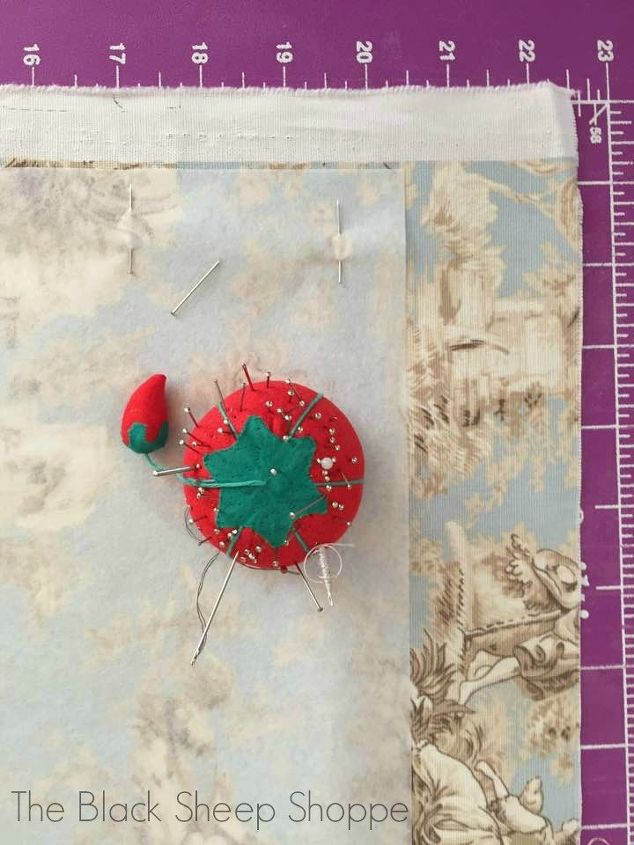
The main stumbling block with this part of the project was I bought the last 2 yards of fabric on the bolt. I estimated that I needed at least 2 1/2 to 3 yards, and I searched for more fabric locally and online with no luck. I could have chosen another fabric, but I was in love with this design, so I needed to make what I had on hand work. There was no room for error! So prior to cutting the fabric, I measured the interior panels and created my own patterns. The panels were different sizes, so I labeled each "right", "left", and "back" to keep things straight in my mind.
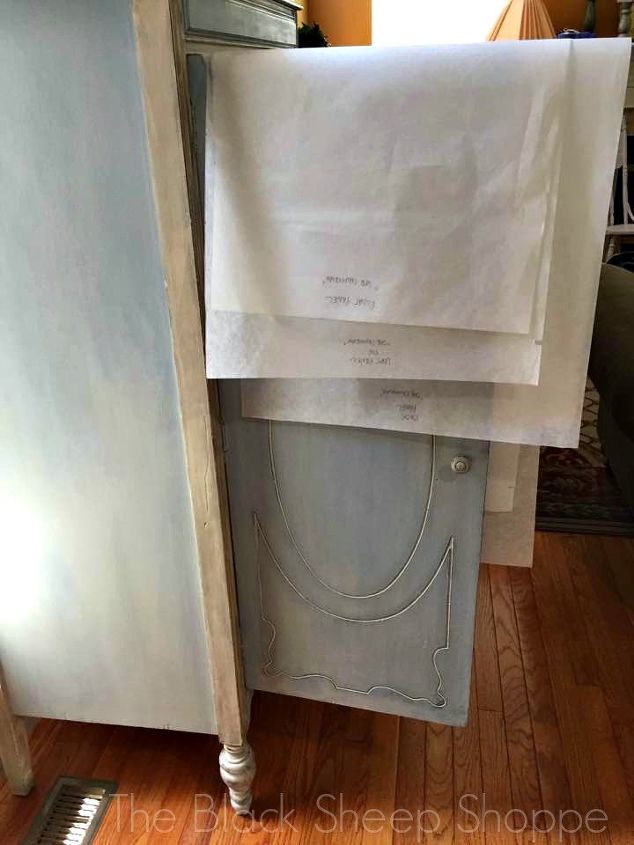
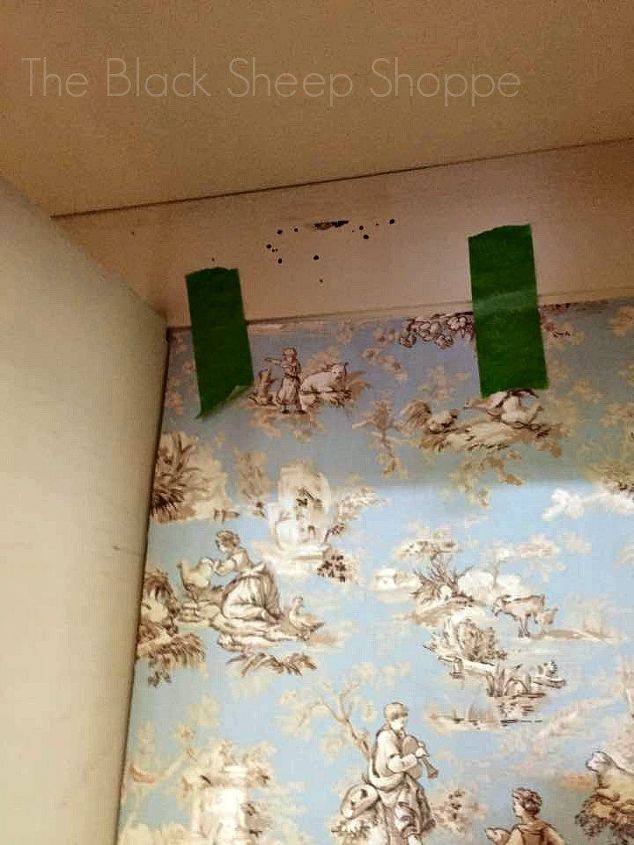
I taped the panel patterns to the inside of the armoire to make sure they fit perfectly. Next I laid out the patterns on my 2 yards of fabric to make sure I had enough room to cut. It took a bit of re-positioning to make sure the layouts were correct. As the saying goes, "Measure twice cut once." Plan B was to apply the fabric to only the back panel. Luckily I was able to play around with the panel patterns enough to get three panels.
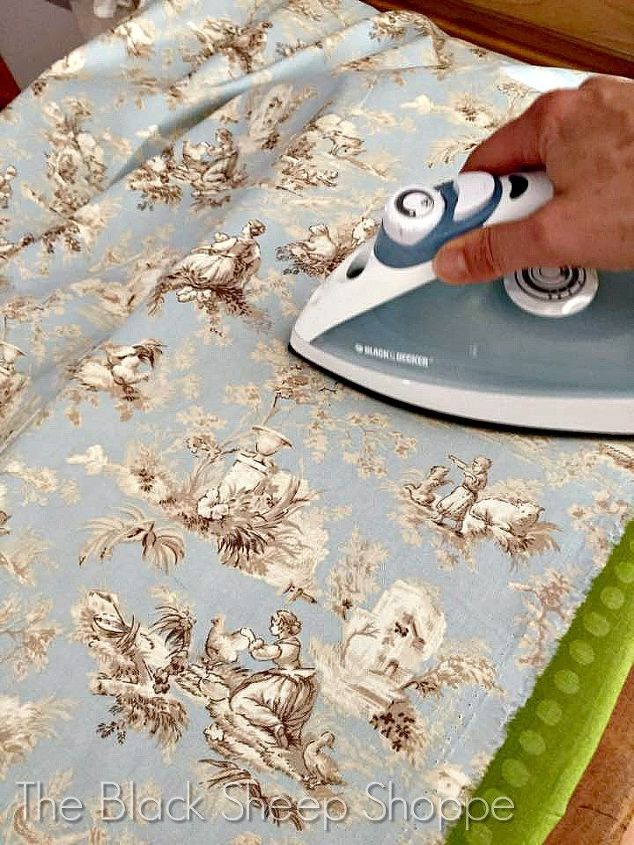
I ironed the fabric prior to cutting.

Since I wasn't lining the bottom, I covered the area with a piece of cardboard to protect it from any drips from the adhesive. I applied Mod Podge with a brush to one of the panels and then lined my fabric up at the top then unfolded it and smoothed it downwards towards the bottom. There's a lack of photos of this process because I needed both hands to place the fabric. Plus I was working inside a fairly tight space.
The fabric adhered well and there wasn't much time for re-positioning it. I used painter's tape to help hold it in place until the glue was completely dry.
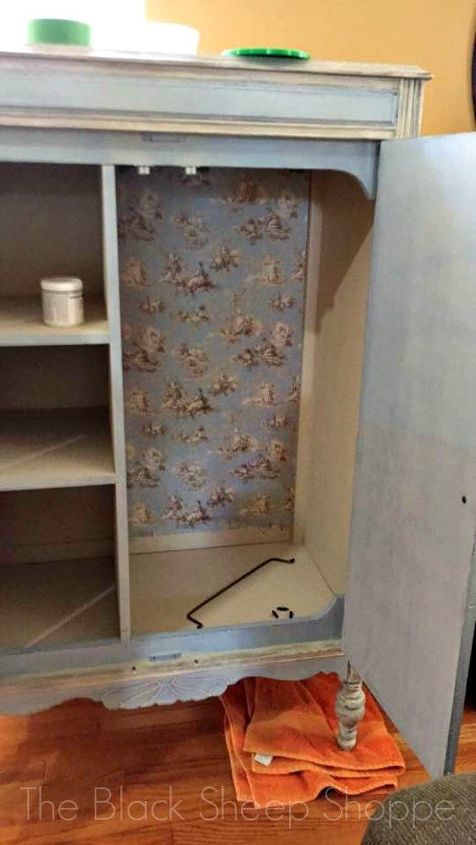
I started with the back panel and then repeated the process on the left and right panels. You'll notice the armoire is resting on an orange towel. The towel serves two purposes. First to protect my wood floors from scratches, and secondly to make it easier to slide the armoire around the house while I worked on it (it is VERY heavy). I later ordered replacement wood casters and now it's so much easier to move!
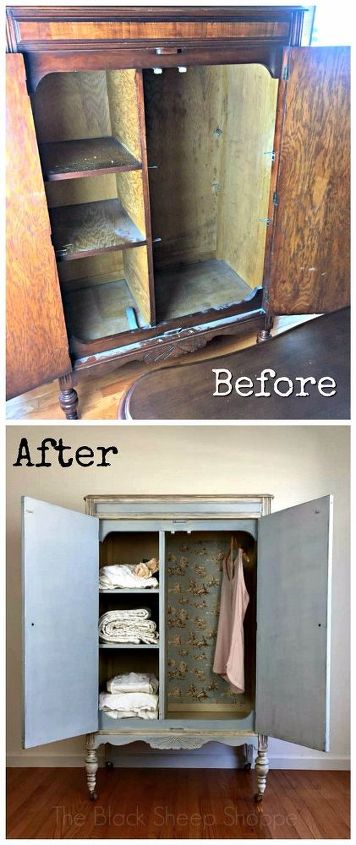
Finally a look at the before and after! I hope you enjoyed this project. If you would like to see more photos of the project from start-to-finish, please stop by my blog, The Black Sheep Shoppe, for links to photos and instructions.
The cost of the project will vary depending on the amount of fabric you need and what materials you already have on hand.
Want more details about this and other DIY projects? Check out my blog post!
Comments
Join the conversation
4 of 64 comments
-
Love. Love , Love this piece, beautiful job !!!!
-
You did a really nice job!


Frequently asked questions
Have a question about this project?
How did you finish the edges of the fabric?
I love everything about this piece!!! Can you share what you used to achieve the paint look on this? LOVE LOVE LOVE!
This beautiful!!! Do you think using liquid starch to adhere the fabric would have worked? I inherited my aunt's bedroom furniture circa 1940, and have been thinking of refinishing it. I have a full bed, chifferobe, vanity w mirror and upholstered seat. I love it and intend to keep the support the war/ buy bonds sticker (about 1"x2") she had placed on mirror.