


Learning to Re-wire a Lamp

by
Patricia
4 Materials
$10
30 Minutes
Easy
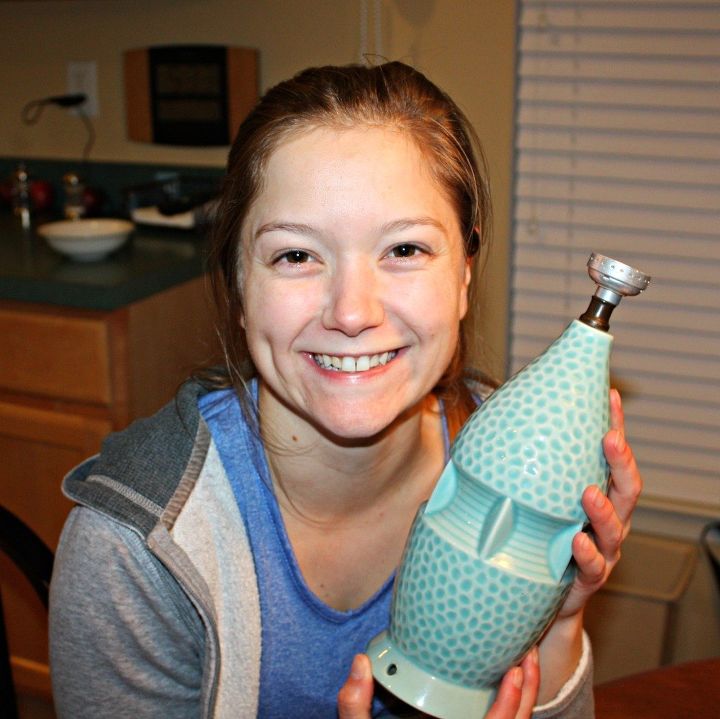
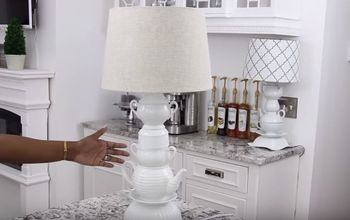
My youngest daughter was home from school, and although she still had studying to do, we made time to visit a few thrift stores. She found a pair of vintage lamps for $6 for the pair, or it might have been $6/each -- I don't remember. Either way I think this pair was a great score!
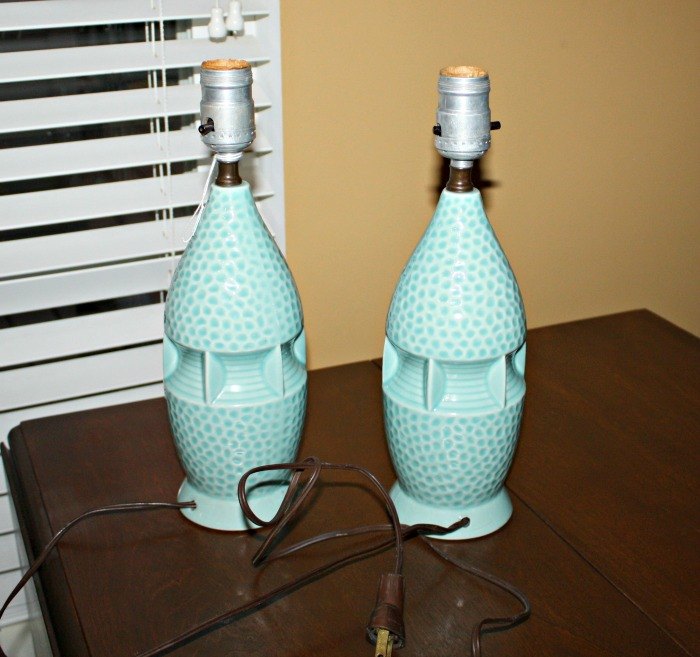
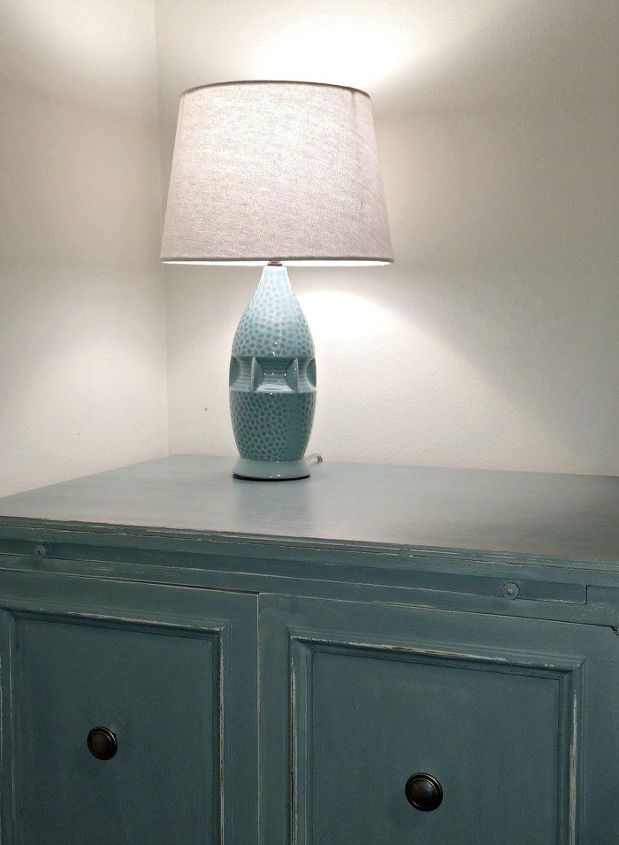
Not only do I love the color and shape, but the texture on the lamps is wonderful. They are ceramic, which you can easily find new today, but the weight and feel of the ceramic is different with the vintage lamps. I don't know why that is, but there is just something special about vintage,
Unfortunately the cords were very old and weren't safe to use. Neither myself nor my daughter knew how to replace the cords. However, my husband showed my daughter how to do it on one lamp, and then she got to try for herself on the second lamp. I was in charge of photos.
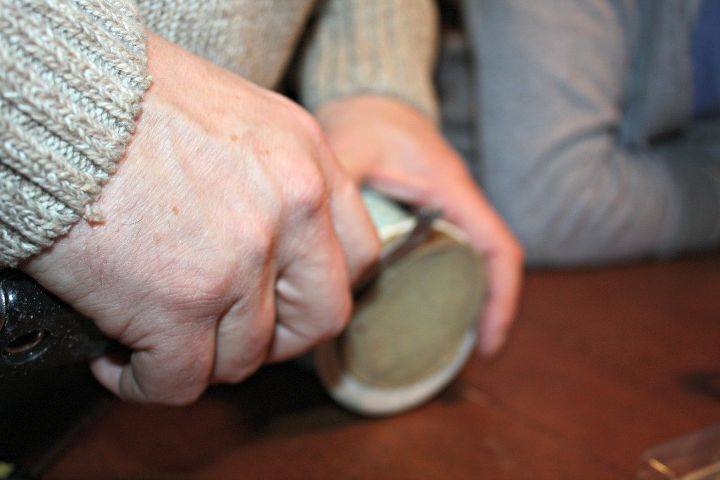
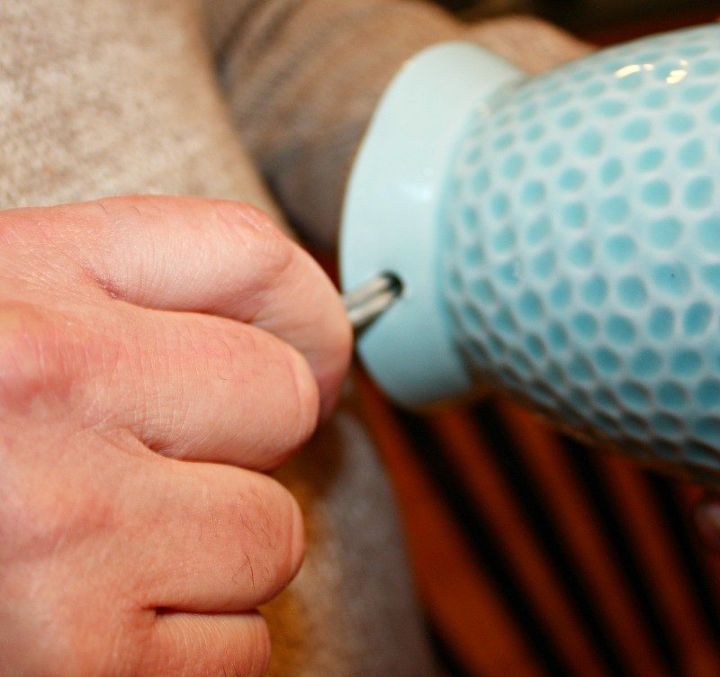
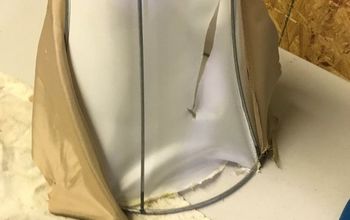
The first step was to remove the cardboard cover from the bottom of the lamp. It came off very easily. Please note that the lamps were NOT plugged in during this project -- safety first!
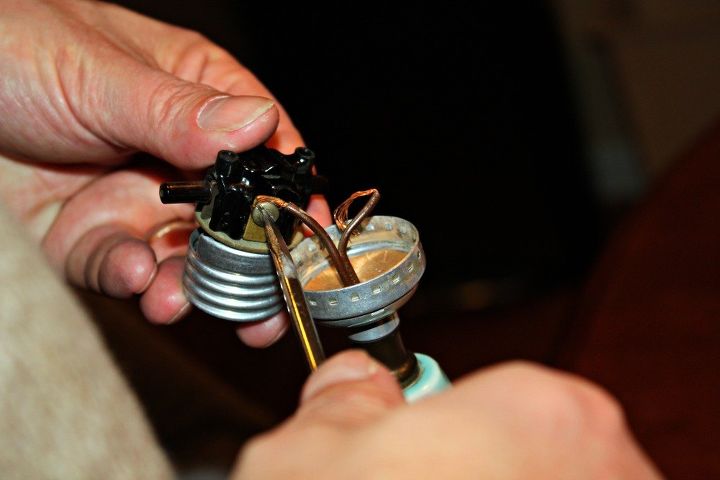
Next the old wires were disconnected by loosening the screws.
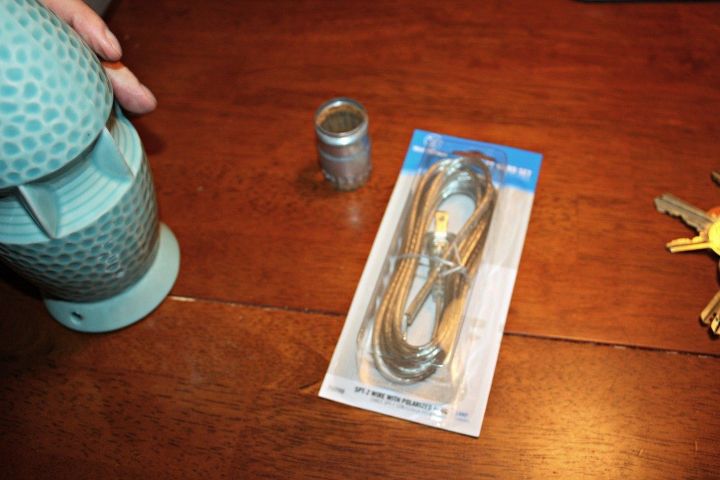
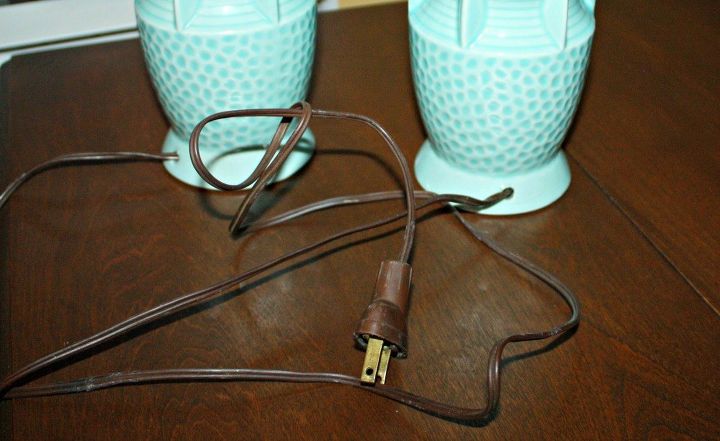
We purchased new cords at Home Depot.
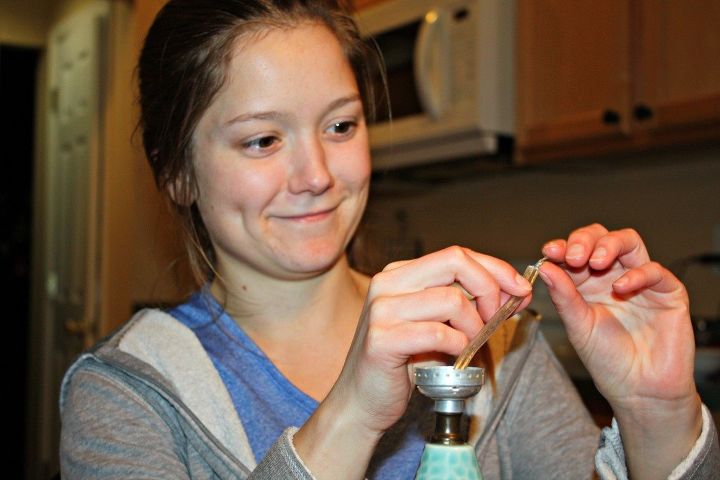
So the next step is to run the new cord through the cord hole and then up through the center of the lamp. But the cord is somewhat flexible and we were having a hard time feeding it through.
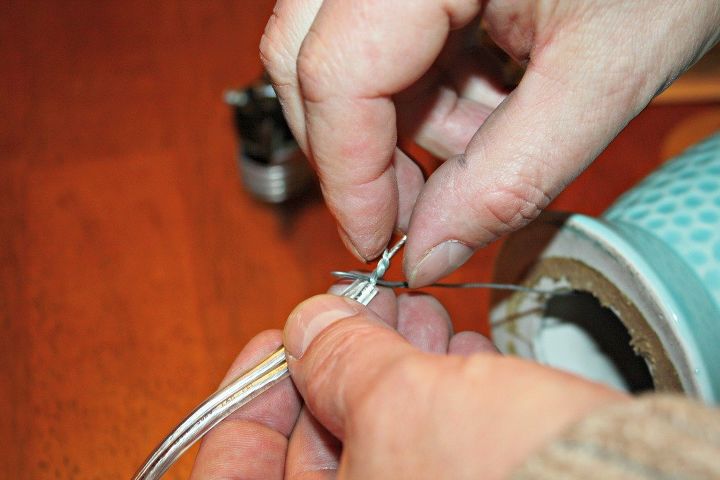
So my husband attached the cord to a stiffer wire and pulled it through.
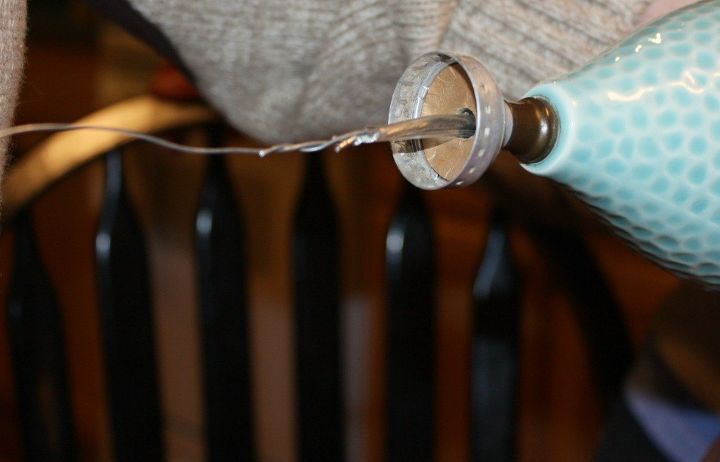
Easy-peasy.
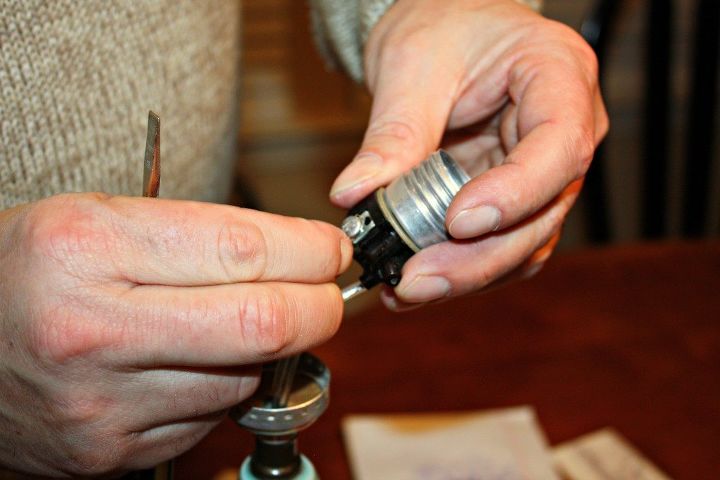
The final step was to attach the new wires to the socket. We put the new wires in place and then tightened the screws and set the socket back into place.
Now it's time to re-wire the second lamp. My daughter was excited to give it a try!
She did the second lamp by herself and did a fantastic job!
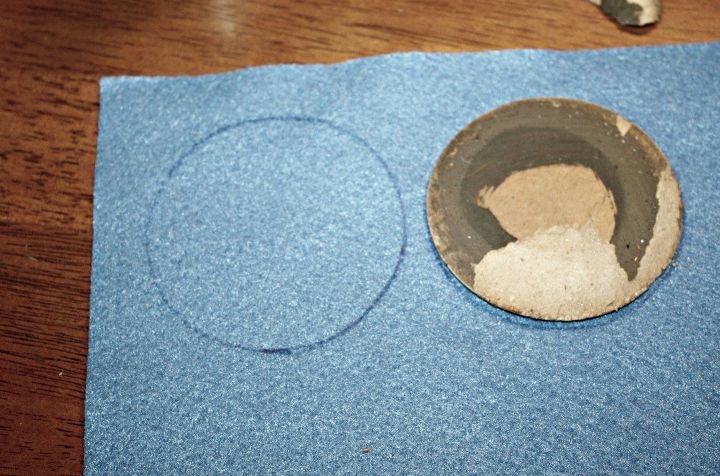
And just so you don't think I was sitting around doing nothing, I did actually contribute to this project. Remember the cardboard that we removed from the bottoms? I traced them onto felt and cut new bottoms for the lamps. Then using a glue gun I attached the felt to the old cardboard and then reattached the cardboard to the lamp base. Personally, I think this was the most important step.
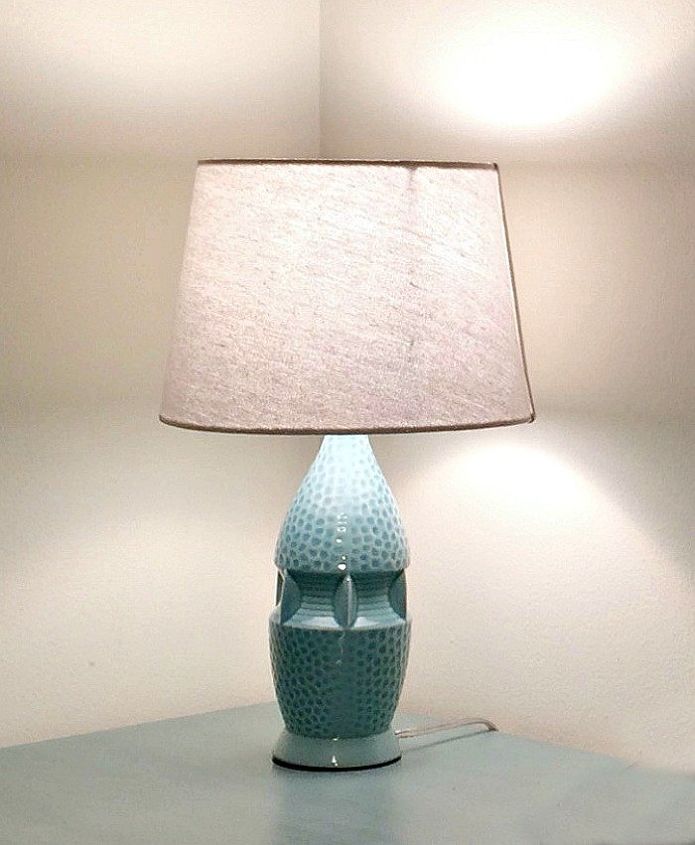
We went to target and my daughter picked out some new lamp shades. They are linen with a tiny bit of metallic silver strands in the fabric.
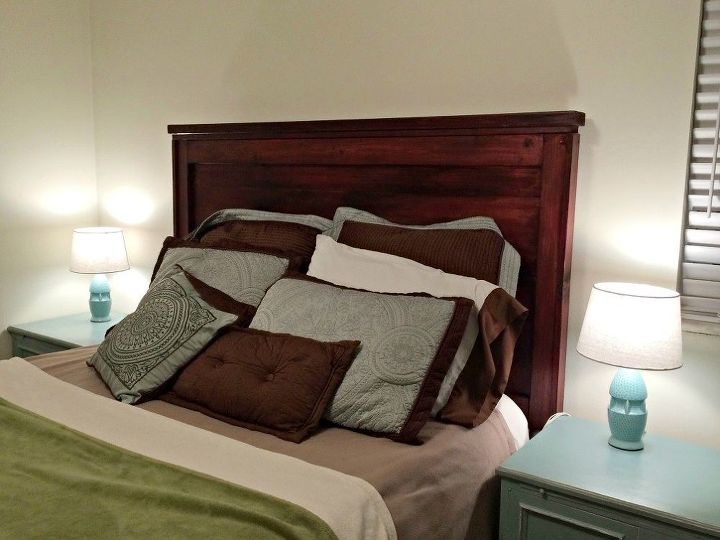
Now she has some extra lighting in her room and she can be proud that she learned how to do something new. I should also mention that the awesome headboard was fully made and constructed by my daughter. She used some plans she found online for a Pottery Barn knock off. I love that can-do spirit!
I hope you enjoyed our lamp project! If you would like to see other projects that I'm working on then please head over to my blog, The Black Sheep Shoppe. P.S. I estimated the cost of the project at about $10 for the two new cords which excludes the cost of the lamps and the new shades.
Want more details about this and other DIY projects? Check out my blog post!
Comments
Join the conversation
5 comments
-
Even though they are vintage the design is timeless. Great save! The shades are perfect. Bet your daughter is proud.
- See 1 previous
-
Beautiful!!


Frequently asked questions
Have a question about this project?