


Transfer Graphics to Furniture Using Con-Tact Paper

Easy
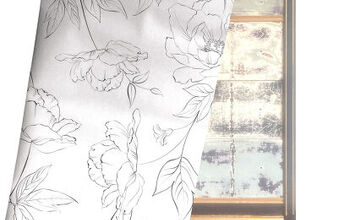
I love transferring graphics onto furniture and other objects. Sometimes I can use my projector to trace the image and draw it on. The problem is that some graphics are very intricate (like the peacock pictured) and it would take me days to trace and draw. I have read plenty of posts advising the use of wax paper to print out the image and then rub it on your furniture. I have never been able to get that to work with satisfying results. The wax paper usually jams in the printer or gets too wrinkly to use.
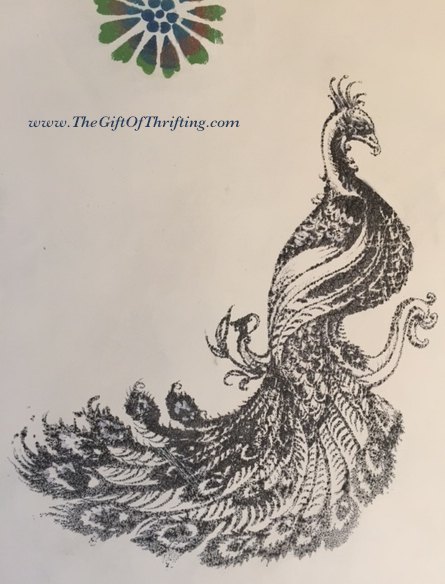
Transfered peacock image using contact paper
Then came my idea to use Con-Tact paper stuck to card stock for support. I researched this idea and only found where people used an iron to iron on the graphic to their work, but it was mentioned several times how they had to try and peel the melted plastic off of their piece. I didn't want to ruin my furniture.
My thought was to just attach Con-Tact paper to card stock then feed it through the printer.
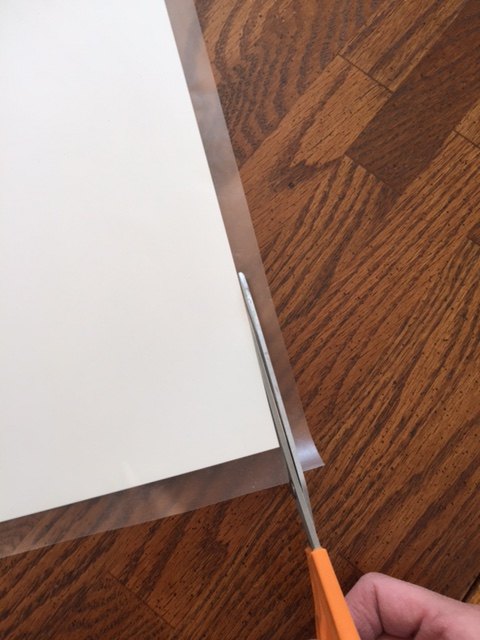
Trim excess Con-Tact paper from cardstock
This worked great - Just print on the Con-Tact side. When you are printing your image, make sure you reverse the image before you print, especially if it is lettering. If you don't do this your image will be backwards when you place it.
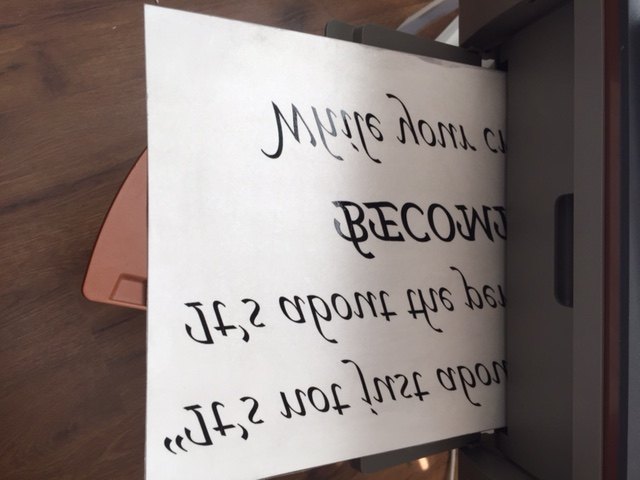
Reverse your image
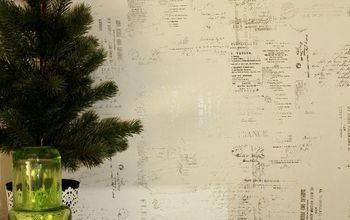
As soon as it prints, place it image-side down on your piece and use a credit card to rub over the back of the surface to transfer the image.
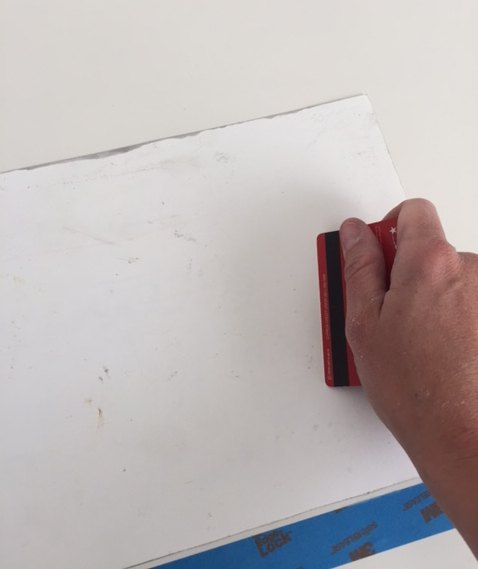
Image-side down. Card used to rub back side
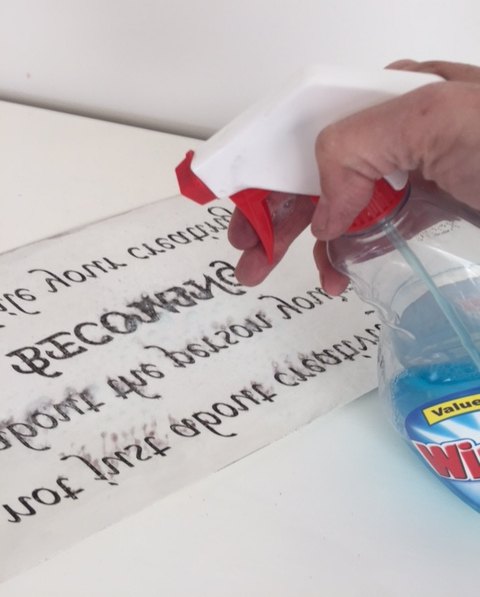
The best part of this ( - besides no wrinkles, printer jams or headaches) is that it is reusable! Just use a little window cleaner to clean of the Con-Tact paper side and you're ready to go again.
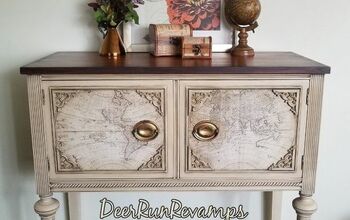
One thing to remember is that this technique will not create a crisp image on your project. This is best used if you are going for an antique or distressed look. I used this method to place the image down on the writing surface of an old roll-top desk that I am finishing. The peacock itself measures about 9"x10".

Thanks for reading through my post. I am curious what other methods you guys use or if you have successfully been able to iron on your image using Con-Tact paper without ruining your work.
Comments
Join the conversation
4 of 14 comments
-
Thank you for the help on the peacock. Can you tell me where or how to get the words you used? I think it would be good inspiration for the young dancer.....
-
Tandy, Thank you for your patience. I did not expand it out. I apologize. I love your project and appreciate your time and help. Best wishes....


Frequently asked questions
Have a question about this project?