


New Life for an Old Frame

by
Lsherbach
6 Materials
1 Hour
Easy
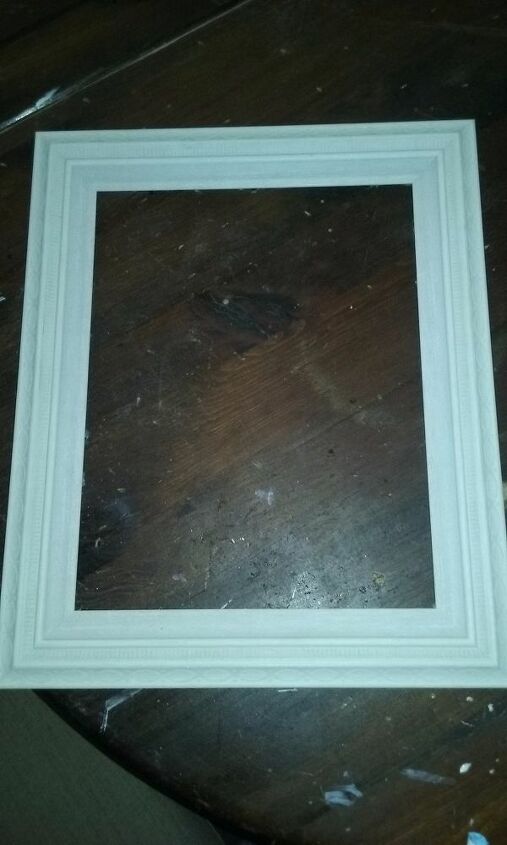
This frame has been sitting on my work station, begging to be saved, again.
So here we go...gathered everything I envisioned I would need for this project
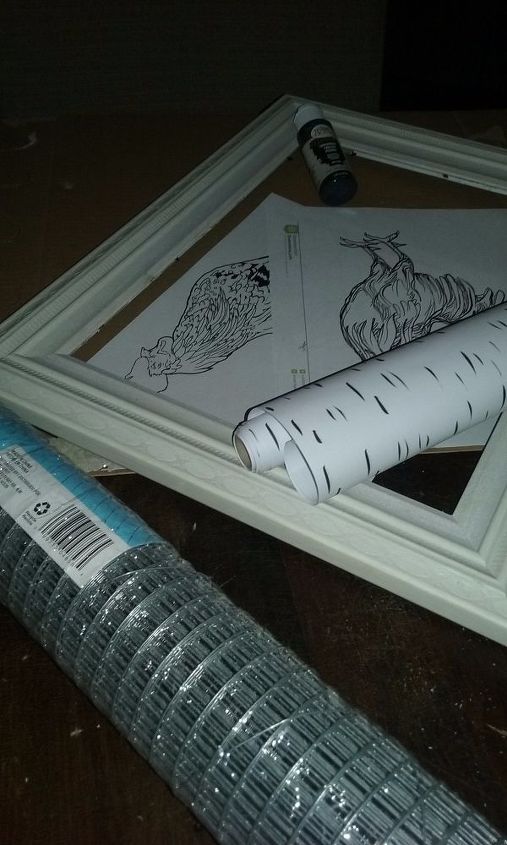
I knew I wanted to use this in my entryway, where I display my way too large collection of roosters, so I would definately be using chicken wire. I searched online for a blackline image of a rooster and printed it out, trimming away the excess paper, leaving just the outlined image of the rooster.
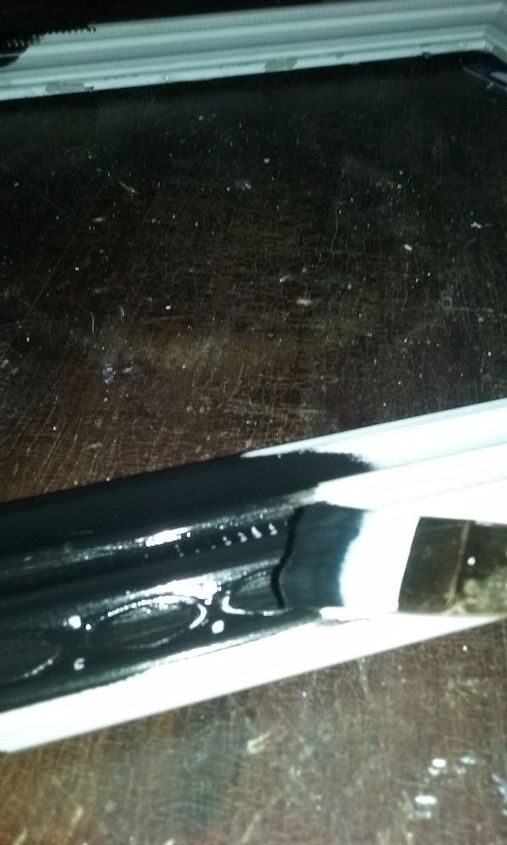
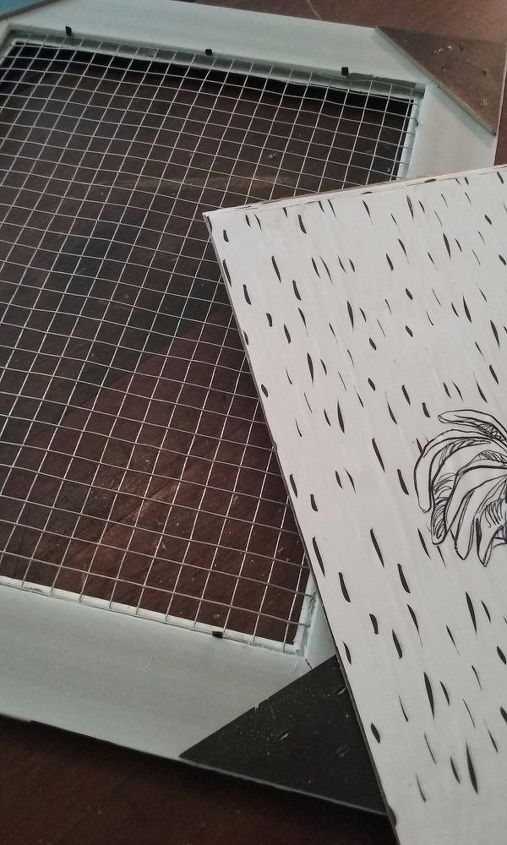
Using black chalk paint, I painted the frame and cut the chicken wire to fit inside the frame opening. I also cut a sturdy piece of cardboard to fit the opening.
Last Christmas, I found this great paper on clearance and I knew it was going to provide a great background for my rooster.
Using Modge podge, I adhered the paper to to the cardboard, when that was dry, I applied another coat of modgepodge as a topcoat, which also acted as "glue" for the rooster. Finished with a topcoat overall.
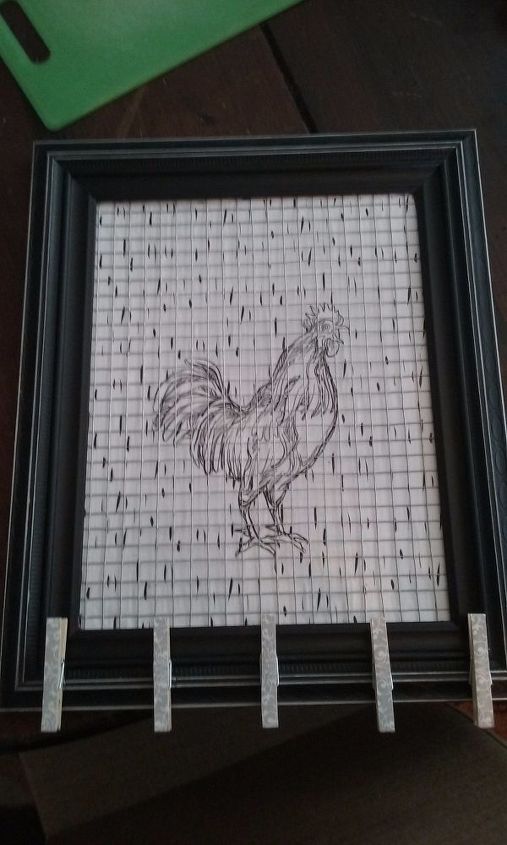
The final assembly, was (working from the back of the frame) chicken wire, rooster covered cardboard, held in place with metal clips that were still in place. If you aren't lucky enough to have those, you can just hot glue everything in place. As a finishing touch, I added some spring clithespins which I had covered with a coordinating scrapbooking paper.
And there you have it!
Comments
Join the conversation
2 comments
-
Lovely idea!!
-
Enjoyed completing yet another project sitting on my work table...thanjs for the challenge


Frequently asked questions
Have a question about this project?