


End Table With Built in Cooler or Planter!
An outdooor end table build project tutorial with built in cooler or flower planter. When I built my sun loungers it was only natural to build a table to sit between them because, seriously, sun lounging is thirsty work! I was going to build the most basic of little tables with little regard for anything except a sturdy surface for my beer. But then I remembered seeing the most fabulous end table with a cooler built right in on Pinterst… Well, yeah, I’m definitely going to have to do something like that lol! So, I got to work!
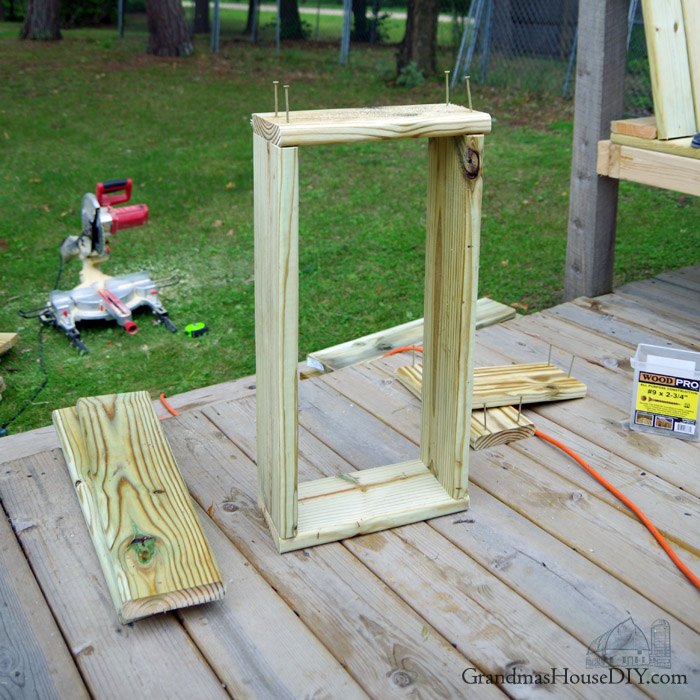
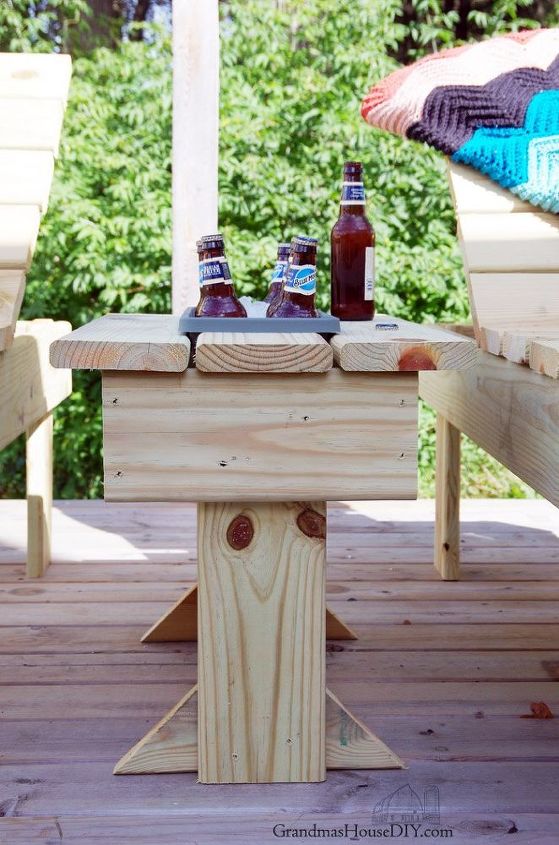
Using the same green treated deck boards that I built the outdoor sun loungersand my outdoor bench out of, I built a little basic table base using the same principle I used to build my outdoor barn door table base. With a glass beer bottle in mind I wanted this little guy to be extra sturdy!
I purchased a plastic planter insert choosing a dark green simply because there were no other colors to choose from. (You’ll notice in the following pictures that I was, in fact, not building one outdoor end table but three!)
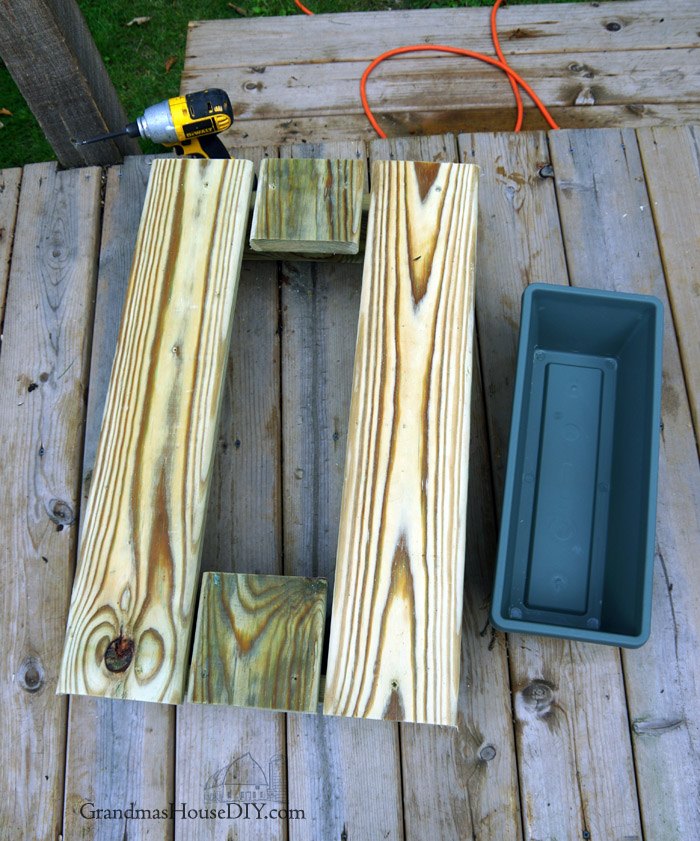
The long boards on the rectangle I cut at 24″ and the short boards I cut at 13″ giving my top boards a chance to hang over on all of the edges by over 2″.

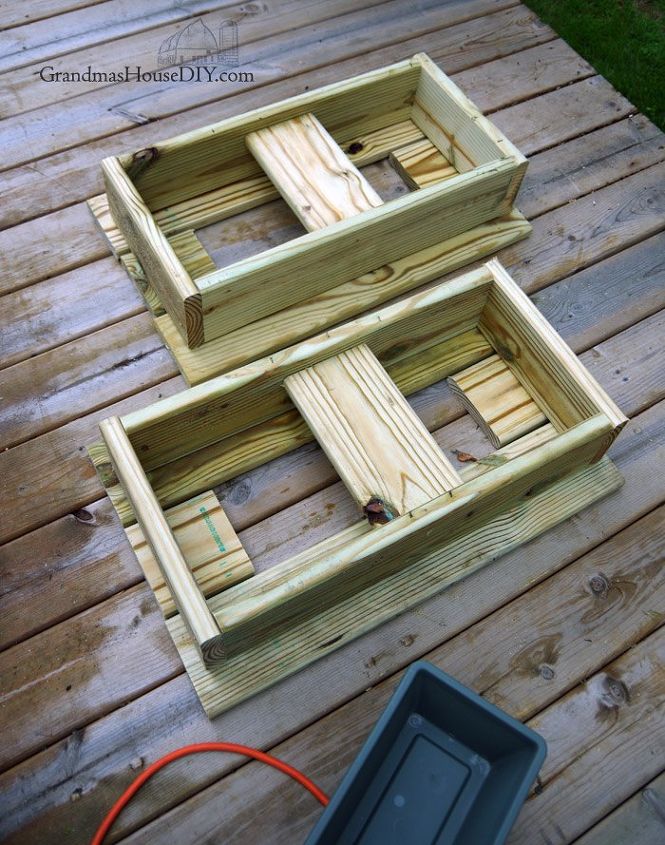
With the rectangle finished I cut the two boards on the sides at 28″ and then dropped the planter in place and added a small board on either end that I cut at 5 1/4″. I am aware that these small boards are not going to support much of anything as they are but they don’t need to: next I added a board across the bottom of the planter to support its weight.
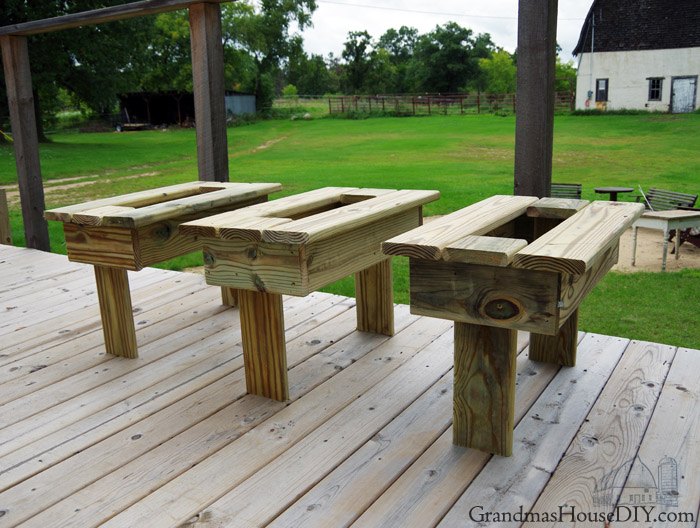
With the legs done and the end tables standing there looking complete I tested them for sturdiness and was just not happy with the result. Would they have stayed upright on their own? For sure, but what if they were bumped? They would topple. I had images of my beer going flying… I cut feet at the same length as the end boards (13″) but they just looked weird and huge. Yes, they provided sturdiness but it just wasn’t right yet so I took them to my miter saw. I cut both corners off of each of my 13″ feet. Much better!
(There were two ready-to-be-knocked-out holes in the bottoms of the planters, I had not yet knocked them out in these pictures but I did later, so they provide great drainage either for melting ice or for plants!) They work great both for setting a glass and for ice!
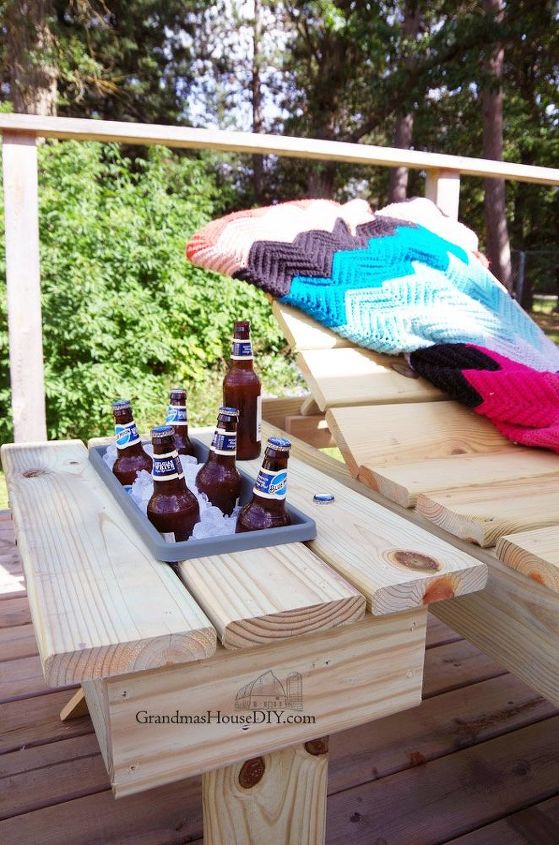
I’m really looking forward to next spring though and filling them with flowers!

Comments
Join the conversation
-
Wow, Wow Wow , what a brilliant idea ,

-
What a wonderful idea! Great looking result!


Frequently asked questions
Have a question about this project?
nice job! I don't see the height of the legs in the directions? what height did you cut the legs? also what type of screws did you use. Im very new to all this but would like to try this project.
Did you put sm holes in the bottom for plants or stones