


How To Give A Jar A Sophisticated Look For Fall

by
Shoppe No. 5
4 Materials
$3
4 Hours
Easy
I know you have seen how you can take a mason jar & do many things with it. But what about a simple jar? Say a spaghetti jar with a little style. So this is how to give a jar a sophisticated look for fall.
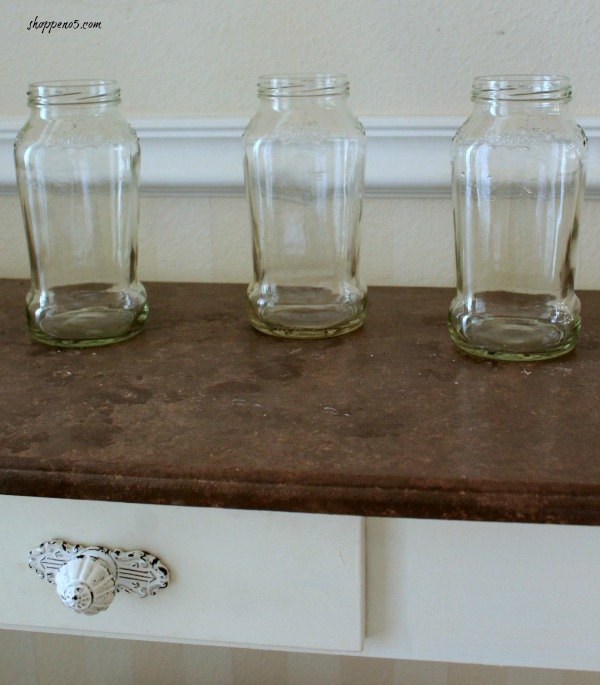
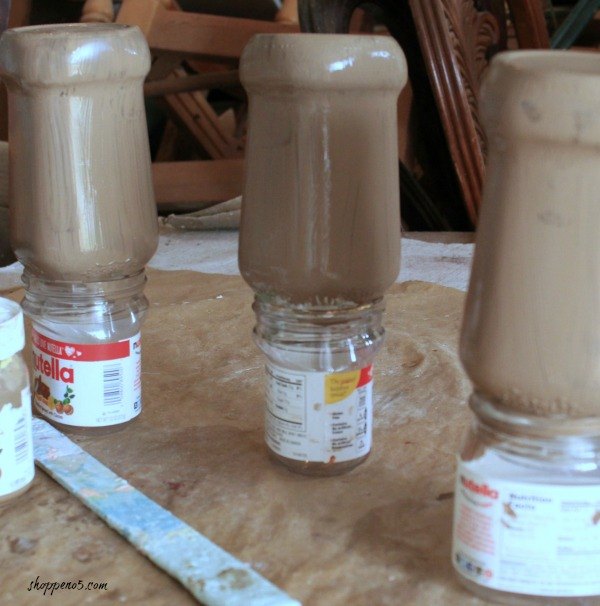
The first thing to do is to clean the jars thoroughly making sure to remove the label and sticky glue. Let the jars dry. After the jars were thoroughly dry, I decided to experiment and layer the paint. It wasn’t worth the effort. When I do it again I will only use one color and do several coats of paint.
I painted over the brown paint with a cream color and then sanded to highlight the raised areas.
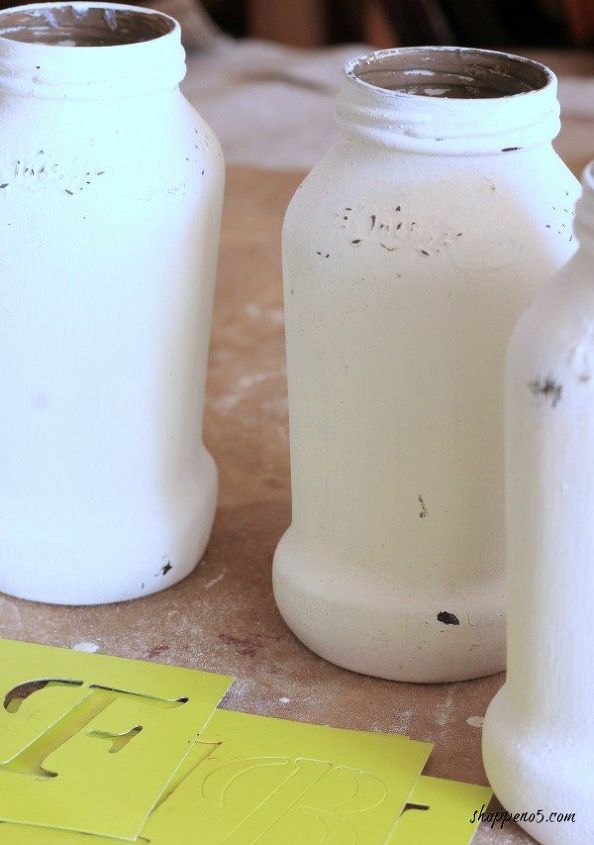
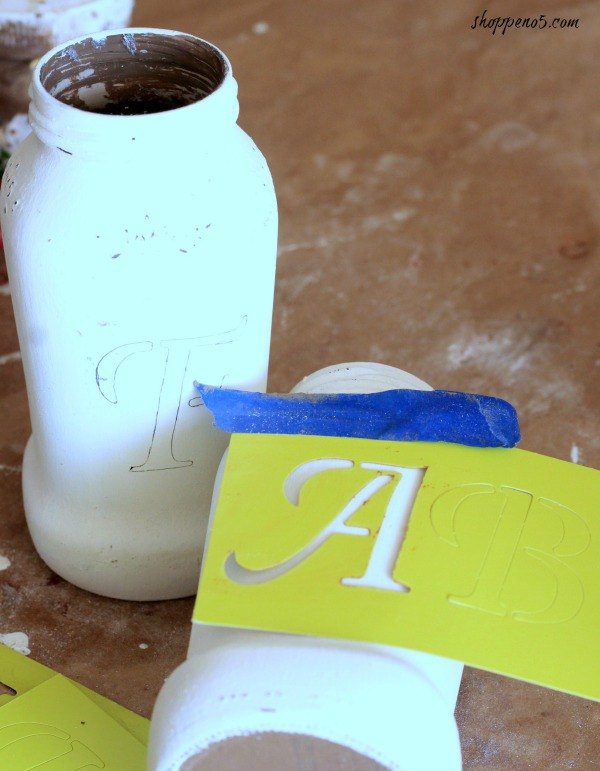
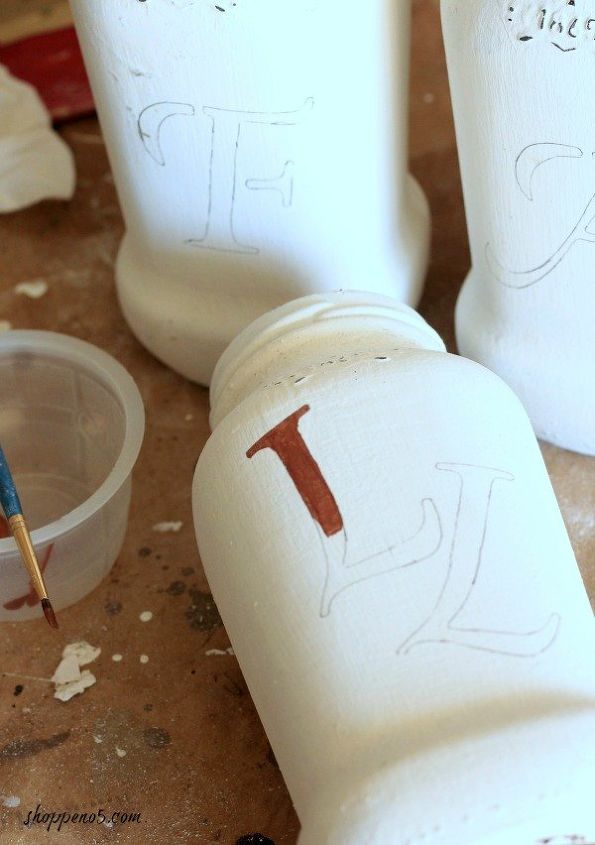
Then I selected one of my favorite letter stencils. I decided to trace the letter on the jar instead of stenciling. My worry is the paint would seep under the stencil since it would not lay flat. Put the “f” on one jar, an “a” on the second jar and two “l’s” on the 3rd one. Notice how the “l’s” appear to be falling?
For a sophisticated look use copper craft paint to fill in the letters. The copper paint can really up the wow factor of a piece. You can paint the part to connect the parts of the letter. I decided to paint it just as the letter is shown on the stencil. Let the paint dry and then wax the jars.
For a sophisticated look use copper craft paint to fill in the letters. The copper paint can really up the wow factor of a piece. You can paint the part to connect the parts of the letter. I decided to paint it just as the letter is shown on the stencil. Let the paint dry and then wax the jars.
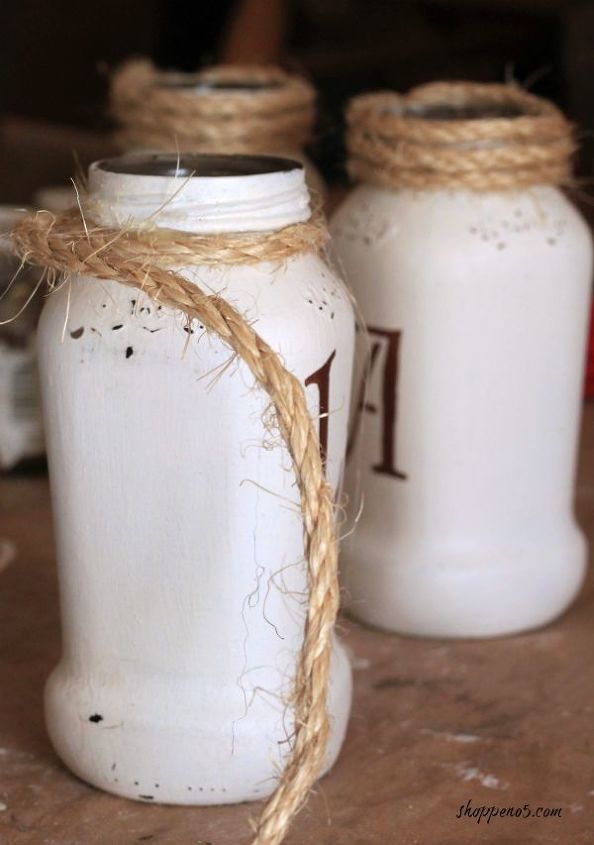
And now to disguise the top of the jar take the rope. Start at the bottom of the mouth of the jar and hot glue the rope to the jar. Wrap and glue until you reach the top. Dab a bit of glue to the rope on the cut end so it lays on the top and doesn’t unravel.
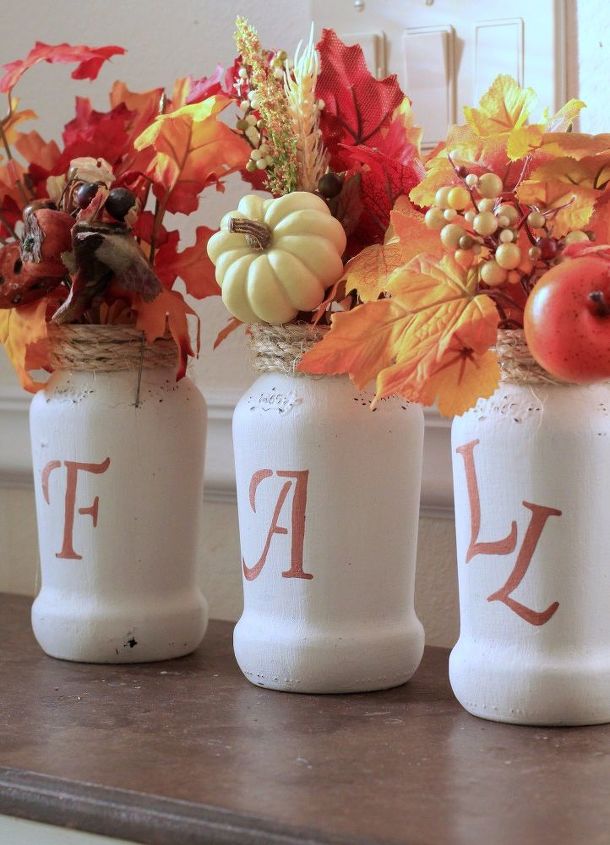
Can you believe how sophisticated these lowly spaghetti jars look now?


Any price and availability information displayed on [relevant Amazon Site(s), as applicable] at the time of purchase will apply to the purchase of this product.
Hometalk may collect a small share of sales from the links on this page.More info
Want more details about this and other DIY projects? Check out my blog post!
Comments
Join the conversation
4 of 29 comments
-
I have all that I need for project. To cute and great idea.
-
Thank you Shoppe No. 5 I'll try to get pics. posted for you when I do this. Have a great day. :)


Frequently asked questions
Have a question about this project?
Love these. Could you paint the inside a darker color then the outside the light color to get the same affect when you sand off the raised parts????
what do you wax with?
I'm assuming you used chalk paint on the jars? Did you use a paint brush or spong to apply? Thanks