


How to Make Gorgeous Christmas Light Decorations for Your Home

Now the Christmas season is upon us, we all want to festoon our houses with festive decorations and over-the-top accessories, but creating the holiday home of your dreams can be difficult when you don’t have lots of money to spend.
While the baubles and tinsel you see in your local hardware store look absolutely lovely, they often have quite a large price tag attached, and once you add some lights into the equation, you’re looking at spending even more.
That’s why it can be a good idea to think about making your own holiday accessories, but Christmas light decoration ideas can be hard to come by if you’re not super creative and/or imbued with impressive DIY skills.
That being said, it’s not always as difficult as you might imagine, which is why I decided to create some of my own decorations this Christmas. All relatively easy to make, they look great, and are most definitely achievable even for those who have only basic DIY skills.
Here are a few for you to try.
PVC Candy Canes

Step 1: Gather Your Materials
The first idea you might want to take a crack at is these stylish PVC candy canes. They’re super easy to assemble and don’t require any particularly hard to find components, so you should have no trouble getting your hands on the materials you’ll need.
Tools and Materials
- Paint
- PVC pipes
- A string of fairy lights
- Sandpaper
- Painter's tape
- A drain
- Ribbon
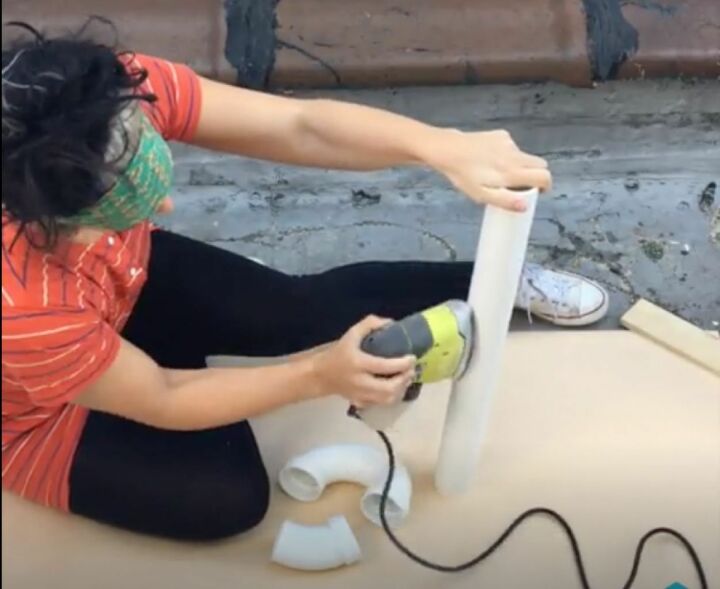
Step 2: Create the Candy Cane
Once you have the parts you need, the next step is to create the candy cane itself, which you can do by assembling your PVC pipes. I sanded these beforehand to get rid of the surface text, ensuring that they offered a perfect blank slate. When this was the correct shape, I attached the drain to the bottom.
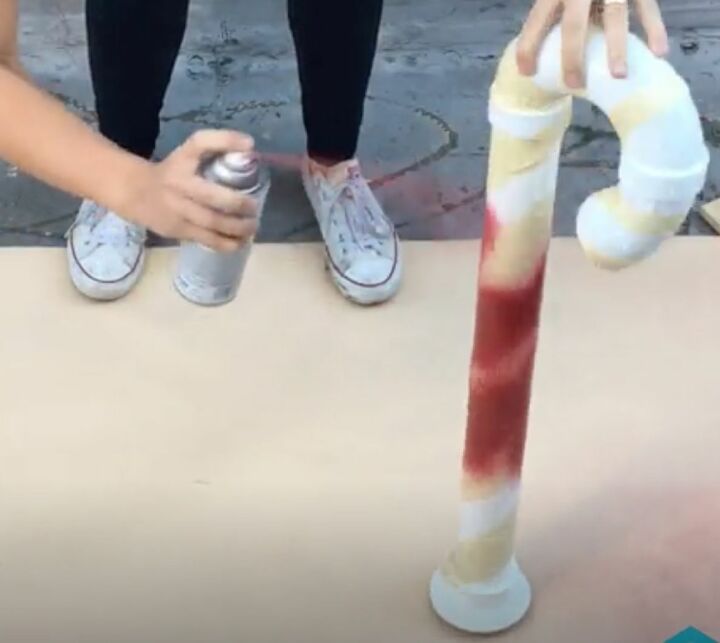
Step 3: Wrap the Pipe
Next up, it was time to color my creation, which meant wrapping the ribbon around the cane to create the classic stripe pattern. I then added red spray paint over the areas left uncovered to get a gorgeously Christmassy aesthetic.

Step 4: Drill Holes and Add Lights
With my candy cane all ready to go, the next step was to drill some holes. Removing the base, I inserted the lights into the length of the pipe, feeding these through to create a beautiful decoration that shines brightly come night-time. I finished by tying a crimson ribbon around the top of the cane, for an easy-to-make but gorgeously on-trend Christmas accessory.
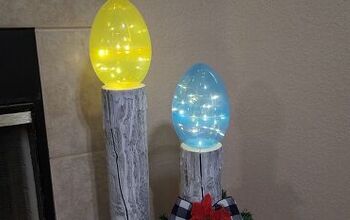
Light-Up Canvas
Step 1: Gather Your Materials
If you fancy trying something a little different when thinking about light up Christmas decorations, how about giving this light-up canvas a go? You’ll need a few components before you can get started, all of them simple to get hold of.
Tools and Materials
- A canvas
- Acrylic paint
- Nail polish
- A permanent marker
- Mod Podge
- A paintbrush
- Star confetti
- An ice pick
- Battery operated lights
- Stencils
Step 2: Paint and Decorate the Canvas
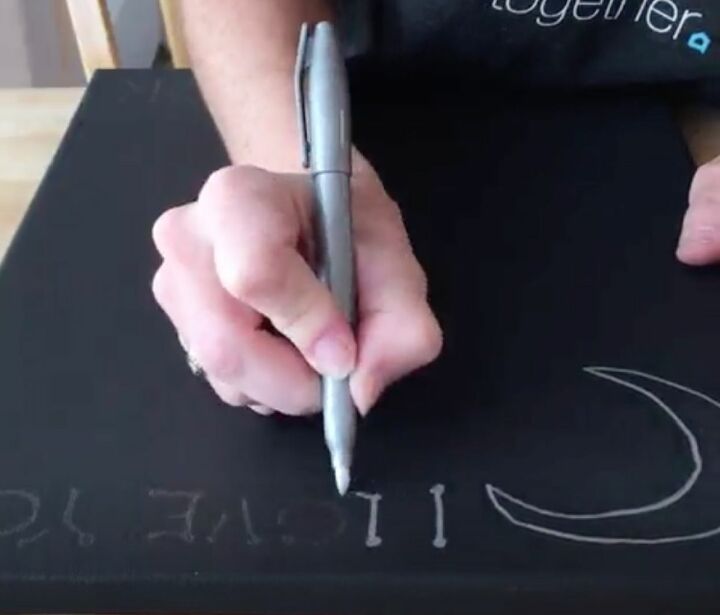
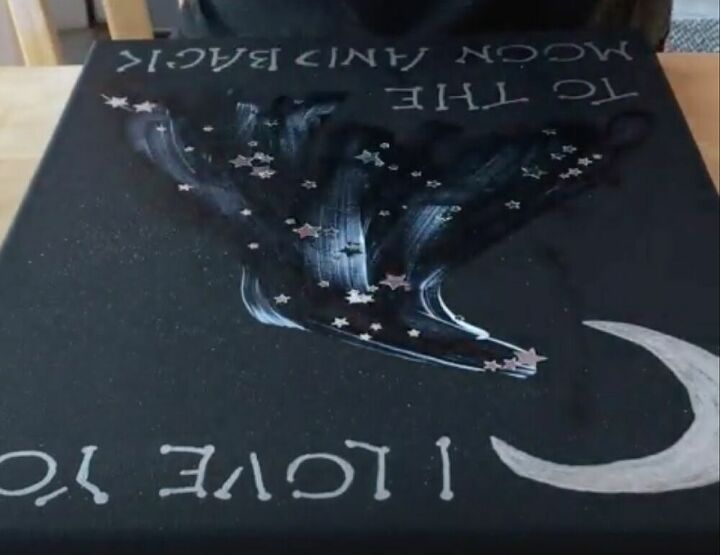
Once you've got everything you need, begin by painting your canvas with acrylic paint. It’s entirely up to you which color you use, but I personally opted for black, as I felt it would help my illustrations to really stand out.
When the paint dries, use your stencils to add a message in pencil (it’s okay to freestyle if you prefer), ideally one that expresses the season’s sentiments. Go over this with your permanent marker when you’re done, and be sure to add in some nail polish illustrations and star confetti to complete the look.
Finish by coating the canvas in Mod Podge to seal it all in place.
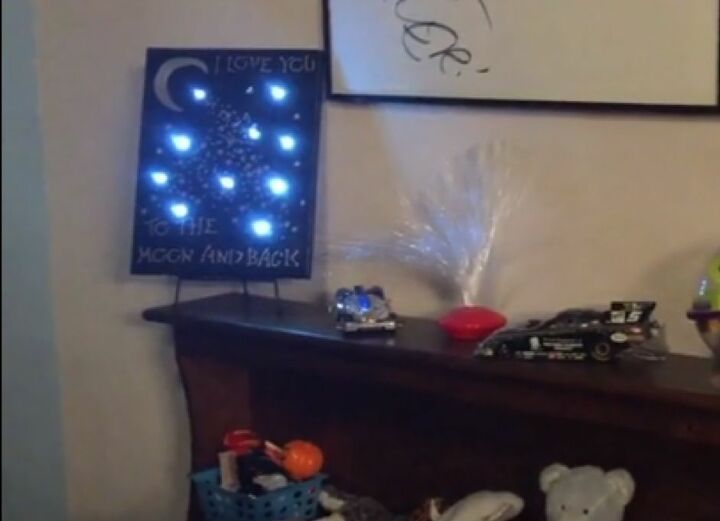
Step 3: Attach Your Lights
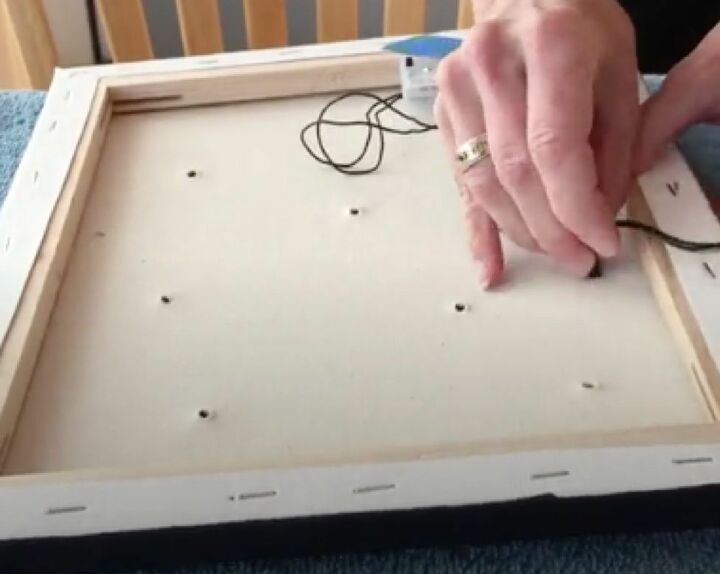
Once you're happy with how you've decorated your canvas, decide where you want your lights to go. You’ll need to use your ice pick to make a series of small holes, which you can then push the bulbs through. Flick the switch, and you’re all finished!
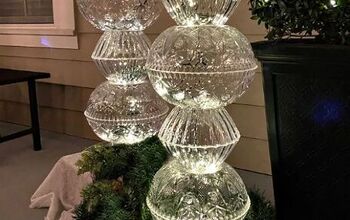
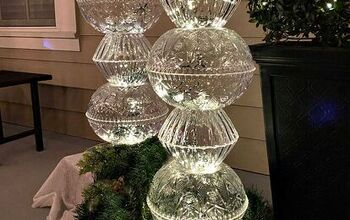
Lit Orbs
Step 1: Gather Your Materials
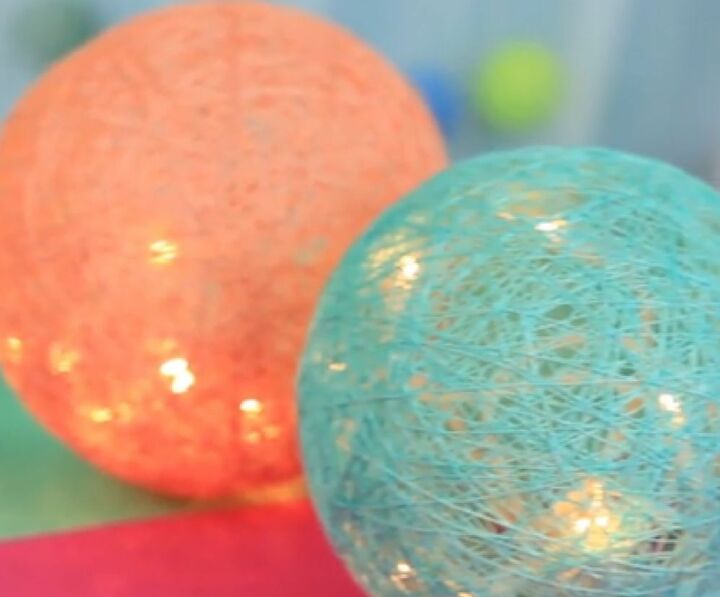
On to the next one! This time, we’ll take a look at how to create these gorgeous lit orbs.
Tools and Materials
Tools and Materials
- A balloon
- Thread
- Scissors
- Lights
- Glue
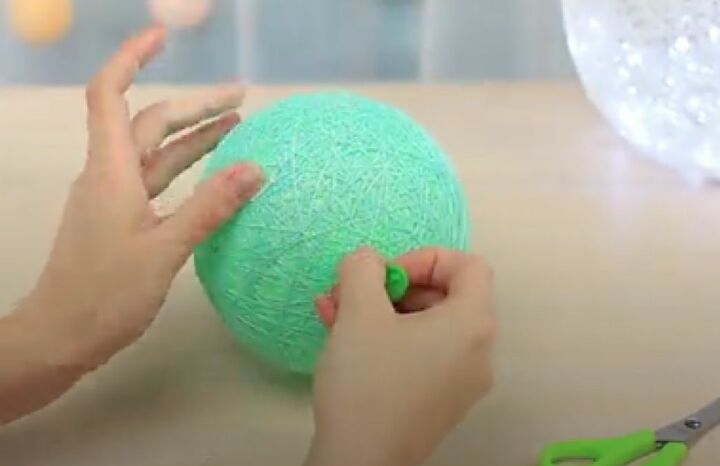
Step 2: Wrap the Balloon with Thread Soaked in Glue
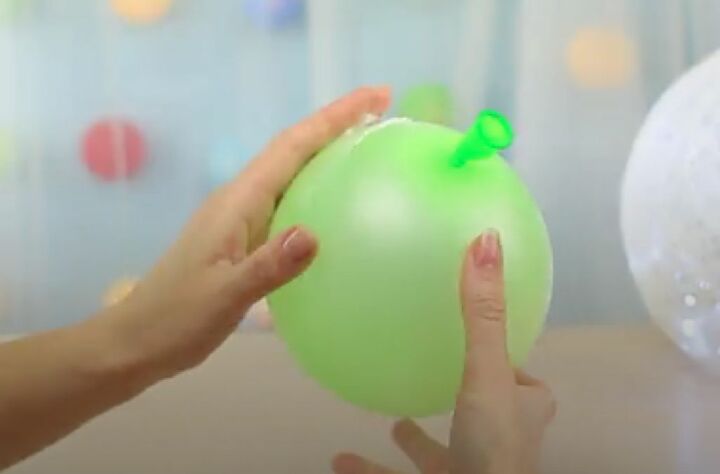
Once you’ve got a balloon to hand, you’re going to need to inflate it. It’s up to you how large you want it to be, but smaller looks better in my opinion. When you’re done, take your thread and soak it in glue, wrapping it around your balloon as many times as you can.
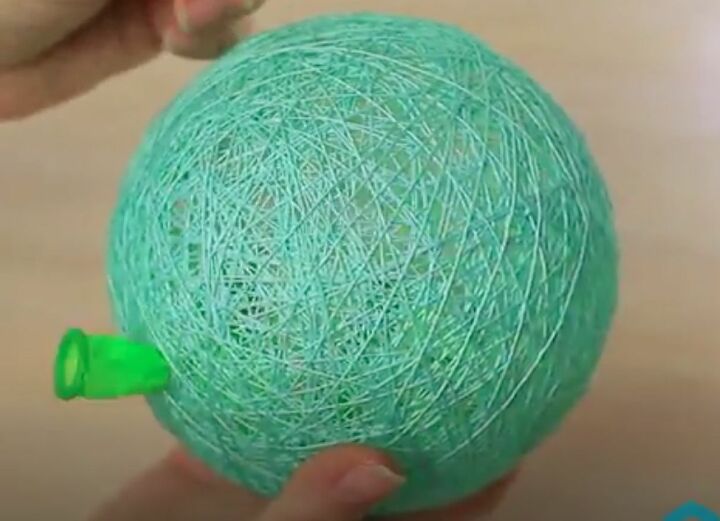
Step 3 Allow to Dry and Remove the Balloon
The next step requires a little bit of patience – you need to give your balloon some time to dry. In my experience, this usually takes around three hours. Once you’re certain the glue has set, take a needle and pop the balloon, before carefully removing it from inside your ball of string.
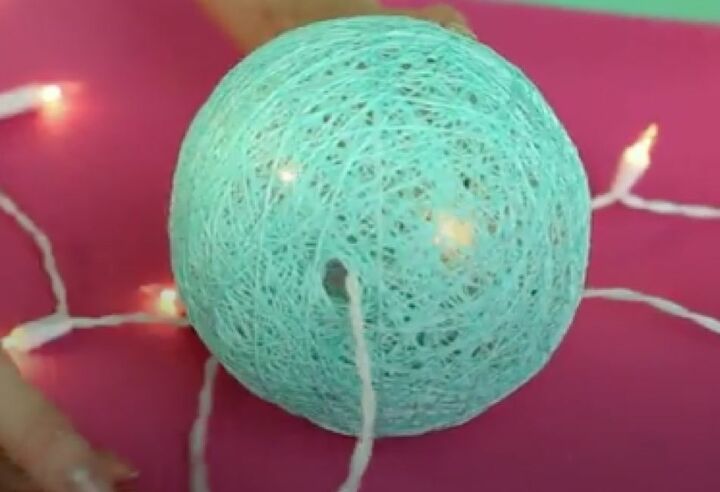
Step 4: Fill with Lights
With a small hole left behind, take your string of fairy lights and insert them into the ball to get a gorgeously glowing orb. It really is that simple!
Twinkling Branches Room Divider
Step 1: Gather Your Materials
Another easy way to add a fabulously festive touch to your room is by creating this room divider, and it’s really easy to do.
Tools and Materials
- A wooden frame
- Wire
- Branches
- String lights
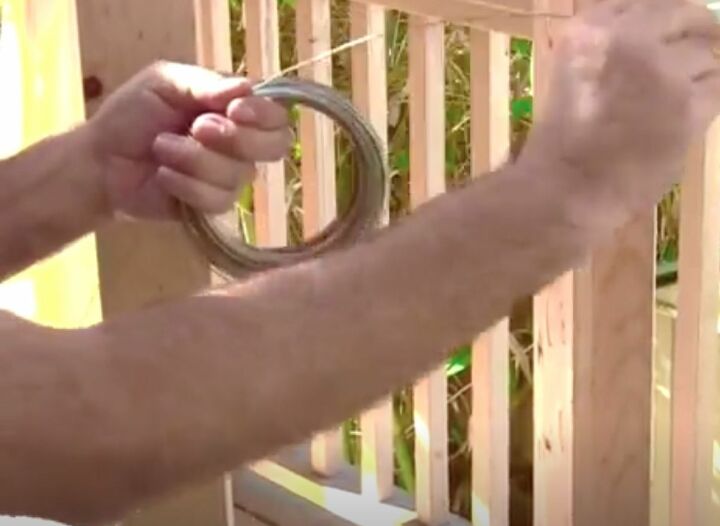
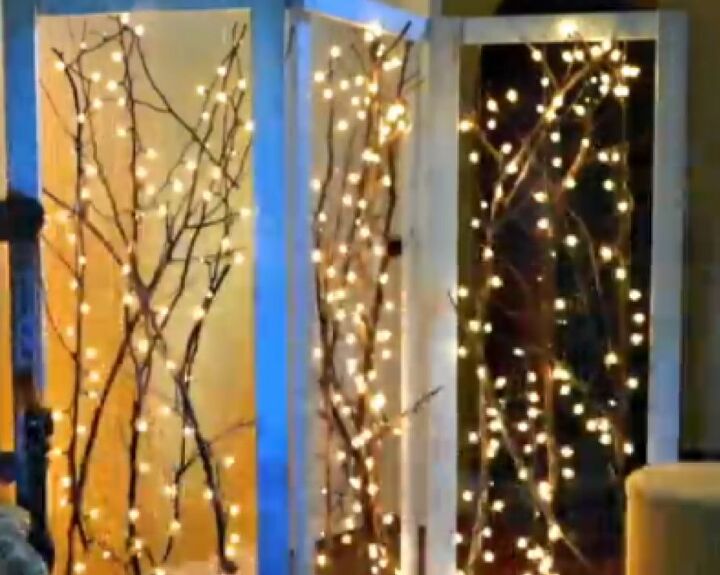
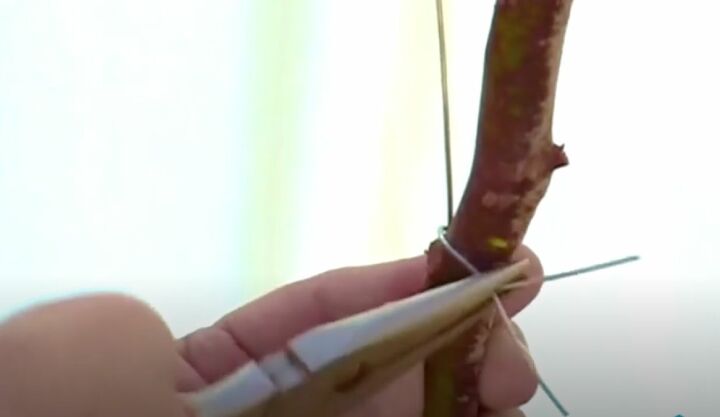
Step 2: Attach the Branches with Wire
Once you have your wooden frame ready, take your wire and insert it around any protrusions, before using it to anchor your branches in place. Take a little time to get your arrangement right, making sure you’re happy with how it looks before moving onto the next step.
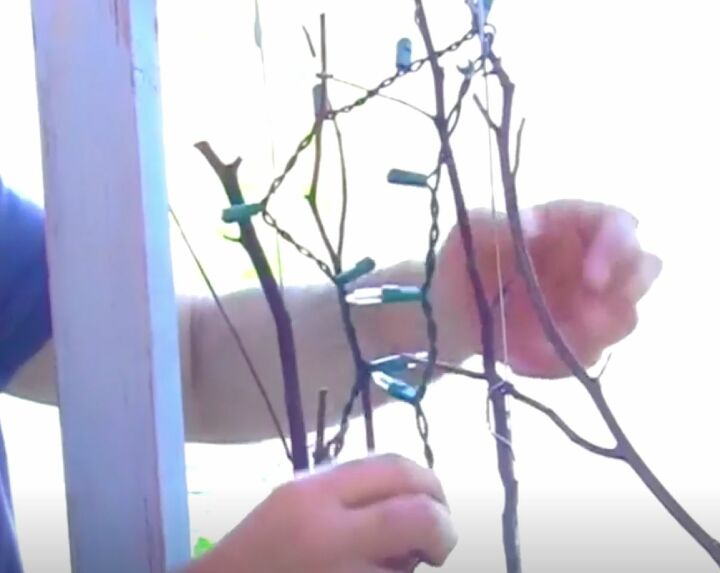
Step 3: String Lights
When you’ve got your branches sitting how you want them to, it’s time to string your lights. While one string will suffice, two is even better, as the more brightly illuminated your end result is, the more festive it will look come evening.
Holiday Topiaries

Step 1: Gather Your Materials
Last but not least, how about trying your hand at these holiday topiaries? To give it a go, you’re going to need:
- A tomato cage
- Feather boas
- Decorations
- Fairy lights
- Bolt cutters
- Rubber bands
- A planter
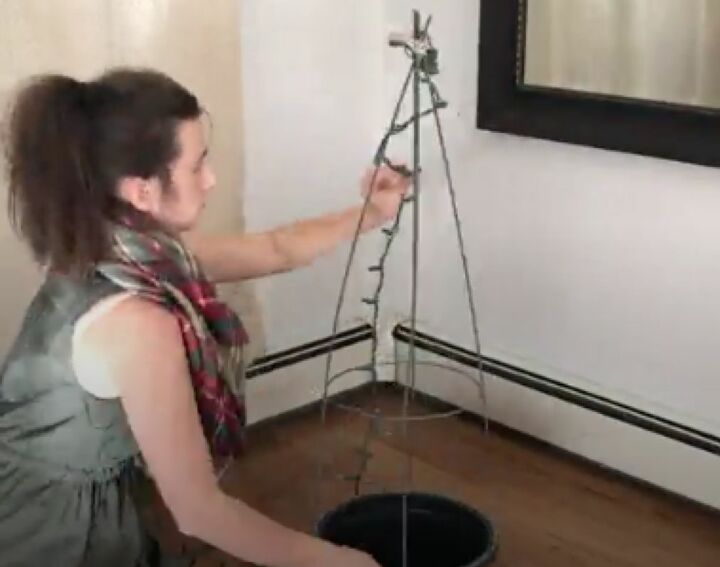
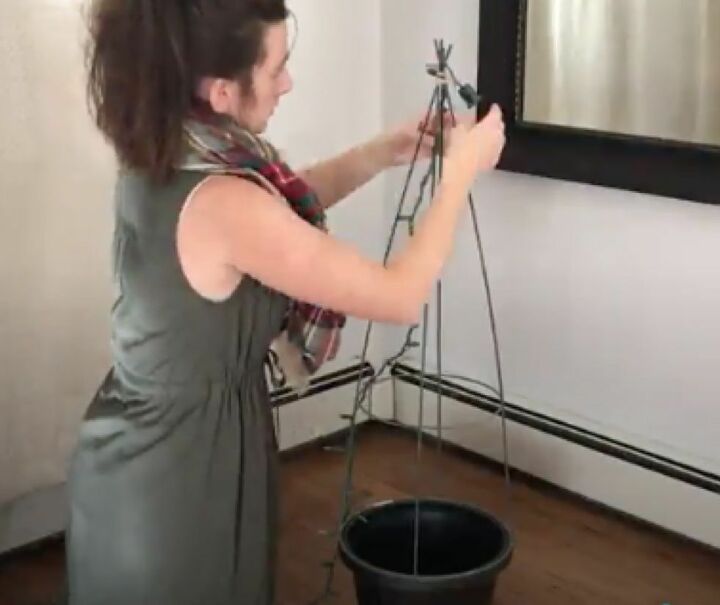
Step 2: Attach the Tomato Cage
Once you’re set to go, it’s time to attach your tomato cage to your planter pot. When this is securely in place, take a rubber band from your stash and use this to tie the tops of the four canes together to make a tepee shape.
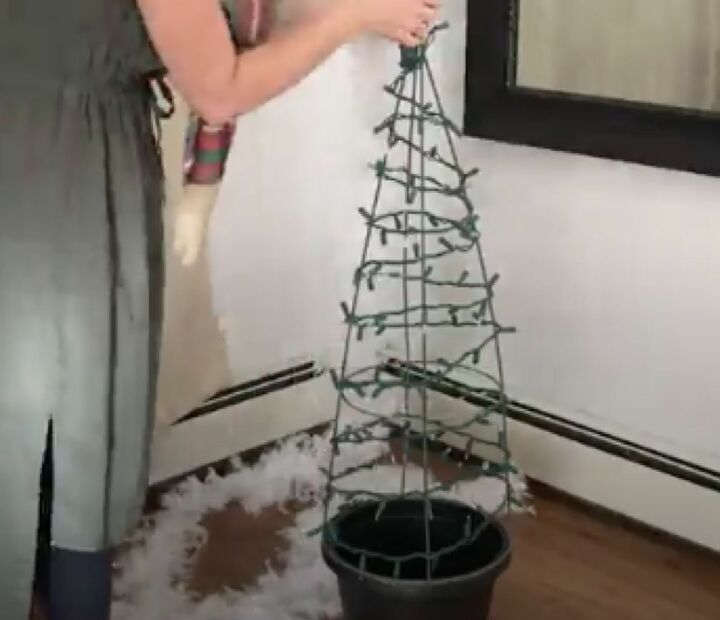
Step 3: Wrap with Lights and a Feather Boa
With your frame in place, take your fairy lights and wrap them around the structure, starting from the top and ending at the bottom to make plugging in easier. For added security, you might want to use bread ties or zip ties to hold the lights in place.
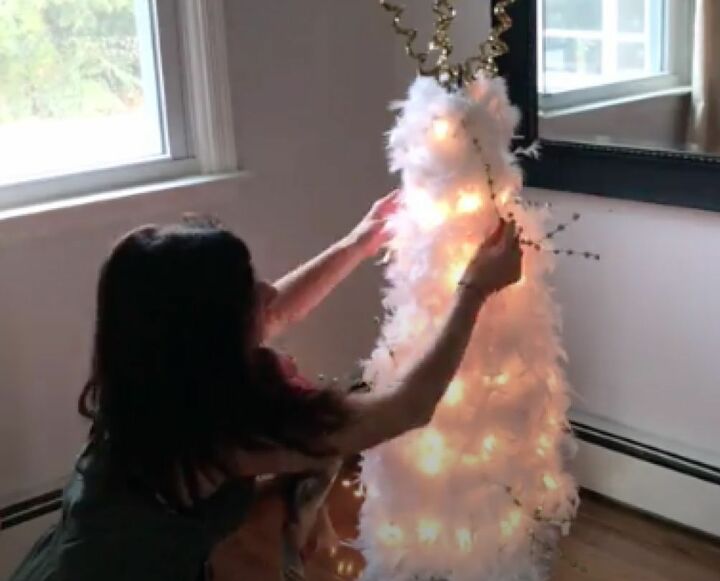
Once they’re firmly in place, take your feather boa and do the same.
The next step is entirely up to you. Your festive topiaries should already look great, but if you want to add some extra touches, don’t be afraid to throw in a few decorations too!
If you’re looking to add some seasonal accessories to your home, there are lots of easy ways to do it, and none of them need to break the bank. Why not share these five amazing Christmas light decorations with a friend today?
Get the step by step instructions here:
- Lit Orbs


Frequently asked questions
Have a question about this project?