


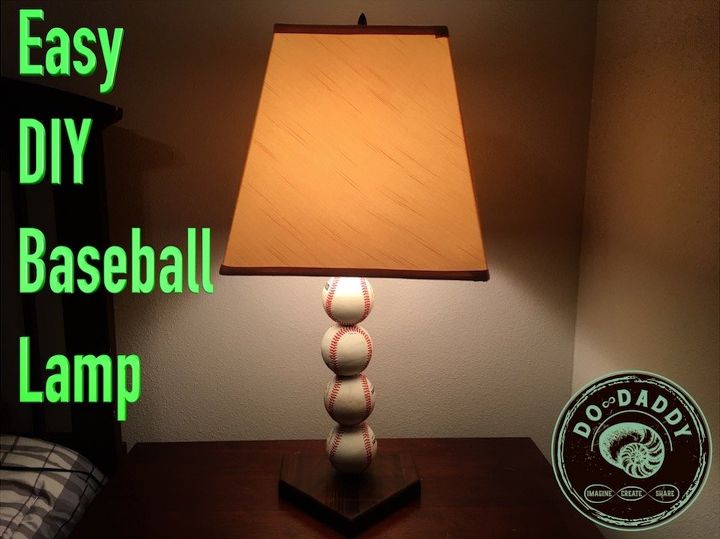
DIY Baseball Lamp
13 Materials
$20
45 Minutes
Medium
Hey Everyone, I'm Jeremy Hoffpauir.
My family and I love the game of baseball, so I decided to build my son a DIY Baseball Lamp. This is a super easy project and the DIY Baseball Lamp is perfect for a nursery or boys room.
{
"id": "4466773",
"alt": "",
"title": "",
"video_link": "https://www.youtube.com/embed/JjI-LqYvfWk",
"youtube_video_id": "JjI-LqYvfWk"
}
{
"width": 634,
"height": 357,
"showRelated": true
}
Make sure you have all the materials you need for the diy baseball lamp before you get started. It is quite frustrating to start a project and realize you don’t have the materials you need – trust me, I do it all the time.

Home Plate Dimensions
Cut out home plate
Find or cut any piece of wood that is 8″ x 8″ square to be the base of the diy baseball lamp (home plate). I had a piece of IPE laying around my shop from a previous project that was 9″ x 9″. You can change the size of home plate as long as you follow these measurement guidelines: Back of home plate = x. Each side of home plate = x / 2. The 2 remaining sides are set at a 45 degree angle until they intersect. The standard size of home plate is 17″ (Back) x 8.5″ (straight side) x 12″ (angled sides).
Trace home plate on your chosen piece of material with a pencil and a combination square. I chose a scrap piece of IPE. Next, cut out the plate with a jigsaw or bandsaw. Remember to always cut outside the lines and trim the remaining material off with a sander.
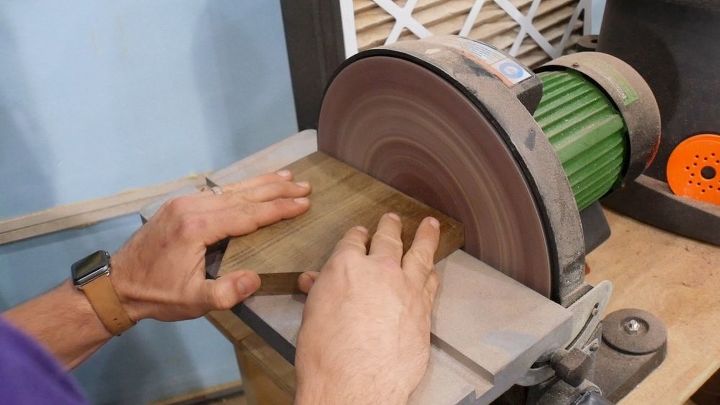
Sand Excess
Sand Excess to the Line
Trim remaining material using a sander. I used a disc sander, but an orbital sander would work just as well.
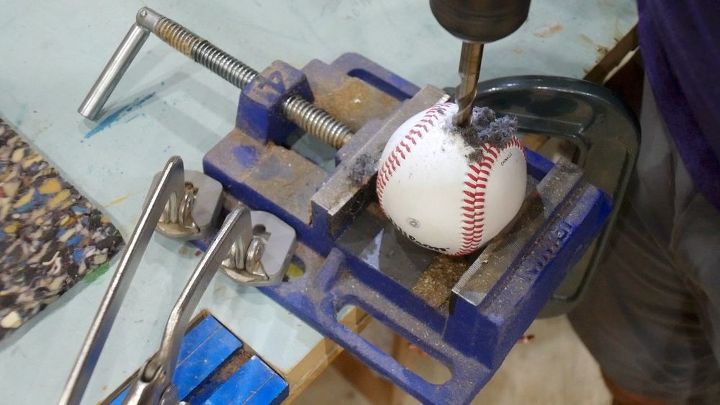
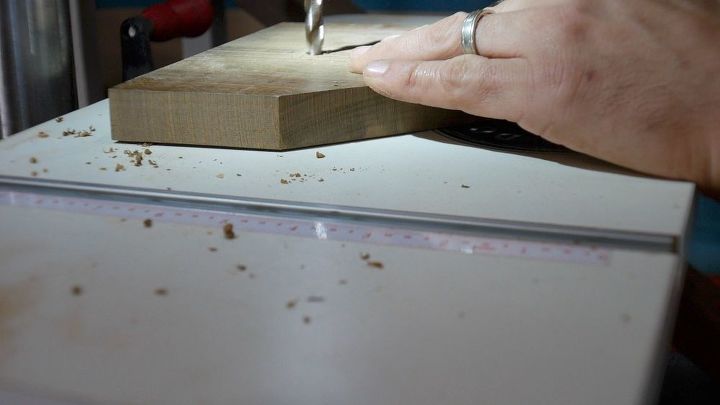
Mark and Drill Baseball
Mark Center and Drill Baseball
Make a mark on the baseballs in the same general area. I chose an area on the ball that would minimize the logo/emblem once stacked on each other.
Note: I chose 4 baseballs because they fit on the threaded rod perfectly with about a half inch of thread remaining on each side.
Use a digital caliper, regular caliper, or any measuring device to measure the width of the threaded rod. As you can see from the picture, the rod one is 3/8″.
Secure the ball with clamps or a vise. Next, drill a hole on the mark with the same size drill bit as the width of the rod. This hole will be a bit too small for the rod, but it is better to have it too narrow rather than too wide.
I secured the baseball with a drill press vise. The holes I drilled were too small for the rod to fit, so I stepped up to a 1/2″ bit. This size worked perfectly.The holes I drilled were too small for the rod, so I stepped up to a 1/2″ bit. This size worked perfectly.
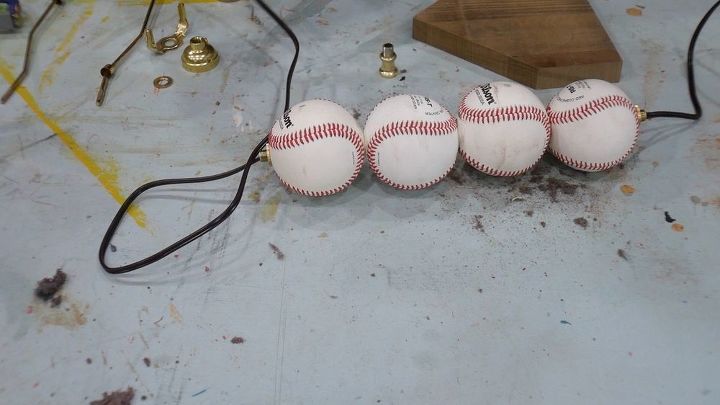
Insert Rod and Wire
Insert Rod and Wire
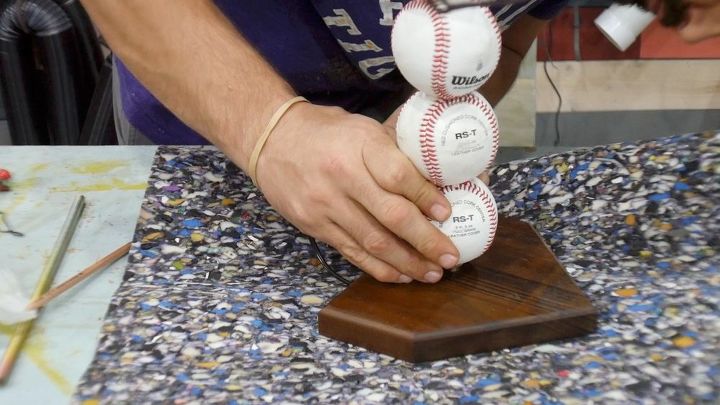
Place the baseballs on the threaded rod and secure them in place with the lock nuts/washers that came with the lamp kit. Make sure to leave about a half inch of threaded rod on each end so that it will be easy to secure the remaining lamp pieces and it can be attached to the base plate. Detailed instructions on how to assemble the different nuts/washers come with the lamp kit; however, I didn’t use some of them. You should be good to go as long as the balls are secure.
Thread the wire through the rod.
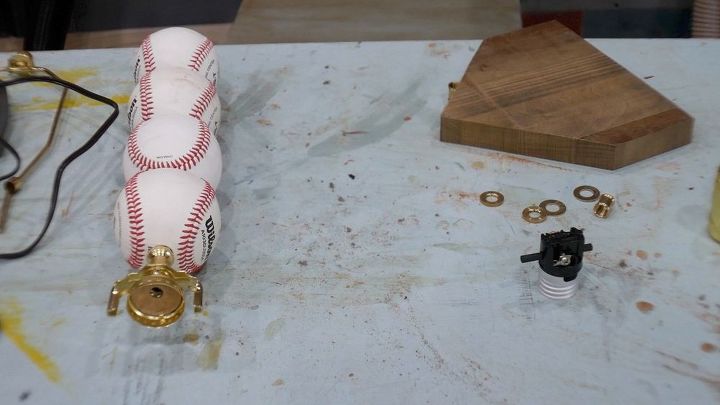
Attach Remaining Lamp Kit Pieces
Attach the remaining pieces for the DIY baseball lamp kit to one side.
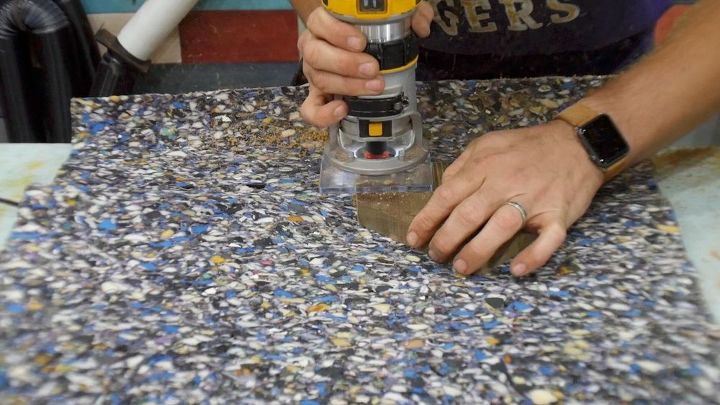
Drill Hole in Plate
Drill Hole in Center of Plate
Find the center of the plate and Drill a hole using a drill or drill press the same size as the threaded rod, which was 3/8″ in my case. This hole can always be widened later if needed. You may want to place a scrap of wood on the underside of the plate to prevent tear out.
Roundover and Sand
Roundover Edges and Sand
Use a routerwith a 1/4″ roundover bit on the top edges. You can also use an orbital sander, or sandpaper to accomplish this as well.
Sand the entire plate using 80 grit, then 120 grit, then 220 grit sandpaper with an orbital sander. This will provide a very smooth surface. Skip the 80 grit and 120 grit and go straight to the 220 grit if you are extremely impatient. I don’t recommend doing this for many reasons, but I realize a very smooth surface is not important to everyone.
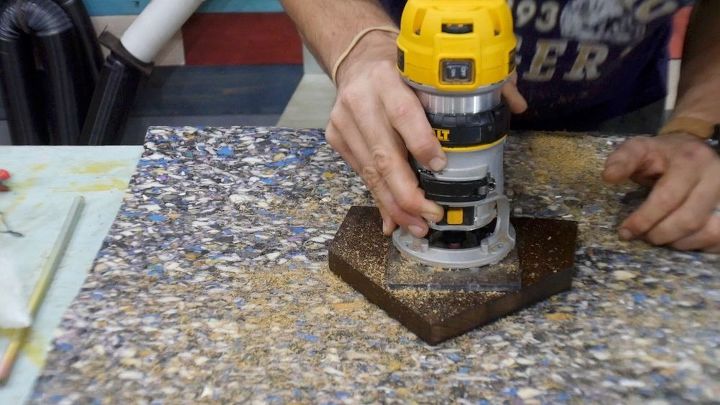
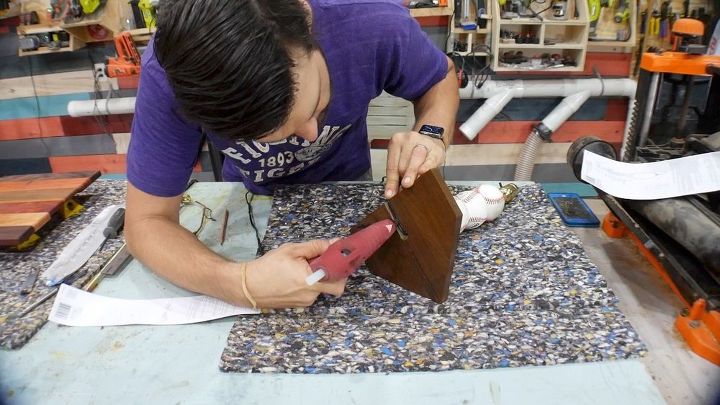
Wire Groove
Cut Wire Groove
Use a router with a straight bit or v-groove bit to cut a 1/4″ channel on the underside of the plate to the hole. Don’t cut too deep – just wide and deep enough for the lamp cord. This provides a channel for the baseball lamp cord to rest in order for the lamp to sit flat on the surface & to hide the cord. I used a v-groove bit set at 1/4″ deep. I kept the line as straight as possible, but didn’t concern myself with it too much because this will be on the underside of the plate.
Pull the excess lamp wire through the hole in the base from the baseball lamp.
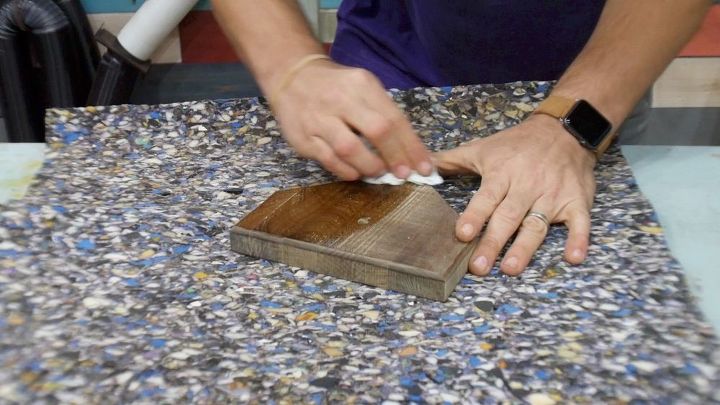
Apply Finish
Apply Finish
Use a damp rag or paper towel to remove the dust from the wood and raise the grain.
Optional: While the wood is damp, you can quickly sand with an orbital sander it again with 220 grit paper. This will make a very smooth surface since the dampness in the wood raises the grain.
Now for my favorite part. Apply your favorite finish to the wood for the DIY baseball lamp. This can be stain, varnish, poly, etc.. I chose to use Linseed oil & Beeswax polish made by Darbin Orvar. Darbin is a very talented maker/creator who I follow on youtube. She makes this polish herself and sells it on her website – I included a link to it in the materials section of this post. I try to support people like Darbin whenever possible and I encourage you to do the same. This was the first time I used this product and it is AWESOME!
Secure Rod
Secure Rod
Next, test the rod to make sure it fits in the hole. There are a few ways to secure the rod to the plate. Since I used IPE (Brazilian Walnut), which is a very hard wood (rating of 3684 on the Janka Wood Hardness Scale), I was able to simply screw the rod into the 3/8″ hole I drilled and it fit perfectly. If you are using a softer wood like Pine, you will need to secure the rod to the plate using the provided nuts/washers in the kit. The lamp kit contains detailed instructions on how to do this.
Test Lamp and Glue
Test Lamp and Glue
Before proceeding to this step, get a light bulb and test the baseball lamp to make sure it works. Once the rod is secured to the plate & you verified the lamp works, use a hot glue gun to secure it inside the channel. I recommend you use hot glue b/c it dries fast and can easily be removed if needed to do repairs to the lamp.
Final Thoughts
That’s it – this DIY Baseball Lamp project was cheap and took me exactly 40 minutes to make from start to finish.
I hope this project provided you with some value because this is, and always will be, my ultimate goal.
Please consider subscribing to my YouTube channel and visiting my website for more projects and other fun stuff.
Feel free to contact me anytime if you have any questions. I'm happy to help! Until next time – Imagine…Create…Share
Resources for this project:
See all materials


Any price and availability information displayed on [relevant Amazon Site(s), as applicable] at the time of purchase will apply to the purchase of this product.
Hometalk may collect a small share of sales from the links on this page.More info

Want more details about this and other DIY projects? Check out my blog post!


Frequently asked questions
Have a question about this project?