


Decorative Drifter

8 Materials
$6
3 Hours
Medium
The beauty of nature is everywhere, if we only take the time to look. While at the river, I was always on the lookout for pieces of driftwood that washed up close by our camp or by the path where we walked. I have a stash of beautiful pieces of driftwood. Some pieces were used for campfires, however, many were saved for crafting. I knew I wanted to make a winter centerpiece candle holder . So I narrowed my choices down to two pieces. I chose the piece on the front of the picture. I liked the way the lines in the wood reminded me of a field with snow in the crevices of the earth.
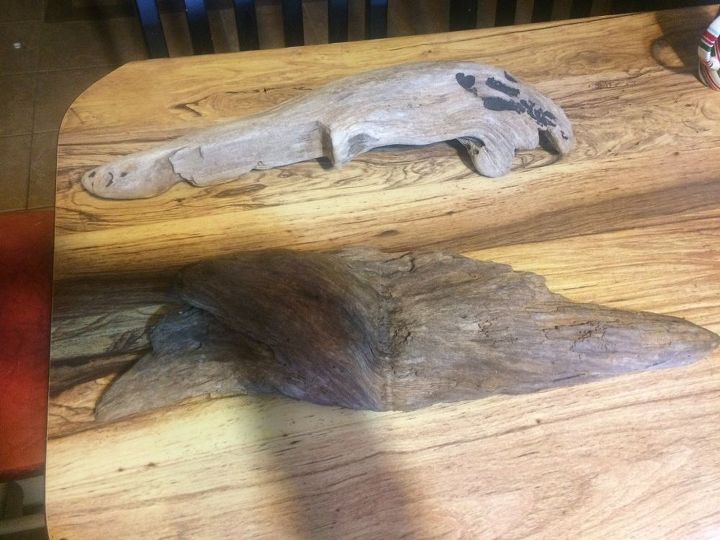
Which one shall I use?
I started by deciding where I wanted to place candles. At first, I wanted four candles, but after playing with the design, I decided on three. I like the idea of three, depicting Jesus and the two thieves.
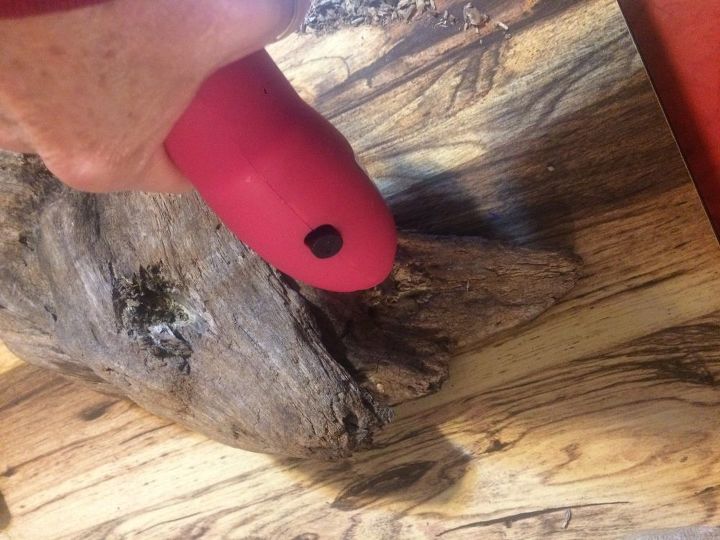
Drilling holes
I used my handy, dandy, pink Apollo drill to drill the holes. I stood the candle where I wanted to place each hole. I lightly drew around each candle while I held it in place to give me an outline to match the hole size. This took a while, because I had to drill and try the candles for a good fit several times. When I had the hole for the candle where it almost fit, I used a PitBull knife to make the hole more precise. The wood was soft in places so I had to be careful not to remove too much wood.
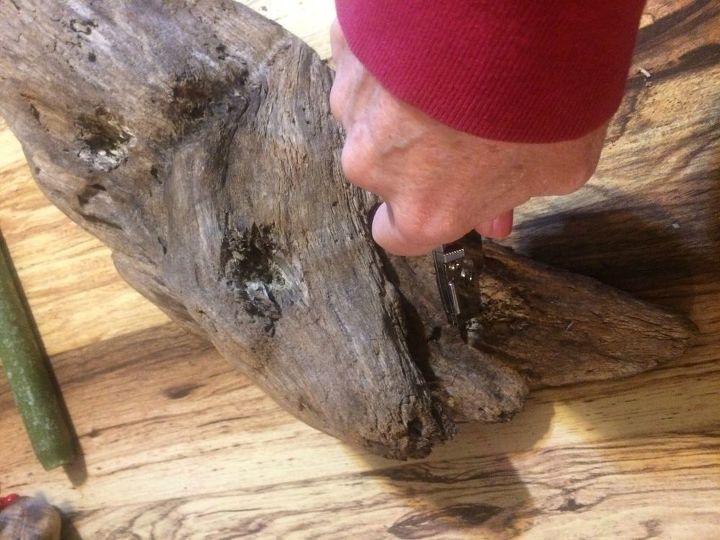
Carefully, I used the Pitbull knife to finish the holes for the candles.
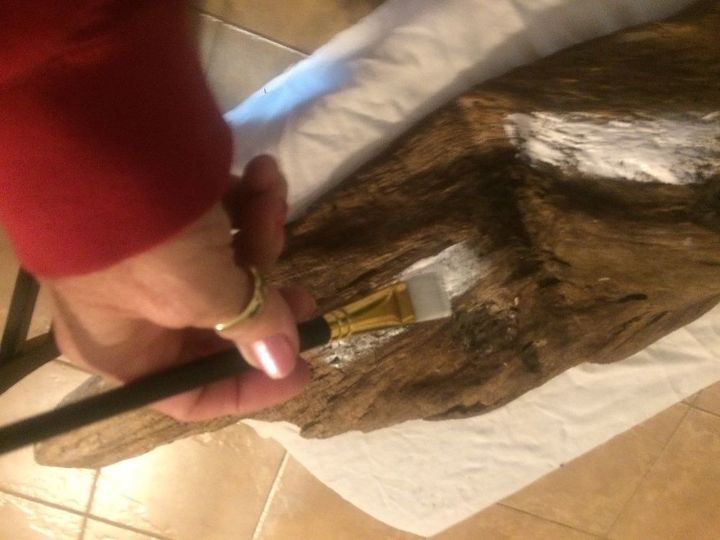
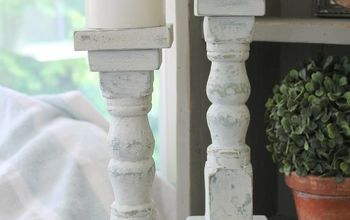
Painting the wood
I used white, acrylic paint to paint the wood, to provide an illusion of snow.
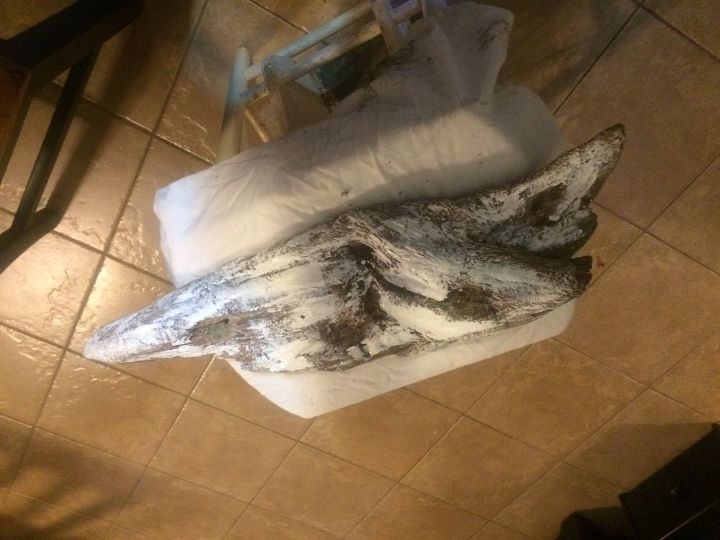
Painted piece
I did not want to cover the piece in solid white, because I wanted it to look like a field covered with snow with some visible earth peeking through.
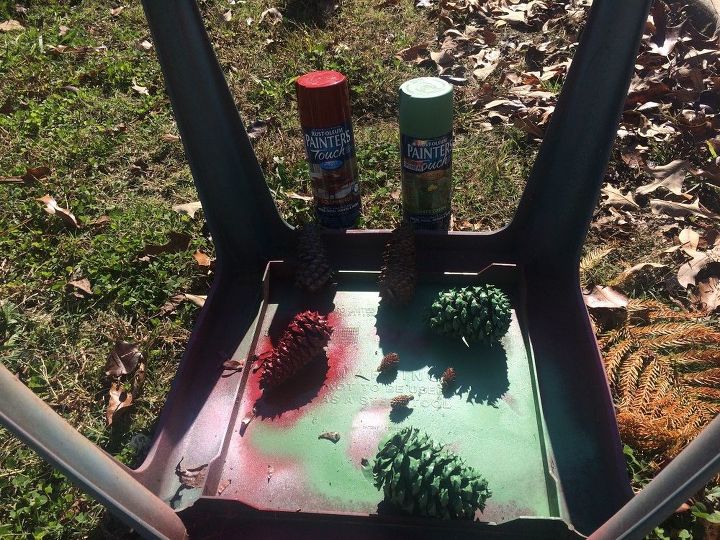
Pine cones, big and tiny
I picked up medium sized pine cones and some tiny pine cones still attached to the tree. I spray painted them using Rust-Oleum, Colonial Red and Leafy Green. I chose these colors, because I had them on hand.
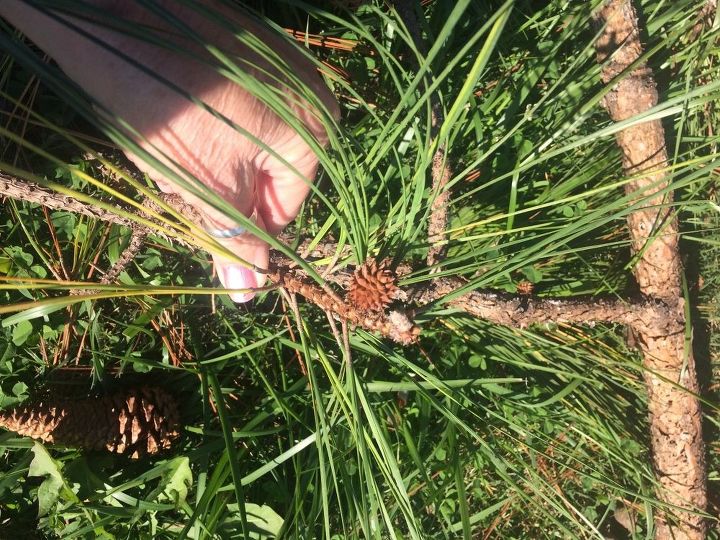
So cute!
This is a picture of the baby cone still attached to the tree.
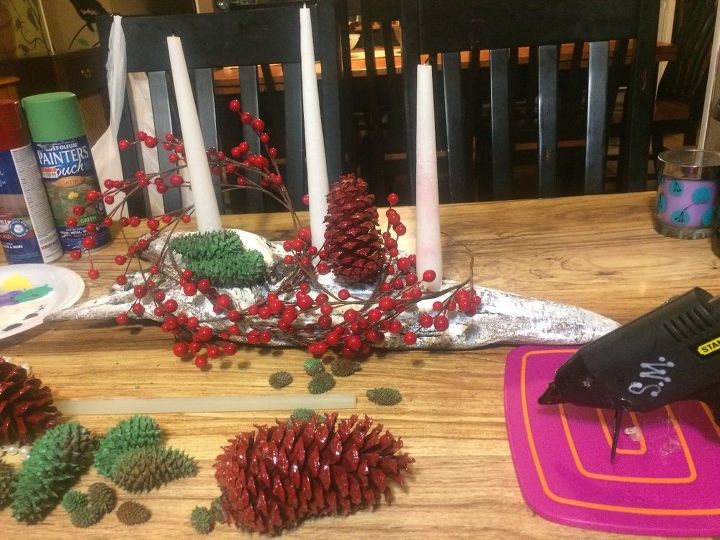
Placement of cones
I placed the candles in the drilled, cut out holes and began placing the spray painted cones.
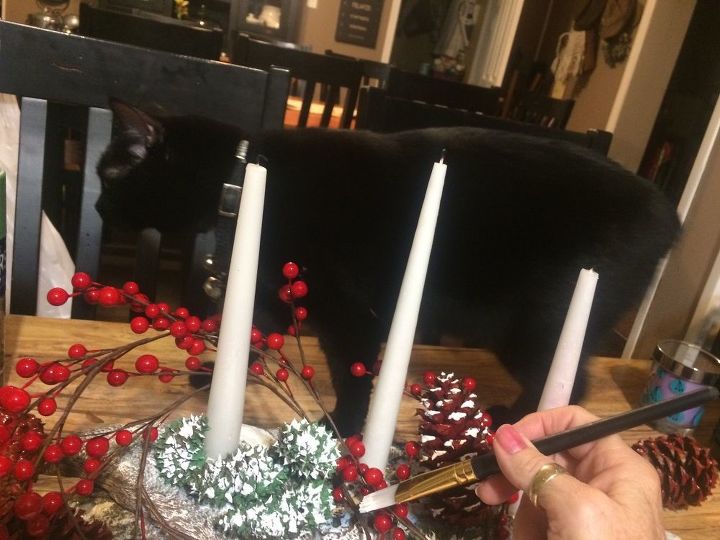
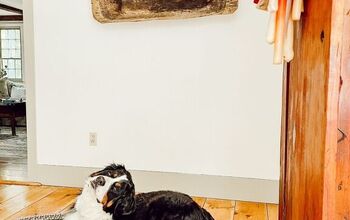
Silvey checking things out.
I used a hot glue gun to attach the cones. Next, I dabbed the same acrylic, white paint to give the appearance of fallen snow. I added glitter paint along the bottom and around the pine cones for a shimmering touch.
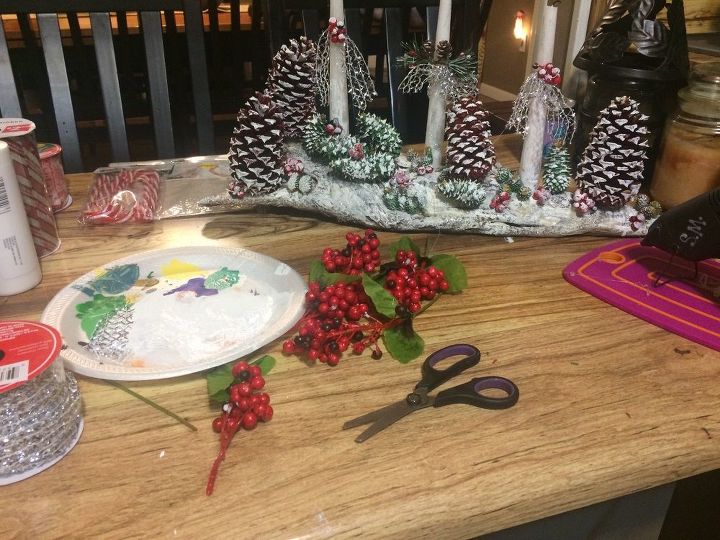
Faux berries
I used faux berries to fill in some places that were lacking a loving touch. First, I cut the berries off in small clusters. Next, I hot glued them in place and lastly, I dabbed them with the same white paint.
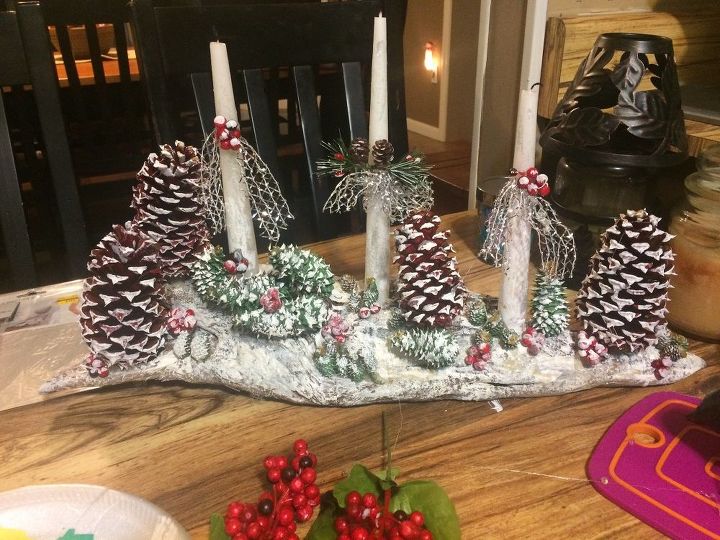
Added silver ribbon
I tied silver mesh ribbon around each candle. On the middle candle I added a tad of faux pine needles and a baby cone. Then I glued a few faux berries to the center of the ribbon and dabbed white on them.
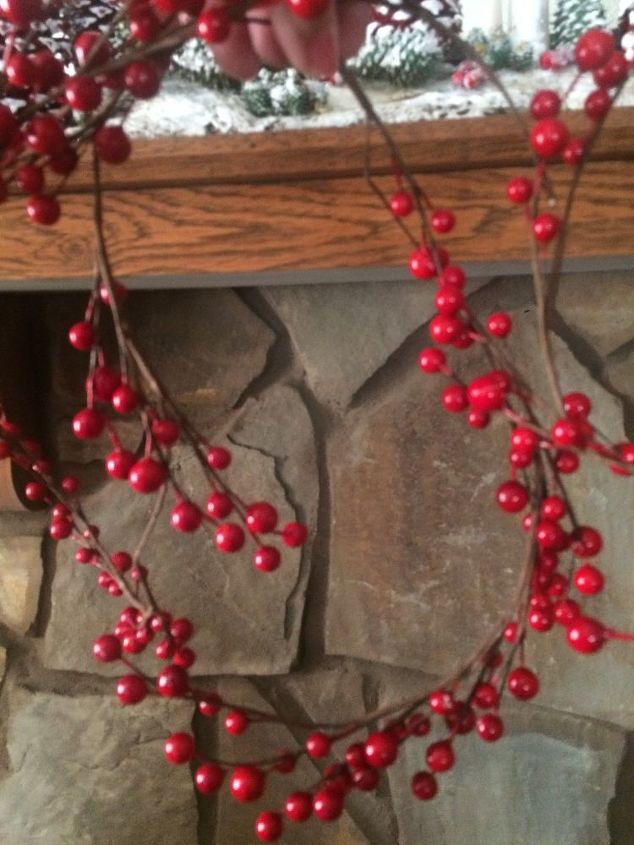
Faux strand of berries
I had originally planned to use this strand of berries in the centerpiece. Then I decided it would look better just placed around the piece.
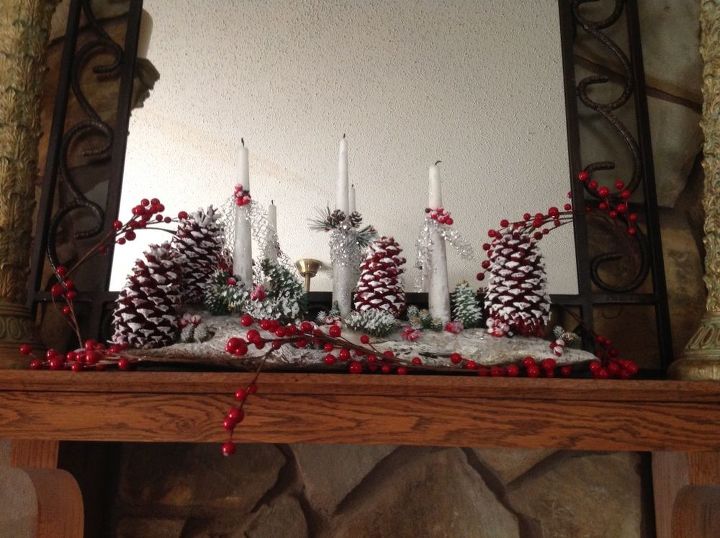
Finished piece
This is the centerpiece on my mantle, with the faux berry strand placed around the piece.
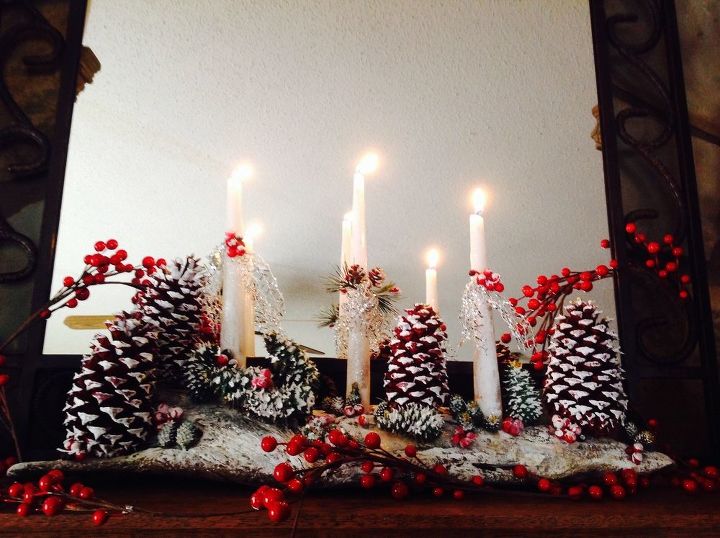
Candles lit, so pretty!
This is a picture of the centerpiece with the candles lit. No worries, it will not be lit again. I just wanted to take a picture with candles glowing. I love the warmth of Christmas and glowing candles.
Comments
Join the conversation
4 of 13 comments
-
Lovely!
-
Just what I need for my table! Now to find some wood.


Frequently asked questions
Have a question about this project?