


The Little Chair That Would...
by
Jeanne
4 Materials
$30
2 Hours
Medium
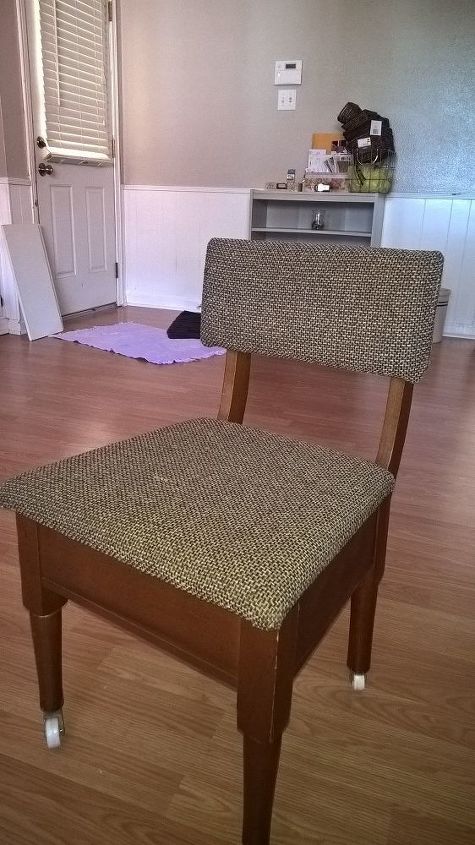
I was looking for a chair to fit under a desk that I got from my grandmother. If it's not an antique, it's close to it. The desk, like most furniture from 100 years ago , is very low and narrow by today's standards. The only chair that I had previously been able to fit under it and sit in at the same time was a folding chair. Not what I wanted to use every day, and ugly.
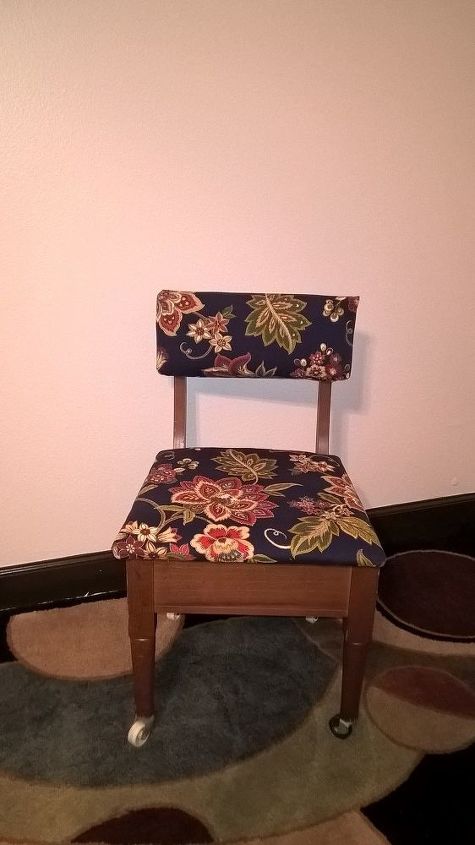
I want to refinish the desk and use it as a vanity. The first step was to find a chair. That was a great excuse for my favorite pastime - thrift shopping! I went to this little "antique" store on the side of the highway in Eunice, and armed with the measurements for a chair that would fit- Scored! I found this great little sewing chair with under the seat storage for just $25.00. The fabric was dry rotted and ugly, but I knew I could fix that. It had great bones. The wheels are different colors, but I can fix that later.
I had purchased some wonderful fabric earlier for throw pillows, and I just got an extra yard for the chair. I have several patterns with coordinating colors. I knew just the one that I wanted to use for the chair. My critics were doubtful about the pattern choice, but they were soon won over by the finished product! I didn't measure, just eyeballed it, but a yard was more than enough. I could've probably used a little less than a yard. Oh, well, I'll use the scraps for something else.
Basic sewing chair, dry rotted fabric.
First, I took the back and seat off the chair.
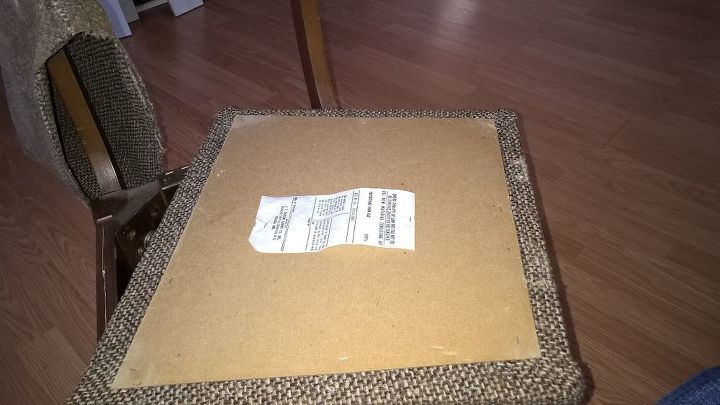
Top cushion cover, seat bottom.
I removed all the staples and pulled off the old fabric to use as a pattern, and because it was gross. There were a lot of staples! This was the most time-consuming part of the rehab. The only sewing that I needed to do was to make a "sleeve" for the top cushion. I basically deconstructed it and used it for a pattern. Even though the fabric was rotted, the cushions were still in good shape.
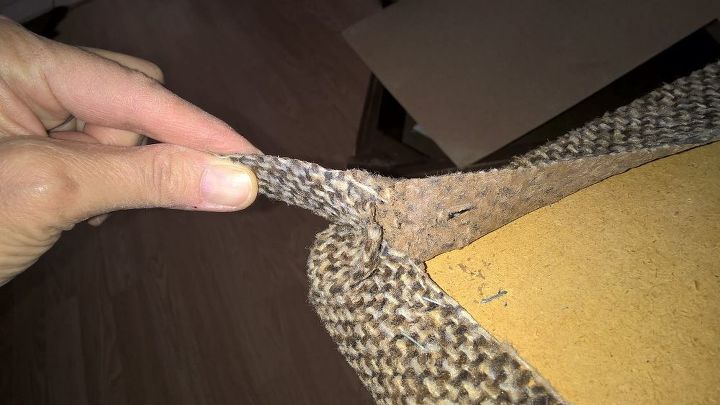
Pulling off old fabric.
Once the seat fabric was cut, it was time to staple it tightly in place. I used the four corner method on the seat, where I carefully folded the corners like they were originally done, stapling opposite corners, then opposite sides. I was careful to pull fabric tight and keep it centered. The top was attached with the original screws through the fabric, holding the cushion in place.
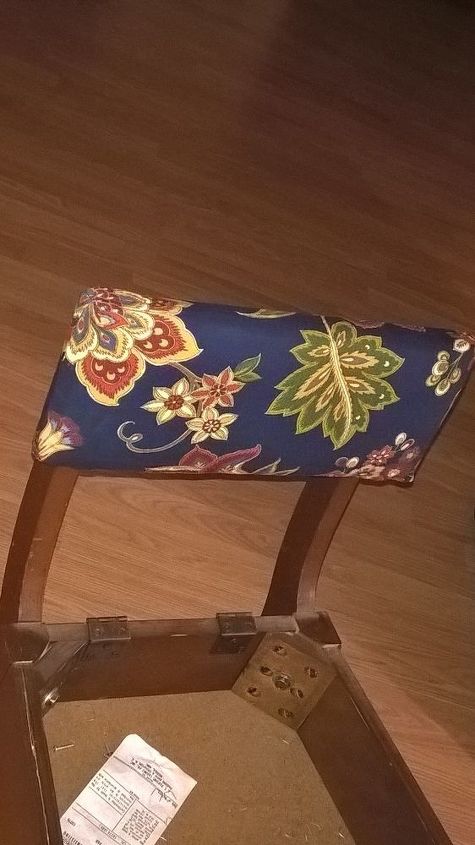
The open seam for the top was at the bottom of the cushion. I folded it tightly under, then fastened it in place with the screws that attached the cushion to the risers for the back of the chair, making sure no raw edges showed. This part was the only reason that I rated the difficulty as medium. Some people don't sew. Yes, I did clean it before I put it back together. I was just too impatient to take another picture!
Big pattern, little chair!
Finally, it was time to reattach the bottom cushion to the hinges. And now I have a great little chair, which matches the rug in my bedroom. Now it's just waiting for the vanity. In the meantime, I can use the chair to sew.
Comments
Join the conversation
3 comments
-
You did a fantastic job, bravo!
-
I recently bought 4 metres of a lovely furnishing fabric just because it was the last 4 metres and too pretty not to have! I think I shall try something similar on a rocking chair with a seat cushion and a back cushion. I do sew and plan to sew the cushions and use zips so they can be removed for cleaning. Thanks for the inspiration!


Frequently asked questions
Have a question about this project?