


Burlap Flower Runner DIY

I've been feeling a bit befuddled lately.
I'm blaming the pollen.
I can't seem to remember what I've done or what it is I'm supposed to be doing. Wait...what?!?
My children have been receiving the wrong lunches, projects have been started and abandoned well before they're finished, and entire days are seemingly unaccounted for.
It's been like a really boring episode of the twilight zone around here.I'm blaming the pollen.
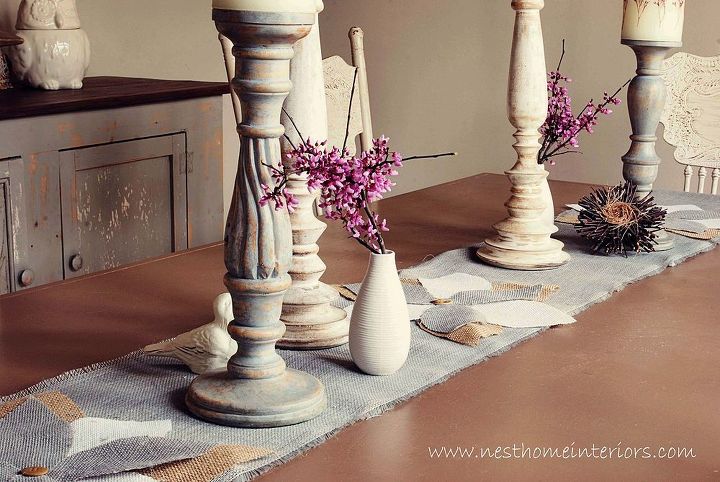
This project was no exception. With burlap at the ready, I thought I would maybe make a ruffled burlap runner, but before I got started I was inspired to do a sort of impressionist layered leaf sort of thing, but every time I started to lay out the "leaves" they insisted on laying in a circle which led me to a flower shape, AND SO the "leaves" became "petals" and....
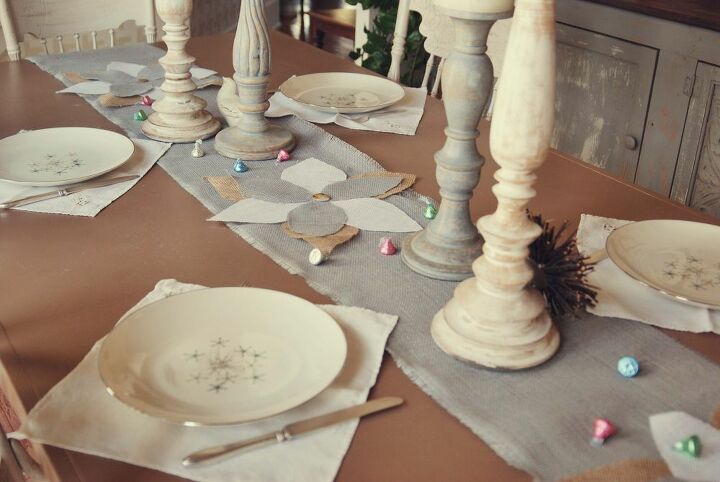
TA DA! A burlap flower runner DIY. Phew!
For all the details and more go to...http://nesthomeinteriors.com/blog/2014/burlap-flower-runner
I'm blaming the pollen.
I can't seem to remember what I've done or what it is I'm supposed to be doing. Wait...what?!?
My children have been receiving the wrong lunches, projects have been started and abandoned well before they're finished, and entire days are seemingly unaccounted for.
It's been like a really boring episode of the twilight zone around here.I'm blaming the pollen.
This project was no exception. With burlap at the ready, I thought I would maybe make a ruffled burlap runner, but before I got started I was inspired to do a sort of impressionist layered leaf sort of thing, but every time I started to lay out the "leaves" they insisted on laying in a circle which led me to a flower shape, AND SO the "leaves" became "petals" and....
TA DA! A burlap flower runner DIY. Phew!
For all the details and more go to...http://nesthomeinteriors.com/blog/2014/burlap-flower-runner

1. Cut your burlap 12" longer then the length of your table (I used the gray burlap)

4. For a 3 leaf flower arrange as shown...

For a 4 leaf flower arrange as shown....


Frequently asked questions
Have a question about this project?