Distressing Techniques | Paint Finish

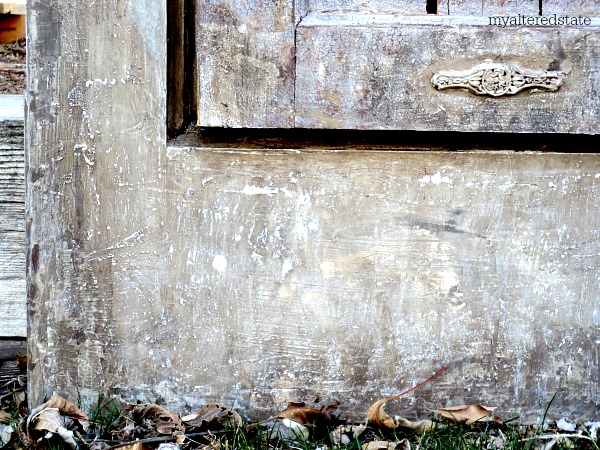
I use the word Distress loosely, It’s one of those blanket terms for “scrape, scratch, hurt, dent, damage, chip” when referring to paint…. you get the idea.So, when I was dividing up all the steps involved on my door transformation, I knew the distressing part would need to be it’s own post. After all, There is more than one way to distress a door.
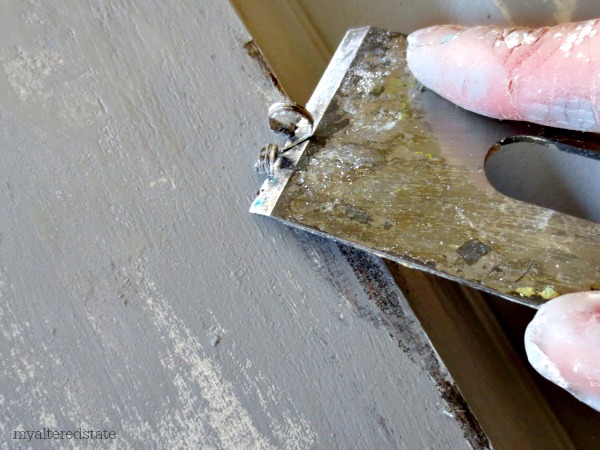
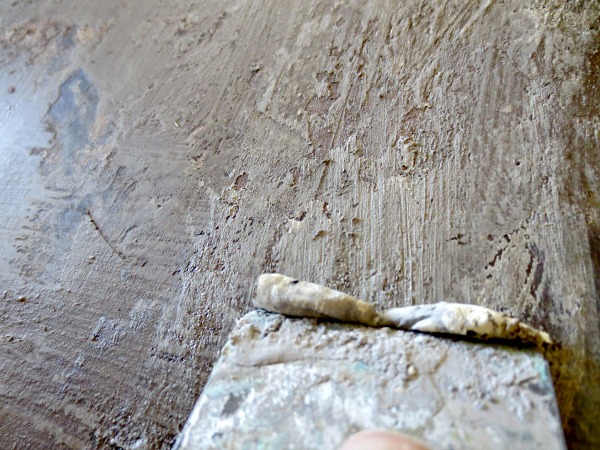
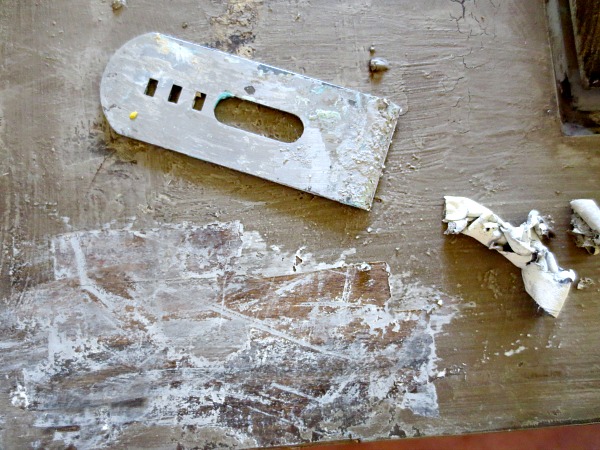
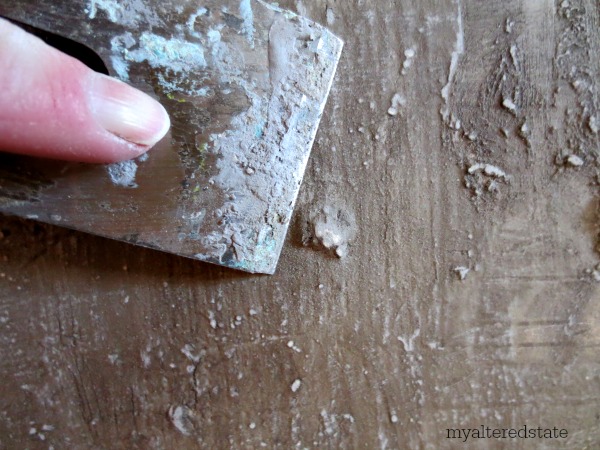
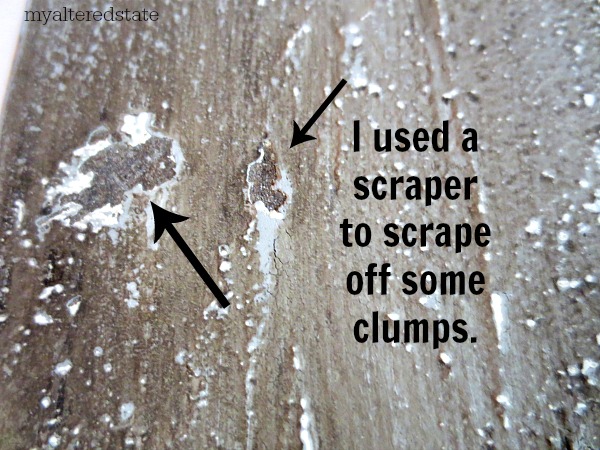
I use a cabinet scraper. I think it’s actually a replacement blade for a cabinet scraper-thingy-tool. (I sound smart.) I like to scrape while the paint is still barely wet, changing up how hard I press while scraping.
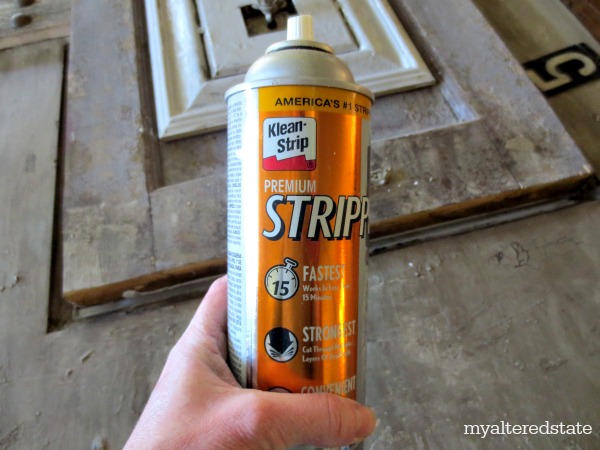
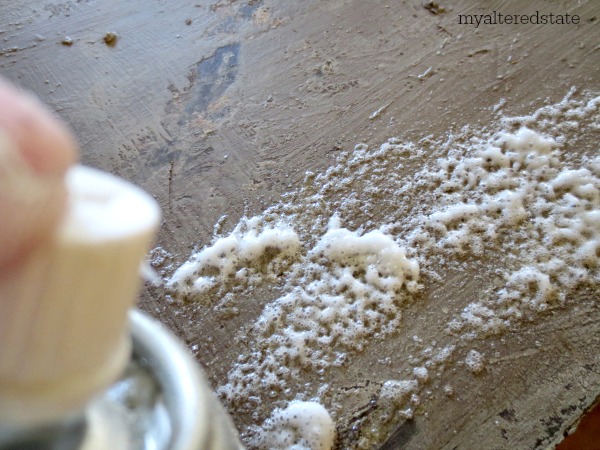
Using paint stripper.


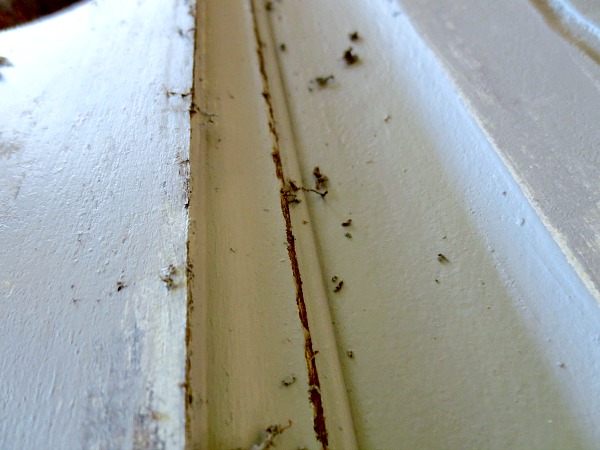
“It breaks the paint down and sort of “melts” it, giving me another way to vary the appearance of the paint. (Remember, I wanted to make this door look like it had lived quite a few years, and seen quite a few different elements.)


*Note: I distressed the paint at different times during this project, both before the application of an oil based glaze, and after. Hence, the sudden darker paint in the pics.
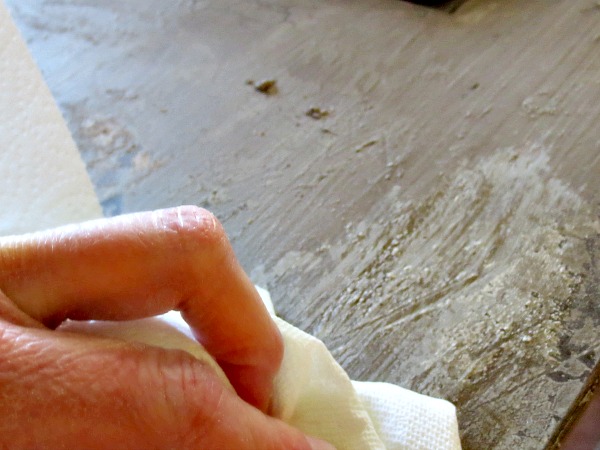
Then I use a paper towel to rub it around a little…
I like how the paint bubbled up in some areas, so I actually left some stripper there on the paint, to dry.


Next, I re-applied glaze over the areas I used stripper on.
I concentrated this look to the bottom portion of the door, where the most wear and tear would most likely be.
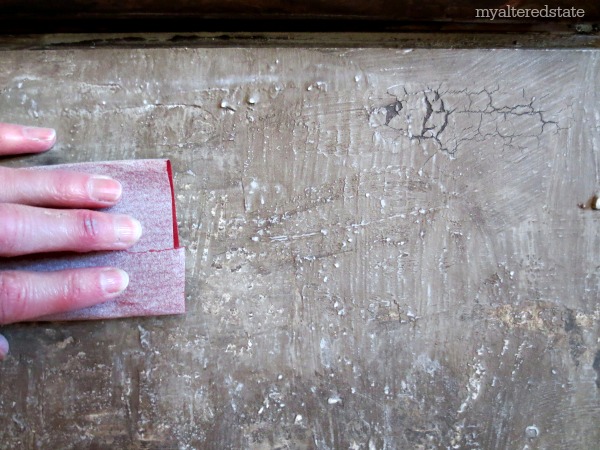
Using sandpaper to distress paint is kind of a strange area for me. I go back and forth a lot. There was a time when my sander was my weapon of choice, but all of my finishes started to look the same: sanded. Sometimes it seems too uniform for my eyes. Like when the edges of a furniture piece are all sanded and you get that all too uniform “worn” look. Or when the “worn” look is a little too obviously random, like maybe the sander was playing twister on said furniture piece.


For me, it’s about randomness holding hands with expected wear pattern, and then chaperoned by varying methods of distress. (Not just a sander.)


Having said that, I chose to only do some sanding by hand at the very end of this project, to pop out some of the white clumps from the base layer of chalk paint. Remember the bumpy texture I made in the very first painting step?
One last detail….


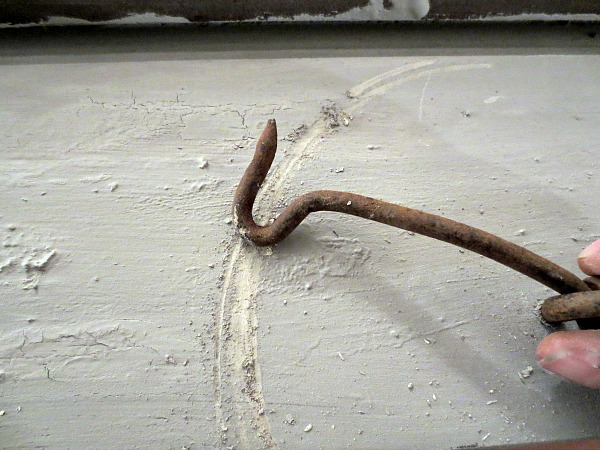
I thought about any details I added to this door, that would create additional distressing of it’s own, over time. Like, this dangling, swinging, hook. Yeah, It would probably do something like this:
MyAlteredState
Want more details about this and other DIY projects? Check out my blog post!
Go
Frequently asked questions
Have a question about this project?
Comments
Join the conversation
2 of 4 comments
  • Angeliname55 Angeliname55 on Jul 24, 2017

    I have an old tin cabinet that I want to paint, with the distressed technique. how do I start. the paint on it is old and it has stains and like I said is metal the color is cream, I want to repaint it and make it look distressed but nice.. I will use it at our cabin.. please any steps to do this project, like what I need to remove the old thin coat of paint and what to use (paint specifically and other to make it distressed).. will be great i will take some before and after pics..

  • Panic Mo Panic Mo on Jun 04, 2020

    If you don't mind damaging the item you're about to paint, like old wood or whatever, grab an old sock and fill it with screws and nuts. Then slam it against the wood to create imperfections!! I used to have a hard time because my material looked too consistent, unnatural. But this helped me get random scratches and scuffs!!

Next