


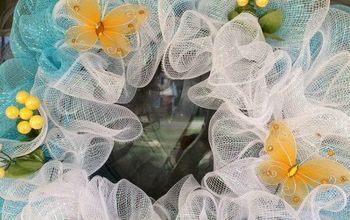
DIY Spring Ribbon Wreath
Hello friends! It’s been another month and we’re excited to share another Monthly Craft Night with our favorite crafty ladies! If you’ll remember, last month we crafted our DIY Glass Block Group Craft. This month, we decided on a wreath theme, checked out some Pinspiration and decided on a Spring Ribbon Wreath!
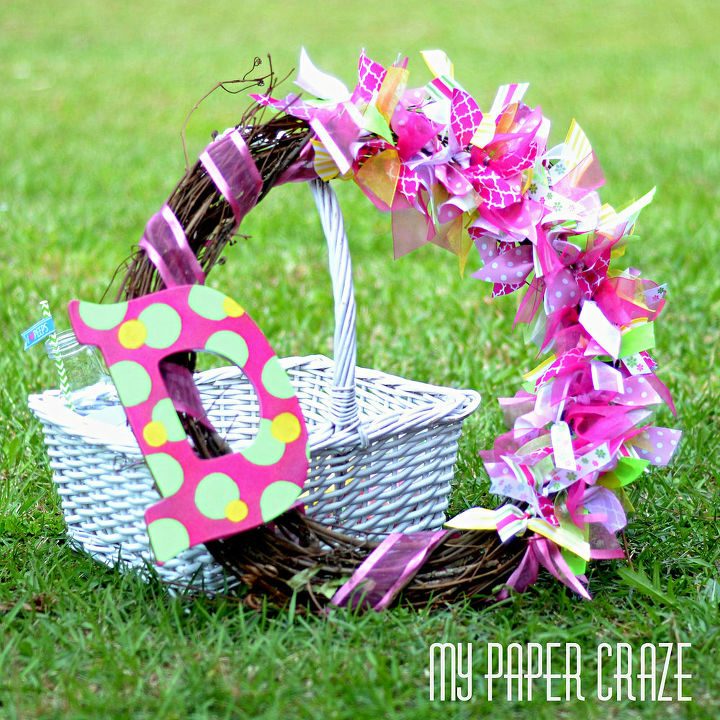
DIY Spring Ribbon Wreath
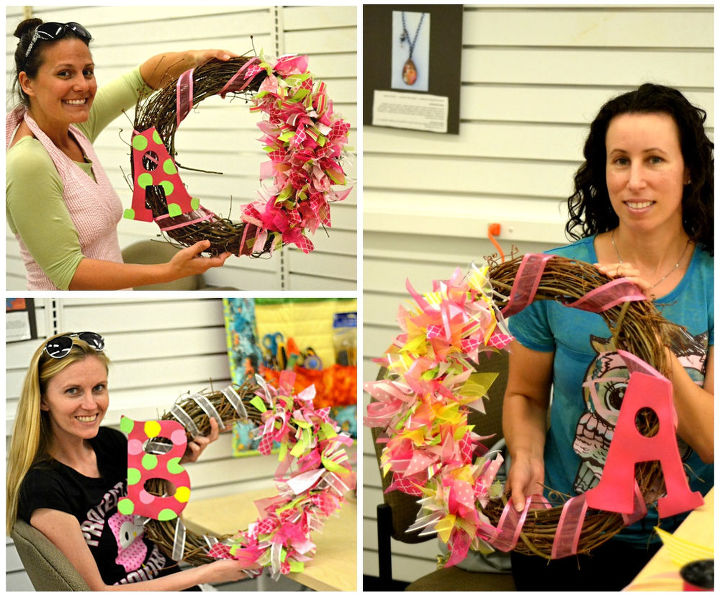
It really is such an honor to get together with a few local crafters and create such beautiful projects! This isn’t all the attendees, but I did manage to snap a few photos.
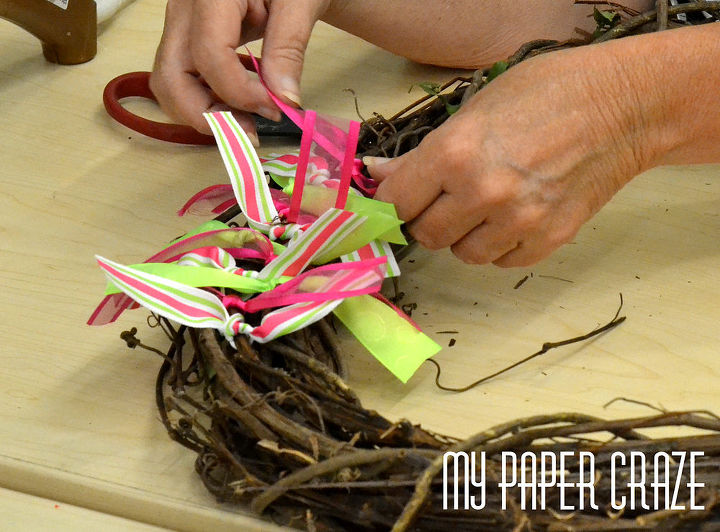
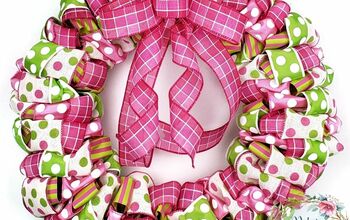
Interested in making a fabulous wreath of your own? We don’t have a full tutorial on these, since we all used the learn-as-you-go method, but we have a few key pointers:
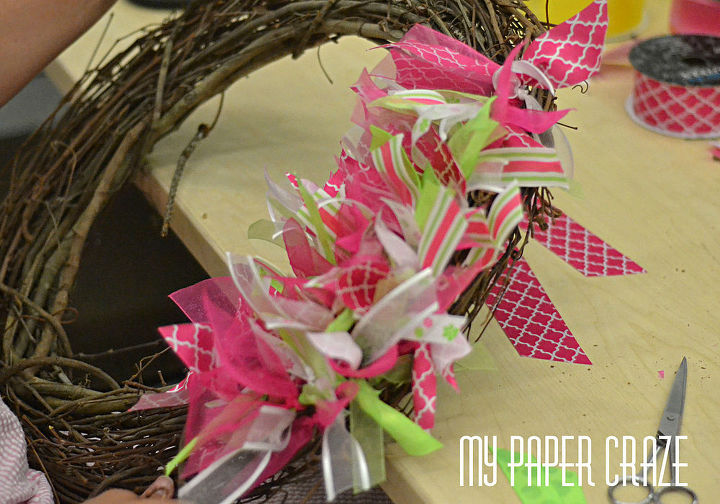
That’s basically it. As a reminder, here are the helpful hints for starting your very own Monthly Craft Night:

Want more details about this and other DIY projects? Check out my blog post!


Frequently asked questions
Have a question about this project?