


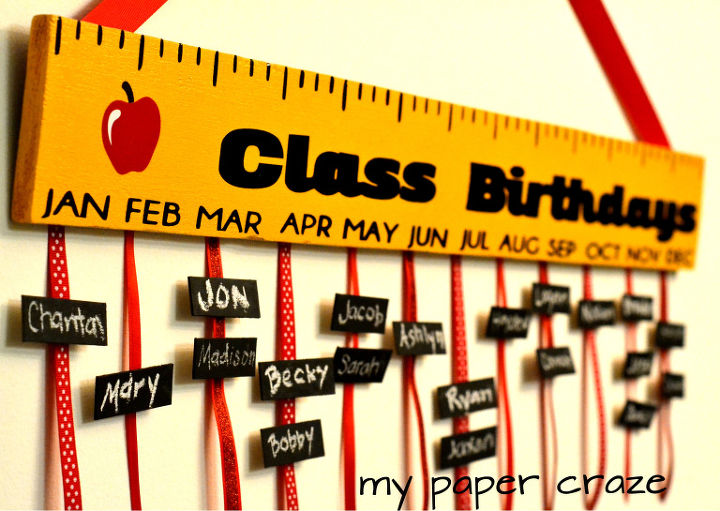
DIY Teacher Appreciation Gift: Class Birthday Board
Interesting little fact about myself: in high school I thought I would grow up one day to become a teacher! Then I realized that I didn’t really like kids all that much {queue buzzer sound} so I scratched that idea off the list. I do highly respect teachers, though. How many people do you know who can be cramped in a class full of snotty kids all day and not duct tape them all to a chair? For that reason, we dedicate this post to all teachers, young and old, near and far. And for the special teacher in our life, we designed this DIY Teacher Appreciation Gift: Class Birthday Board!
DIY Teacher Appreciation Gift: Class Birthday Board
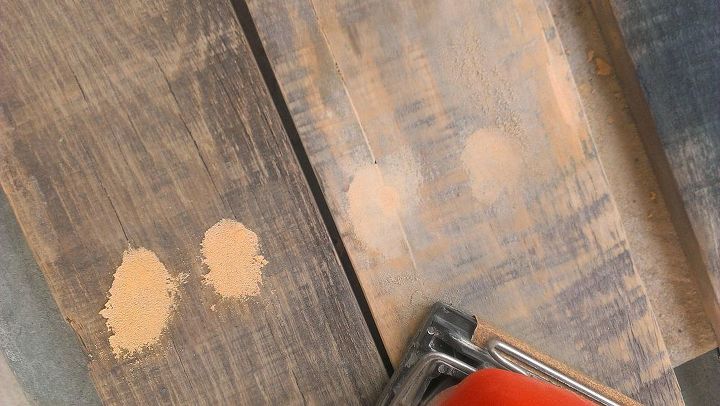
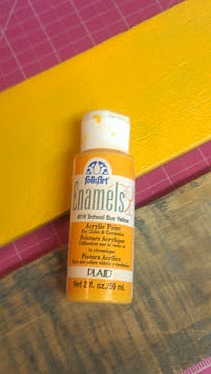
There are several variations on Pinterest but we wanted it to be custom to classroom decor. What better than a ruler? Plus… I may have already had a scrap piece of pallet wood from a failed project that happened to remind me of a ruler.
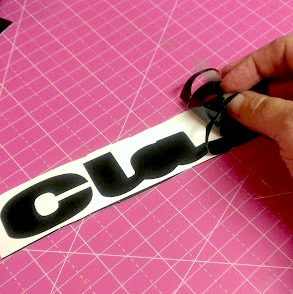
I considered creating a stencil with my silhouette and painting the lettering on the wood board. Then I came to my senses and realized I could apply vinyl directly to the wood. After creating the design in Silhouette Studio (apple design from the Silhouette Online Store), I proceeded to cut and apply using normal settings and processes. Since my board is 28 inches long, I did separate the vinyl design into three different sections to conserve vinyl, then lined them up as I applied it to the board.
Once the board is completely set up, I highly recommend applying a thin coat of clear sealant (I prefer the spray paint variety) to help the vinyl adhere to the wood.
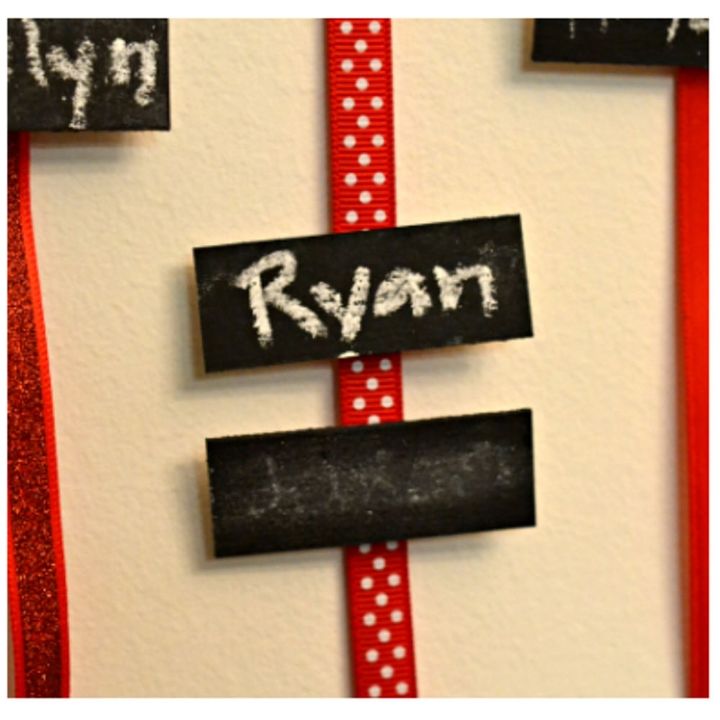
With my hot glue gun handy, I proceeded to glue various strips of ribbon aligned with each of the months (approx. 6″ in length). Combine the ribbons with the chalkboard paint, this easily allows the teacher to change names and move tiles around without much effort at all. We all know they have too many kids running around to take much time rearranging a birthday board. I also created a ribbon hanger with a small accent bow for the board to be easily displayed.

Want more details about this and other DIY projects? Check out my blog post!
Comments
Join the conversation
2 comments
-
Lol, love your narrative. Fun idea!
-
Thanks Miriam! This was a fun project.


Frequently asked questions
Have a question about this project?