


Dividing Japanese Ferns (Athyrium Niponicum Var Pictum)
This is a tutorial on how I have been dividing ferns, hostas, my variegated Solomon Seal, Black eyed Susans, and any other clumping plant that have similar growing patterns. I have to WARN YOU this will go against any rule that the master gardener writes or what the gardening books tell you! I also have to tell you that I divide my plants whenever the need arises (anywhere from March-October) and it has either rained more than an inch or if it is going to rain at least 1/2″. Rain-plants know the difference and that is why I currently have 3 rain barrels on the back of my house (HOA rules state i can have 1 and 2 with permission-well, I am all about breaking the rules at my age!) That is why the success of transplanting and even planting your garden should, if at all possible, revolve around Mother Nature and her gift of rain.
My success is not based on reading books or memorizing botanical, genus, or scientific names…my success is based on my passion for all things nature and the joy I have from growing plants that I find discarded, dying, or choked out in a neglected neighbor’s bed.
I was blessed with a green thumb and knew this from a young age when I would base all my science fair projects on growing plants (had some on rock too). I have learned many new things living in zone 7 and know that when I see a new plant and the tag reads 24″ tall and wide I know that in my yard it could reach 36-48″ tall. I also have to adjust for light requirements as well because full sun at my house means noon day sun and either early morning or late afternoon sun. I have only a few spots where sun shines most of the day under my 13 -50+ foot Oak trees (most on the edge of my 1/4 acre lot). Growing under Oak trees has been a challenge and one that doesn’t stop me.
Before I begin this tutorial I have to add one more thing…I DO NOT AMEND MY SOIL
yes you read that right. I have not amended my soil in at least 2 years if not 3. No I do not have rich black soil, I have Virginia red clay with rocks. I have discovered that my plants grow just as well if not better because I have NOT amended the soil. A plant has to grow where you put it and it has to become acclimated to where it is growing. In my clay soil, about 3 inches down you hit river rock and bright red clay and I have found that over the last 10 years that I have lived in zone 7 that my plants in the amended soil did not grow as large or do as well as the flowers, shrubs and trees I planted without amending. I do break up the soil if it is clay and hard but I do not put in any amendments.
Luckily many of my beds have had mulch on them for 5 years now and the soil has turned from sterile and polluted to sustainable and even fertile. I have paths and pots where the soil is still hard and sterile and I can live with that. I also do not worry about fertilizing either (except my grass which has to be). I use fish fertilizer now and discovered the healing properties of this smelly disgusting stuff (mixed of course with rain barrel water). I try to work with nature and to accept what can and cannot be…
So I hope you find some useful information and remember that gardening does not follow our man-made rules. Nothing in nature is in a straight line nor is it evenly spaced. Nature has her rules and we are here to figure them out. Happy gardening!
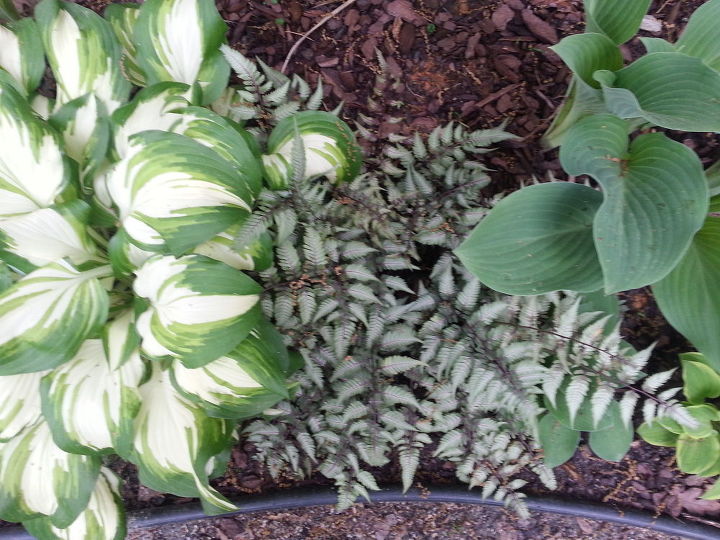
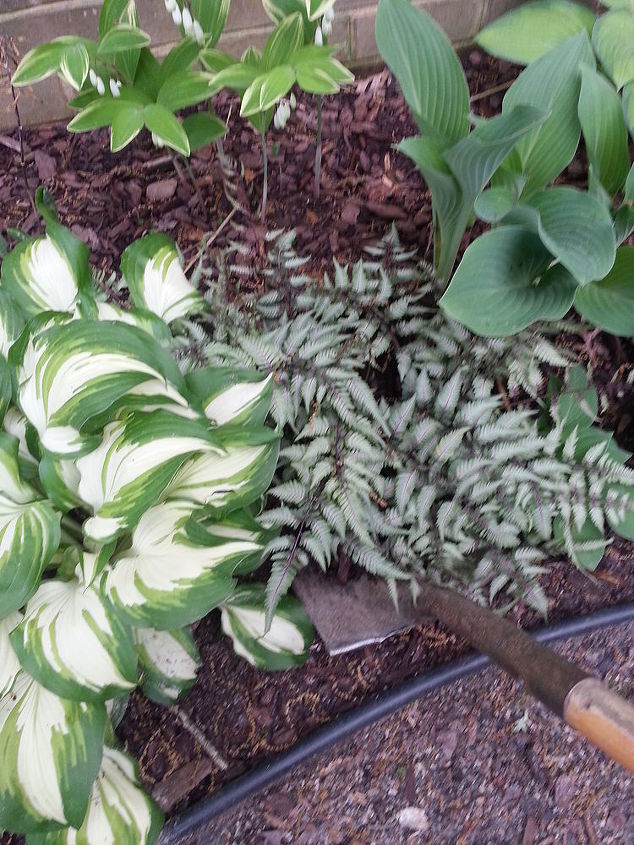
I showed this plant earlier in a post and it is perfect for doing this tutorial
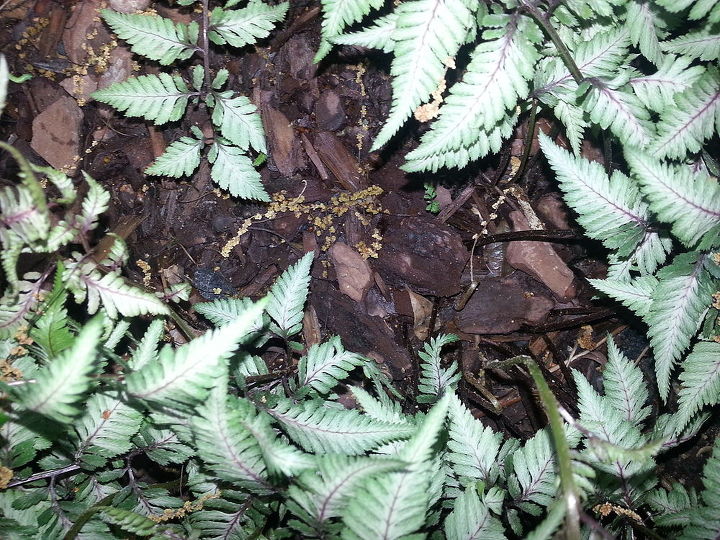
When I spread it apart you can see that it looks like 2 plants
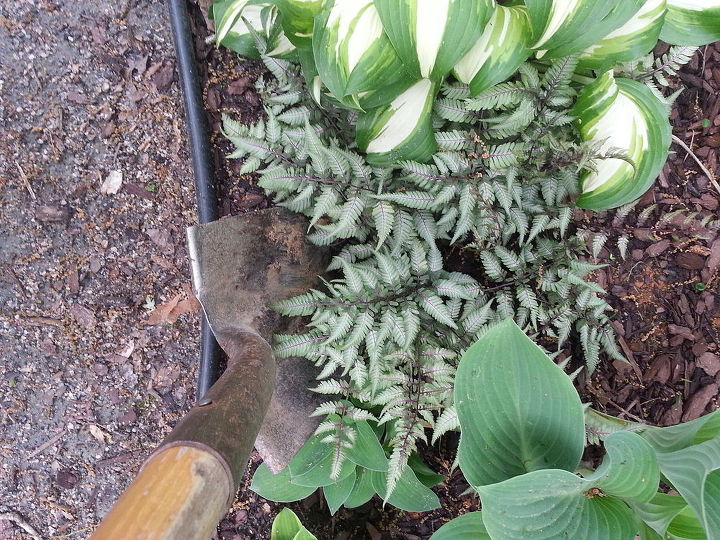
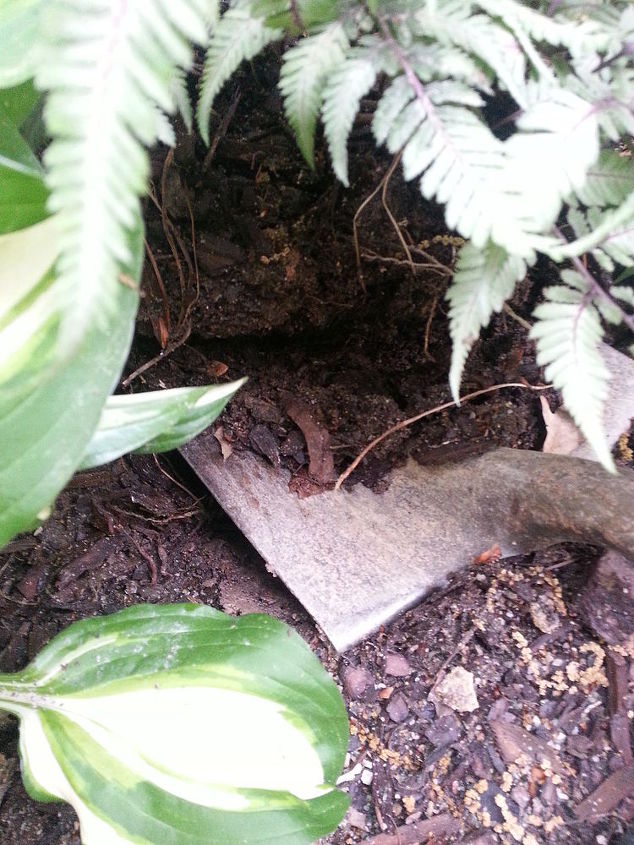
I take my shovel and slice through the dirt about halfway under the fronds/stems of the fern only about a semi circle since the garage wall was in the way. Pushing the shovel in about half way
After you slice the semi or full circle around the plant, then gently push the shovel back in the ground and then push the shovel horizontally under the plant as far as the shovel will reach and gently pry it up a couple of inches to break loose and then repeat all the way around the plant
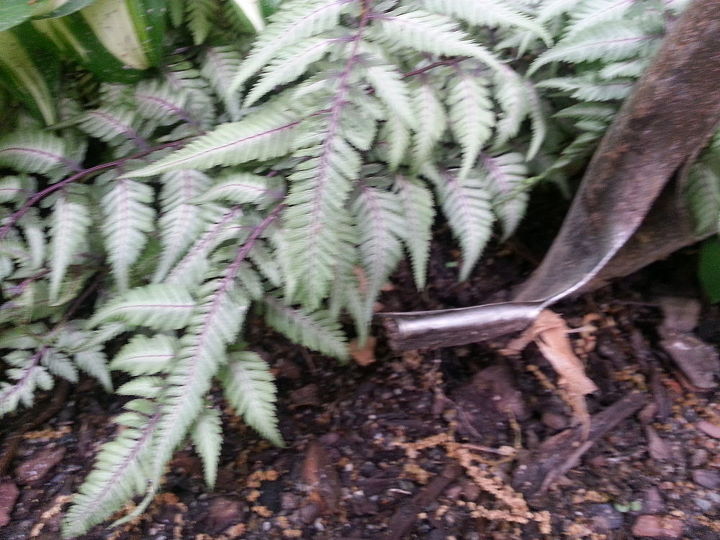
the shovel being slid under the plant
Prying the plant up to loosen it up
The plant will go back into the hole

The plant was originally put in last summer and has more than doubled in size
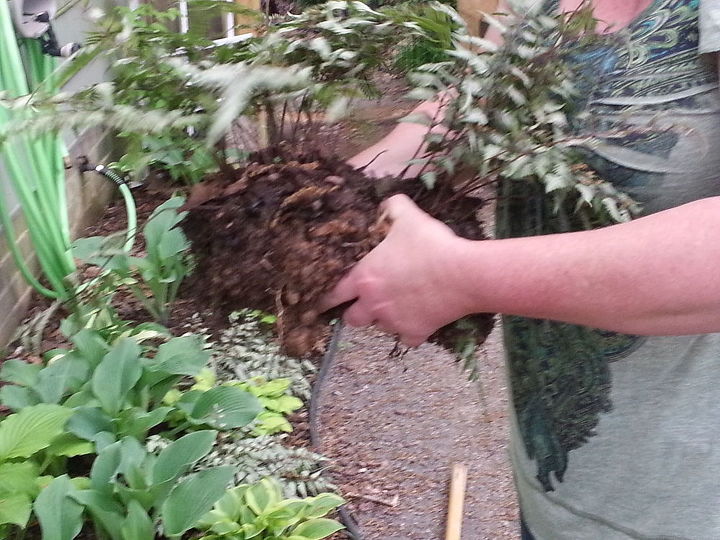
Pick the plant up and pull the plants apart -sometimes bending and twisting the plant to pull the roots apart
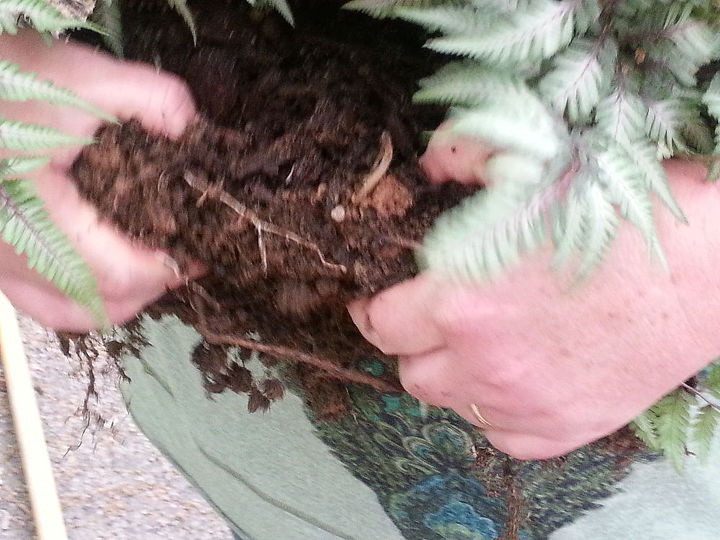
Pulling the plants apart
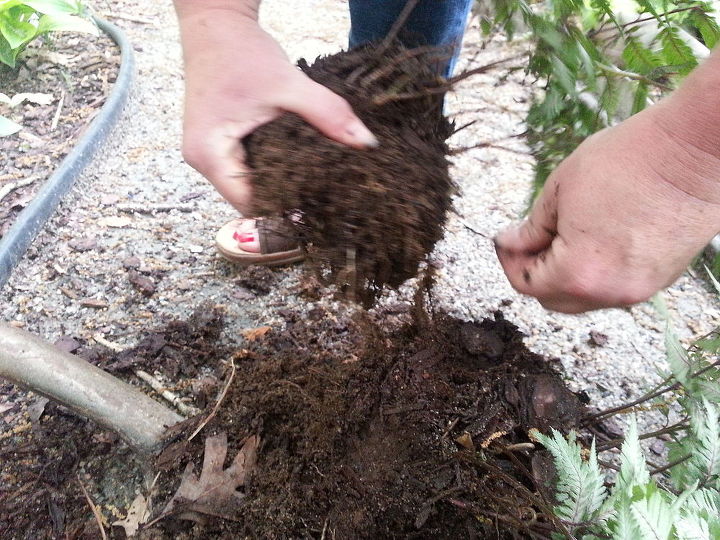
The smallest plant will go in a new spot
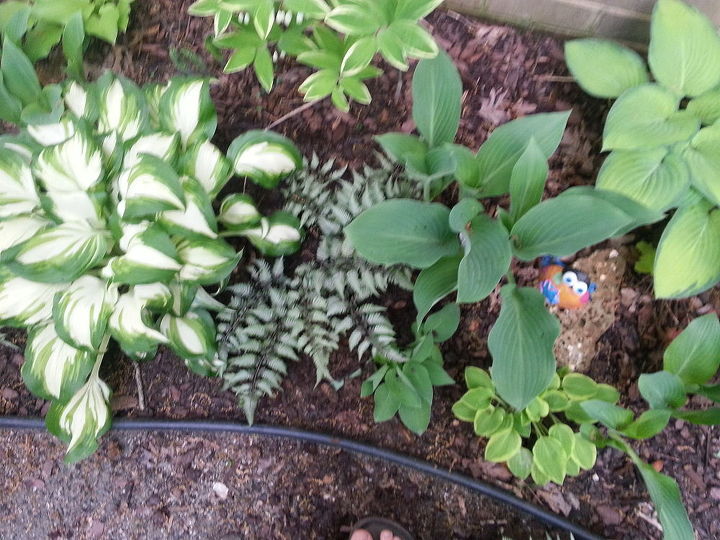
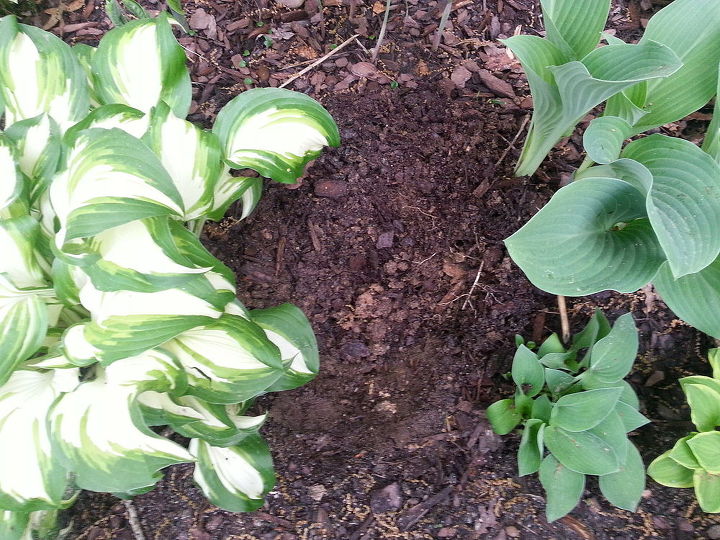
I put the larger parent plant back in the hole and adjust it so it looks like it has been there
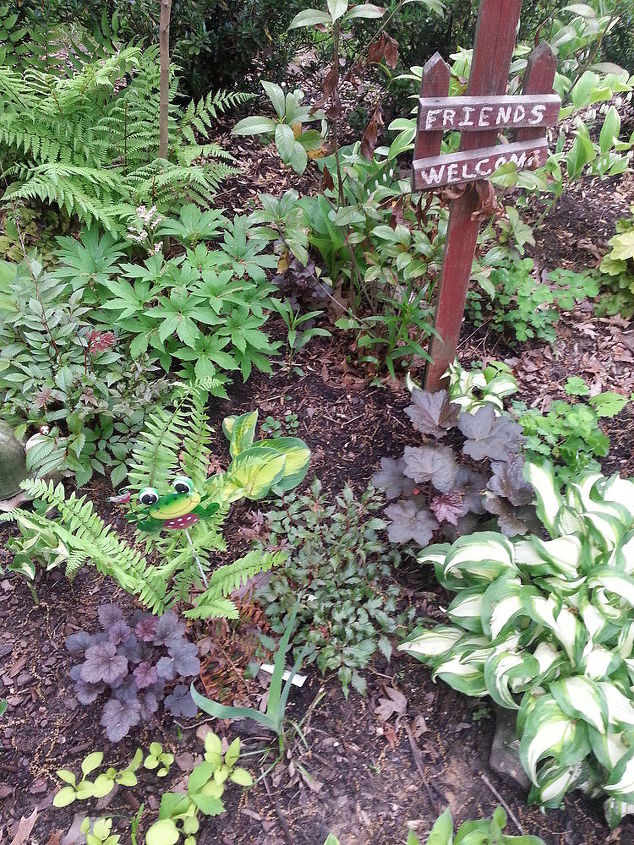
Behind me in the larger shade bed, I find a hole where a plant once was (voles ate a few things last year). I guess I will post another project tutorial on how to plant the new baby!

Want more details about this and other DIY projects? Check out my blog post!
Comments
Join the conversation
3 of 7 comments
-
In years past, it has grown to be huge! This year, it's looking a bit smaller. If one doesn't have plants to trade, one can bring chocolate, er, food, because it's also a potluck. Here's the MidAtlantic Gardening board: http://forums.gardenweb.com/forums/midatl/, and there are several threads there addressing the 2014 Spring Swap. On the Exchanges page, there are also several threads on the Haves, Wants, and Food. My 3 landscaped acres of my 6.5 wouldn't be even close to what they are today, if it weren't for these great, generous people. Plus, GardenWeb's boards cover many, many topics and have helped me out immensely with my post-fire home rebulding. It would be nice to meet you!
-
I like the idea of not amending the soil :) I do have to use some types of deterrents for pests, though! 'Survival of the Fittest' does not work here :( I am starting the battles this year, so that I can even divide anything.


Frequently asked questions
Have a question about this project?