


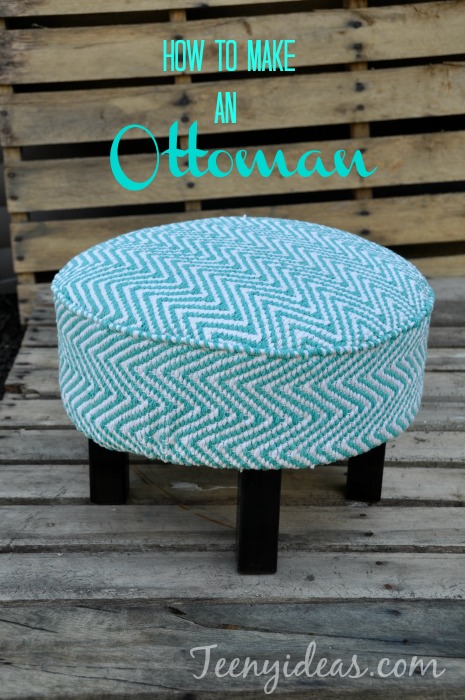
How I Made an Ottoman- and You Can Too
When I took the fabric off the side of the ottoman, I could see how it was constructed and it was pretty basic. Two wood circles, a few wood blocks for support and the legs. It looked simple enough that I thought I could build one. I think you could build one too. Here is how to build an ottoman:
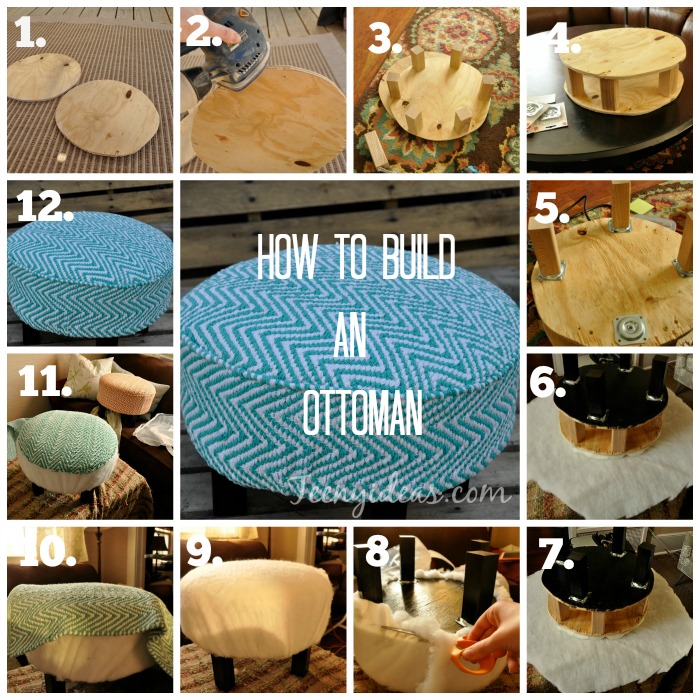
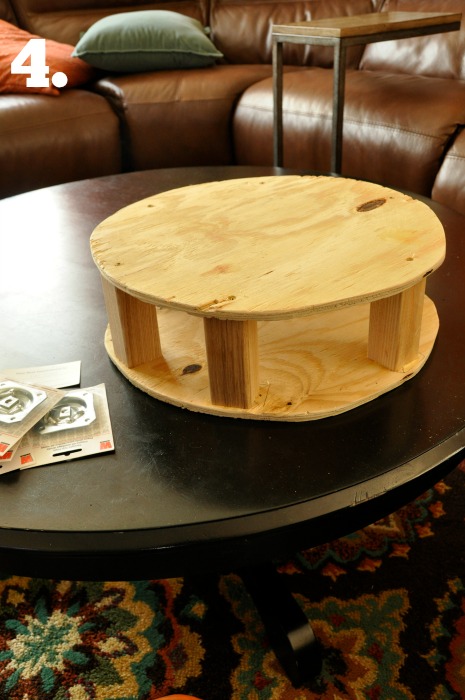
Place the other wood circle on top of the braces and pre drill holes in the circle so that they line up with the braces. Once you pre drill the holes in the circle, use the hole and pre drill holes into each brace. Apply wood glue to each brace and attach using screws.
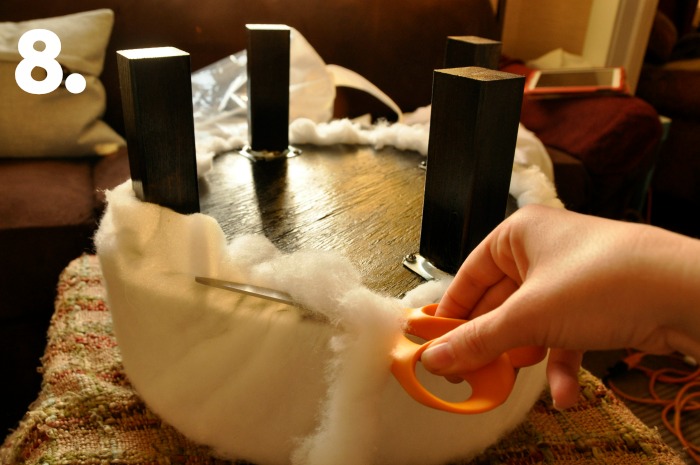
Trim excess batting.
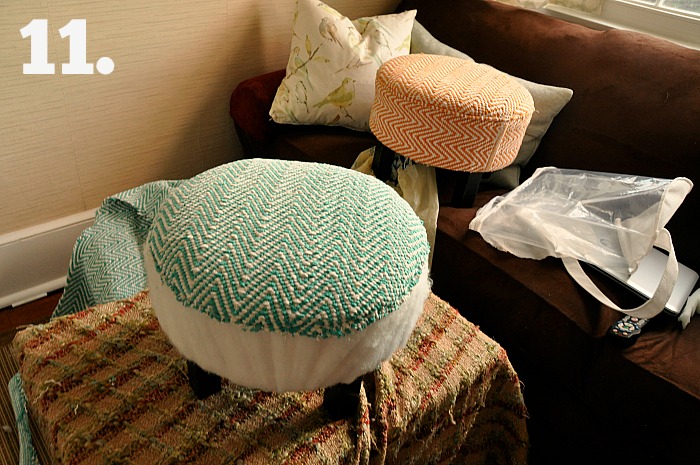
Turn ottoman right side up, place the rug on top and staple the rug to the side of the ottoman. Make sure to pull fabric taught. Trim excess rug (fabric).

Want more details about this and other DIY projects? Check out my blog post!
Comments
Join the conversation
3 comments
-
I need a small rectangle ottoman and have a lot of scrap wood. Looks like I know my next project! Thanks for the inspiration and directions
-
I NEED 2 SMALL ONES FOR MY GRANDKIDS. THEY WILL LOVE THEM


Frequently asked questions
Have a question about this project?