


DIY Driftwood Sailing Boat Decoration

by
Anna Souter
30 Minutes
Easy
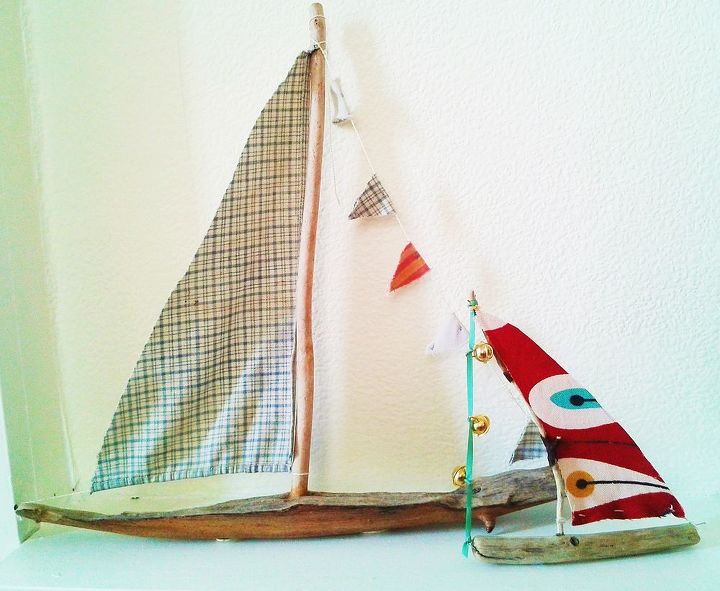
Whenever I go to the beach, I'm always collecting shells, sea glass and bits of driftwood. They usually end up sitting in a drawer gathering dust; shells look so much prettier when they're still wet, don't they? But this weekend I decided to try making a driftwood sailing boat.
For the full tutorial, go to http://annalouiseathome.blogspot.co.uk/2014/04/craft-driftwood-sailing-boat.html
Step 1. Super glue your "mast" into your driftwood boat. Prop it up in the right position and leave it to dry.
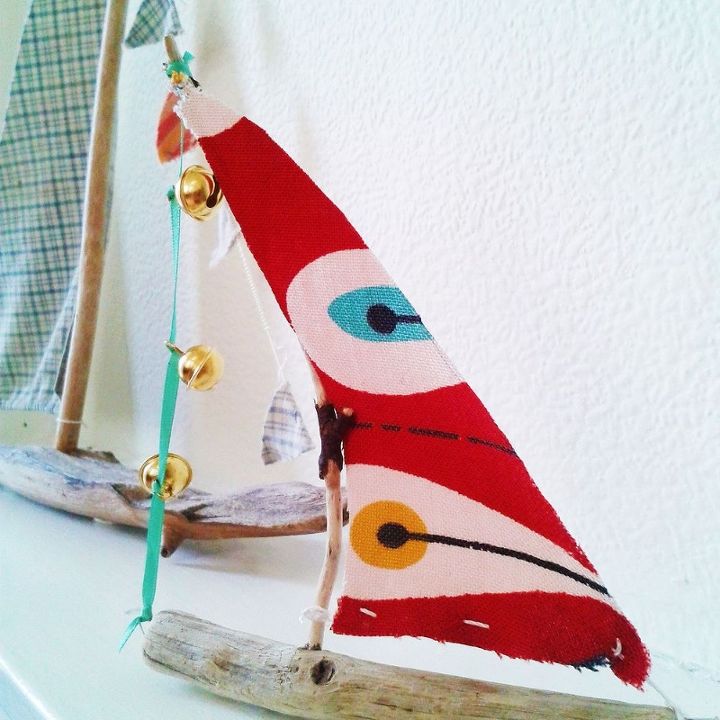
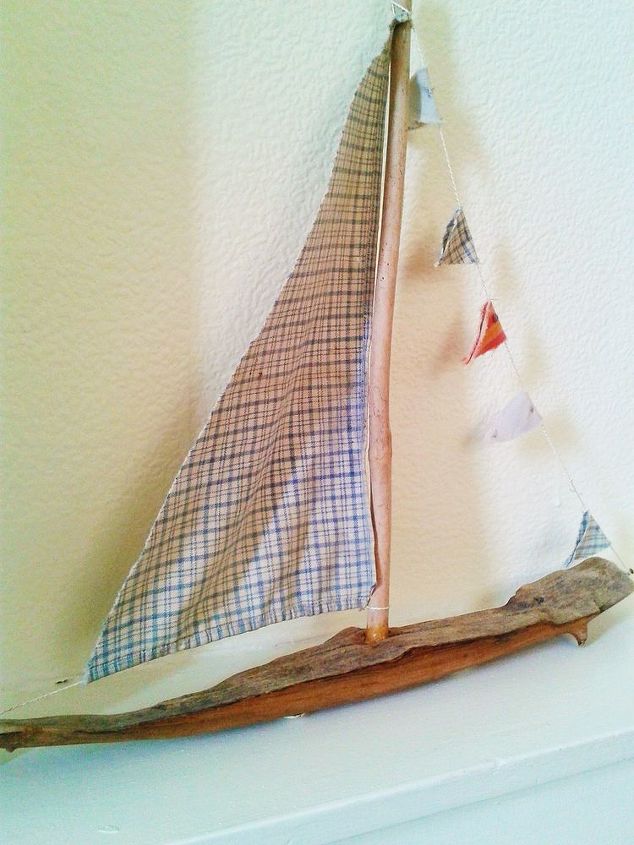
Step 3. Prepare your sail. Measure out approximately how big your sail needs to be and cut your material to size.
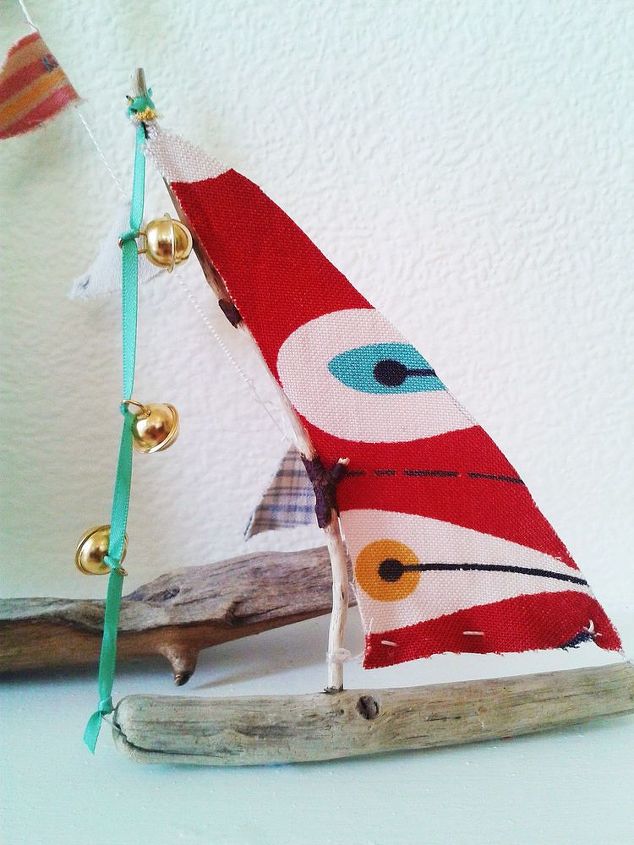
Step 5. Make your rigging. Tie a piece of string or ribbon from the top of the mast to the pin or staple on the opposite side to the sail. For my first boat, I decided to make little flags by cutting little triangles of contrasting fabric and attaching them to the string with a simple stitch. This time I made use of the little bells that come on the collars of Lindt bunnies.
Comments
Join the conversation
2 comments
-
really cute!!!!
-
Thanks Nicole and Xena!


Frequently asked questions
Have a question about this project?