


DIY Radiator Cover Tutorial
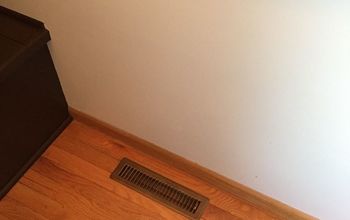
The radiator in the corner of our small kitchen never really bothered me - but after covering it and adding a very valuable extra surface to the space, I can't believe I didn't do it sooner! Click through to my blog for the full materials list & tutorial details.
We used MDF to make the sides & the front of the frame. A jigsaw was used to cut the big hole in the front.
Added trim molding to the inside of the frame - filled with wood filler & sanded. Added 2 support beams to the back.
We made sure to leave 2-3 inches on every side for air flow - as well as adding sheet metal to the back to push the air out into the rest of the room.
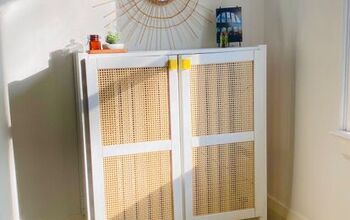
Added stained poplar wood to the top of the frame
What a difference!
We used MDF to make the sides & the front of the frame. A jigsaw was used to cut the big hole in the front.
Added trim molding to the inside of the frame - filled with wood filler & sanded. Added 2 support beams to the back.
We made sure to leave 2-3 inches on every side for air flow - as well as adding sheet metal to the back to push the air out into the rest of the room.
Added stained poplar wood to the top of the frame
What a difference!


Want more details about this and other DIY projects? Check out my blog post!
Comments
Join the conversation
2 comments
-
Wow, it looks so much better! Great job!
-
Wouldn't it cut down on heat circulation? I think the heating bills will go up. I have radiators and was told to only use the metal covers on the top for them. You can paint them with special paint. If you do cover them use small pieces of wood so you can have the sides and more of the front open. I like the look and idea but I really think you will not get much heat from it.


Frequently asked questions
Have a question about this project?
Where is the picture?