


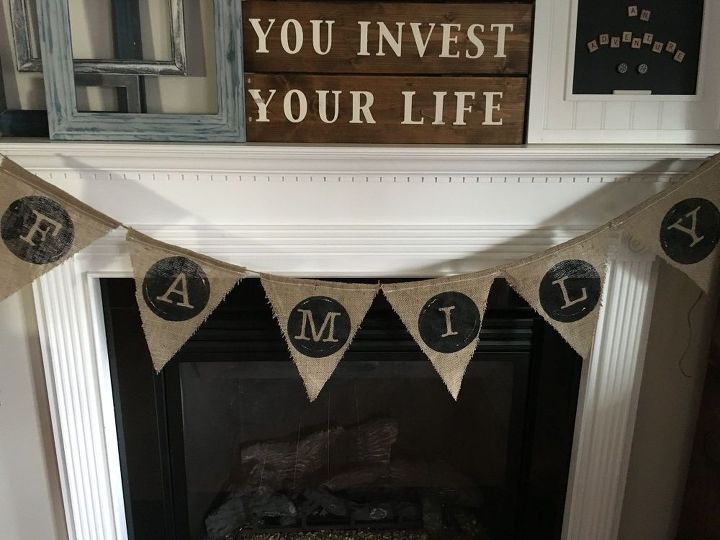
Typewriter Keys Family Pennant Banner

by
Stacy Davis
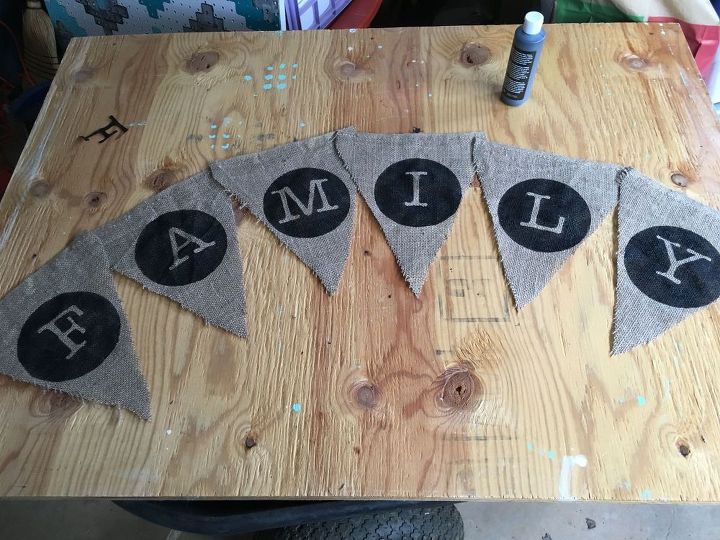
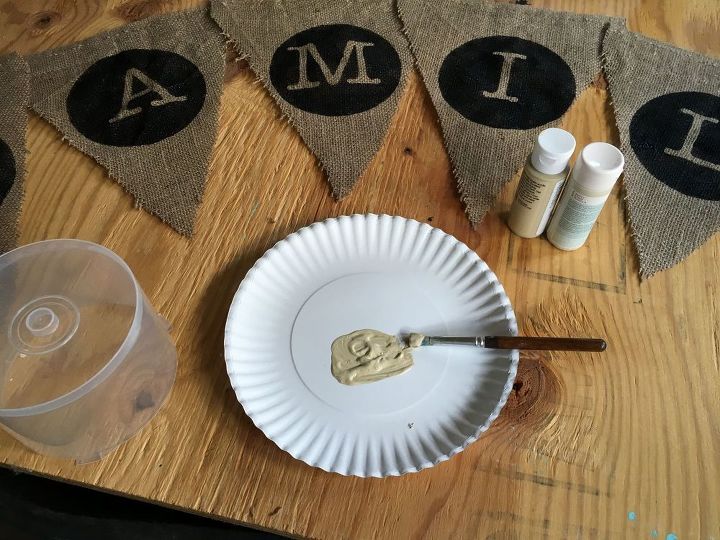
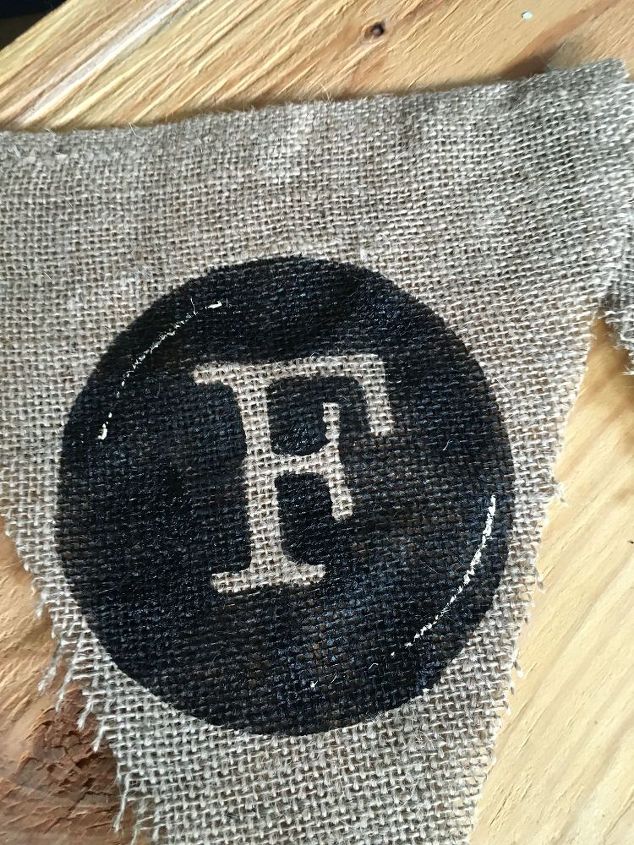
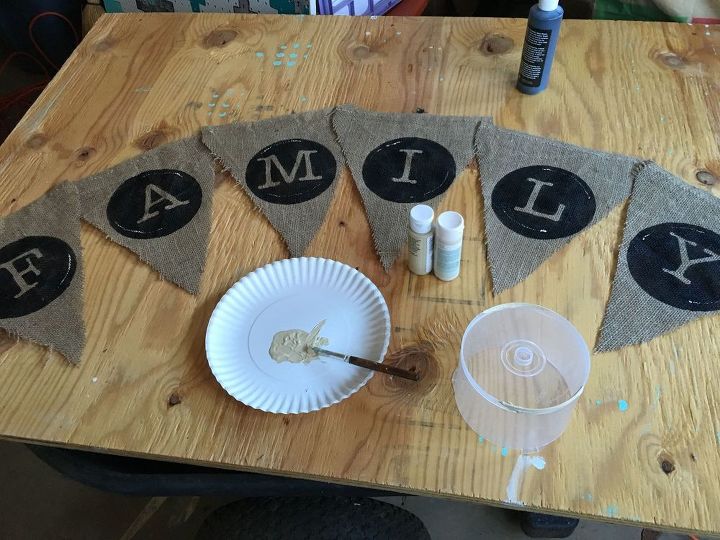
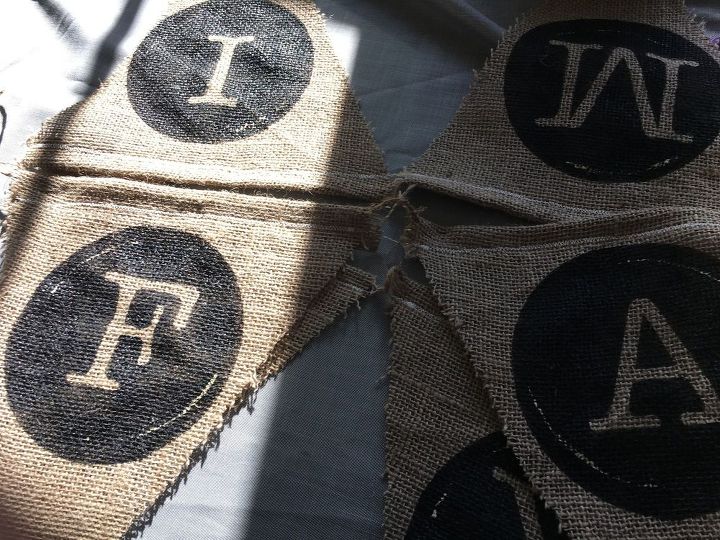
One of my favorite vintage styles is the vintage typewriter key look mimicked in home décor. I created a pennant banner that uses this idea. This particular tutorial is a 2 for 1. Meaning you cut one file on your cutting machine and you can use the pieces to make two FAMILY pennant banners. An excellent idea would be to keep one for home and give one as a gift. One will be the vintage typewriter key look and the second will be a simple FAMILY pennant banner.
Supplies Needed:
Step One.
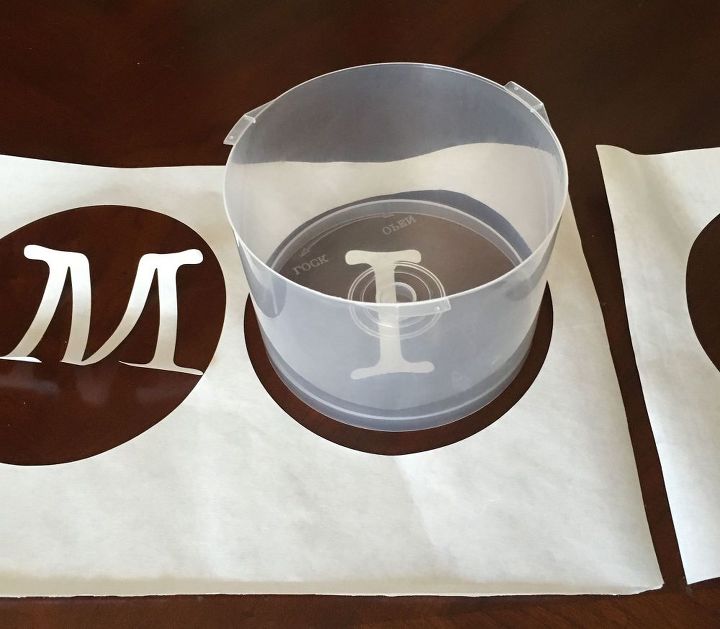
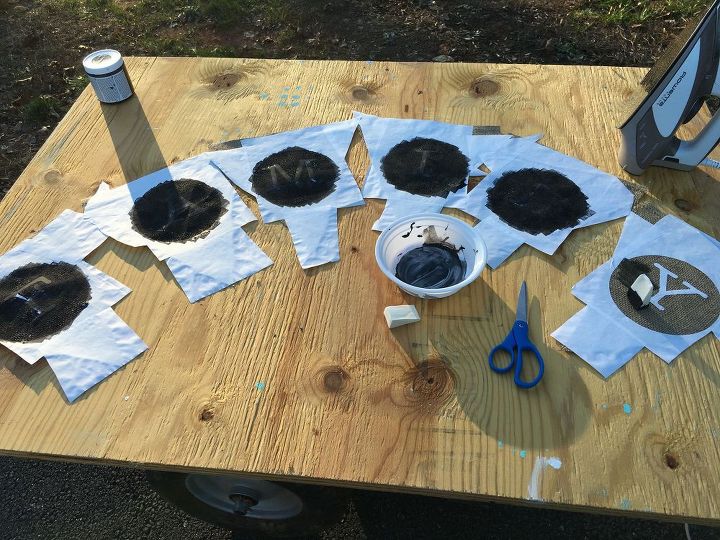
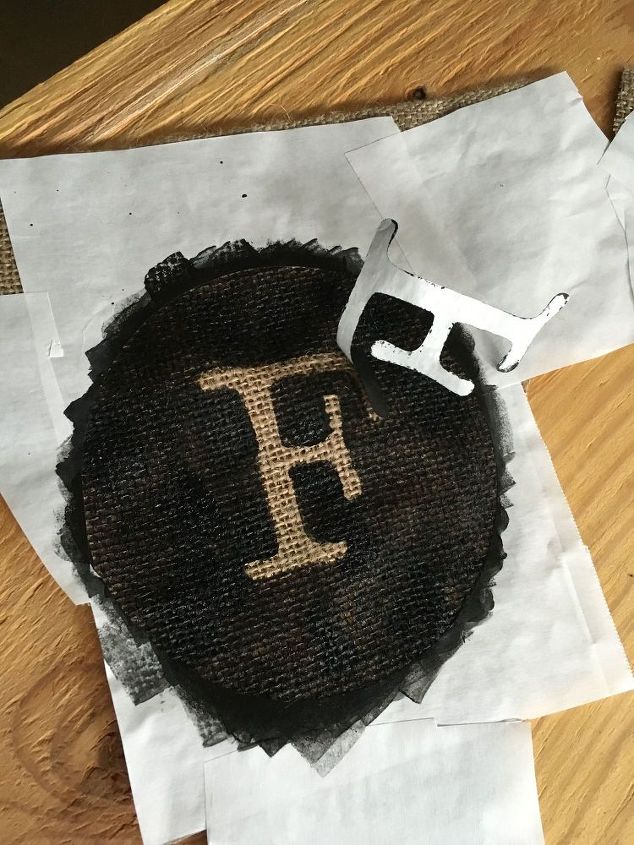
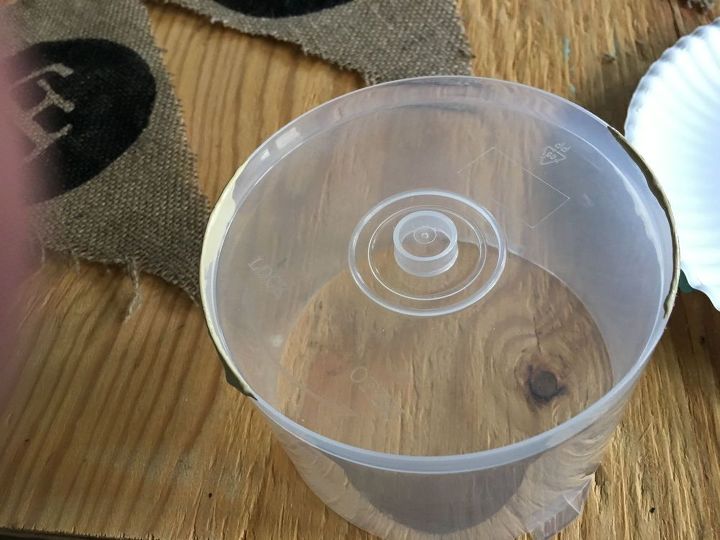
Find a circular item that is slightly smaller than your 6 inch circle. This will be used later to add paint marks to your banner.
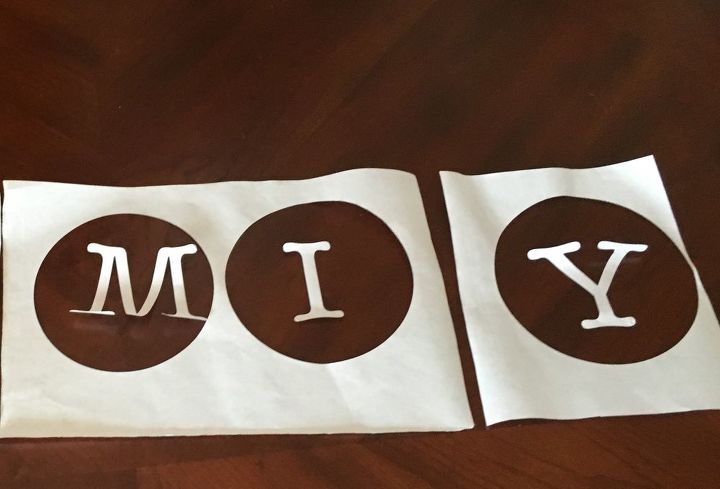
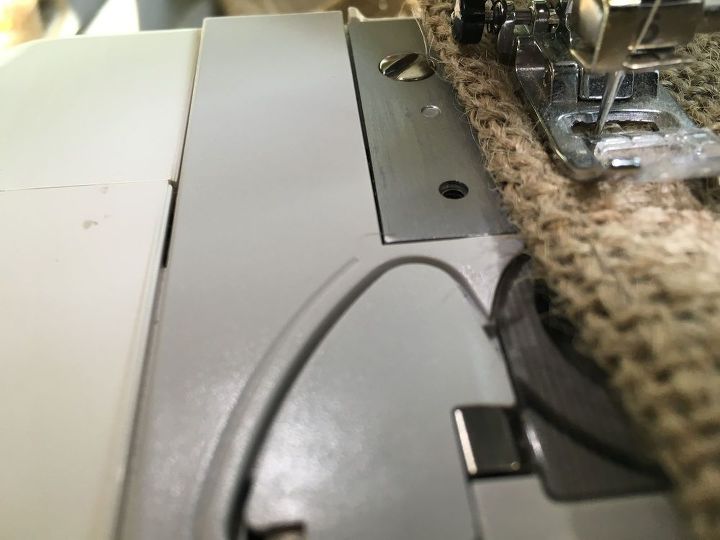
Step Three.
Step Five.
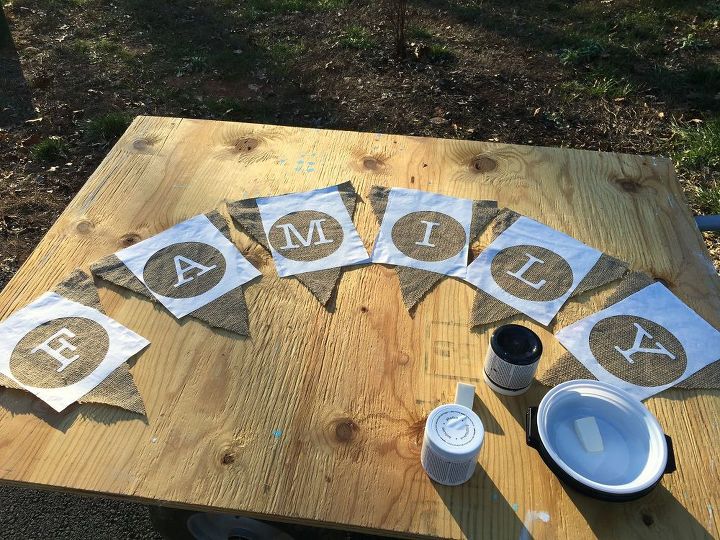
Step Six.
Step Seven.
Step Eight.
Step Nine.
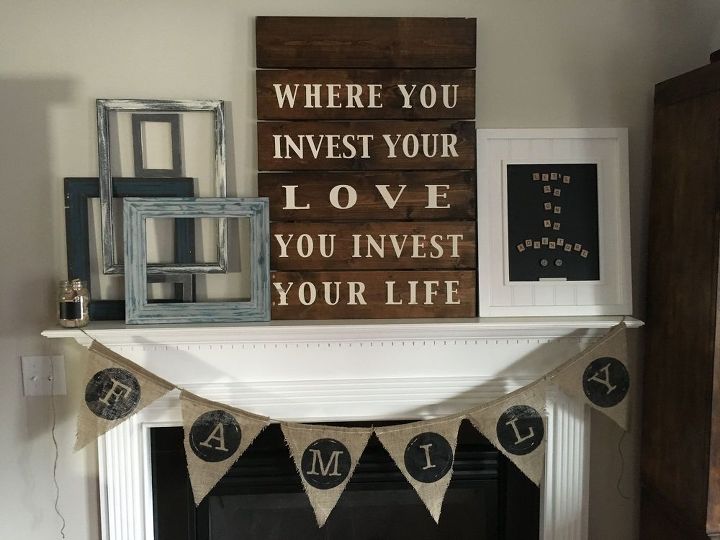
All done!


Frequently asked questions
Have a question about this project?