


Book Page Sketches
While I consider myself creative, I am not particularly artistic. My drawing abilities are along the lines of a preschooler. To have the ability to "draw" whatever I want using the Silhouette makes me supremely happy.
I know not everyone has a Silhouette but the same effect can be achieved using stencils or drawing freehand. You could even just print a graphic using your printer.
I know not everyone has a Silhouette but the same effect can be achieved using stencils or drawing freehand. You could even just print a graphic using your printer.
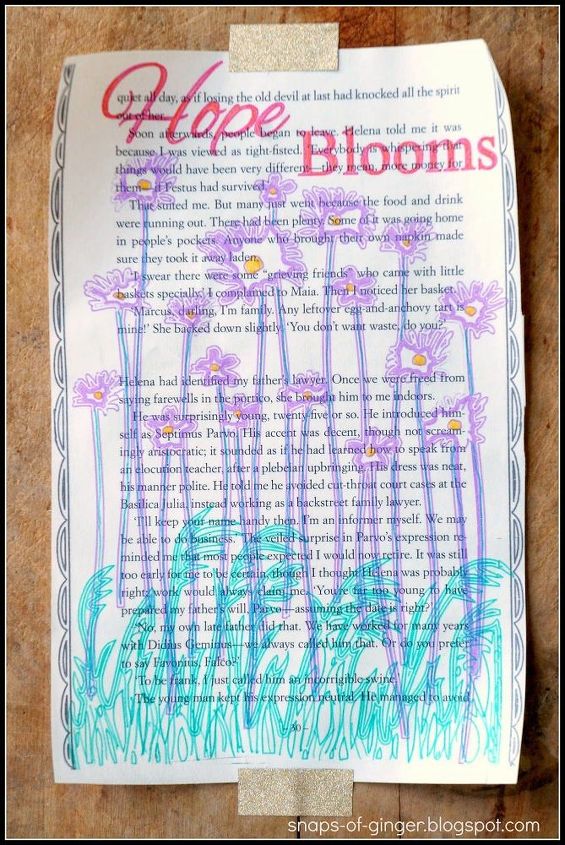
I decided to jump right in and try layered sketches using multiple colors on this first picture. Thanks to Melissa from the Silhouette School blog (check her out people, she rocks!!) I was able to fill in the sketch somewhat instead of it just being a single outline. I chose designs I had in my library, sized them to fit my paper, and let the creative juices flow.
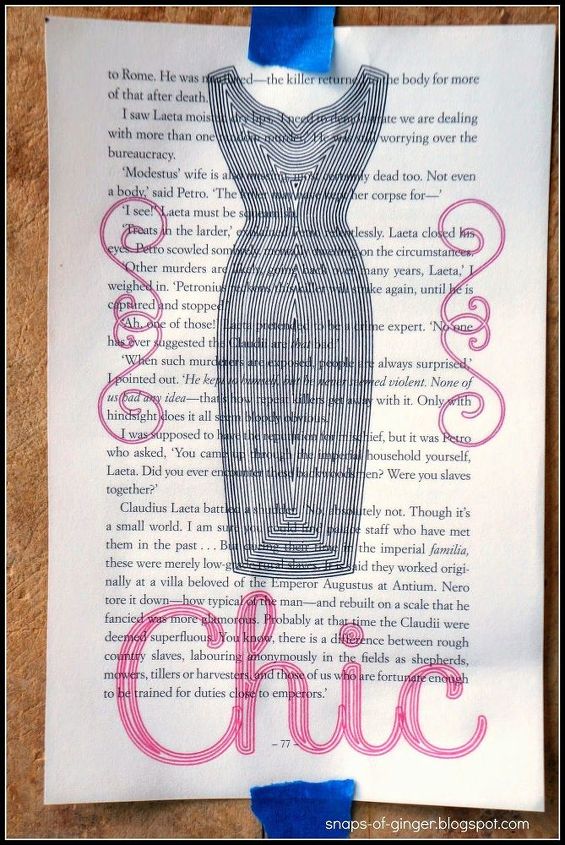
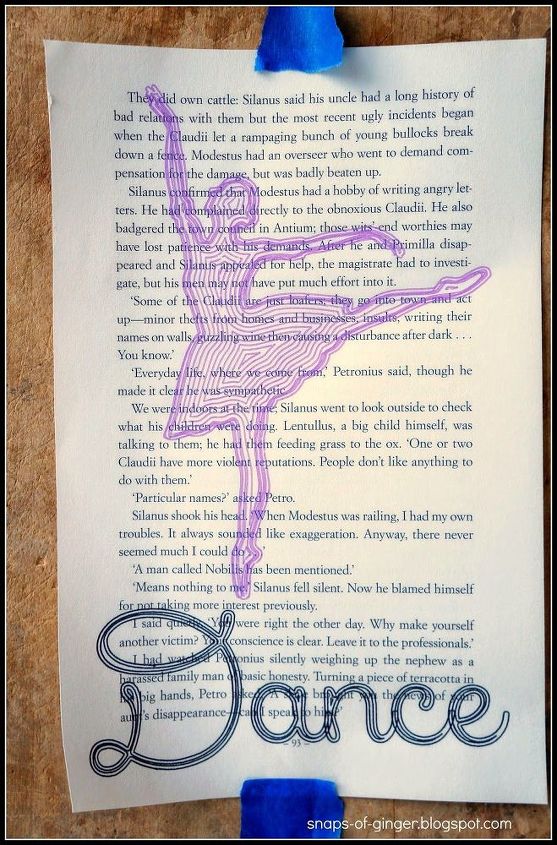
Using my Silhouette application, I created the design then moved each piece off of the cutting area depending on what color pen I was going to use.
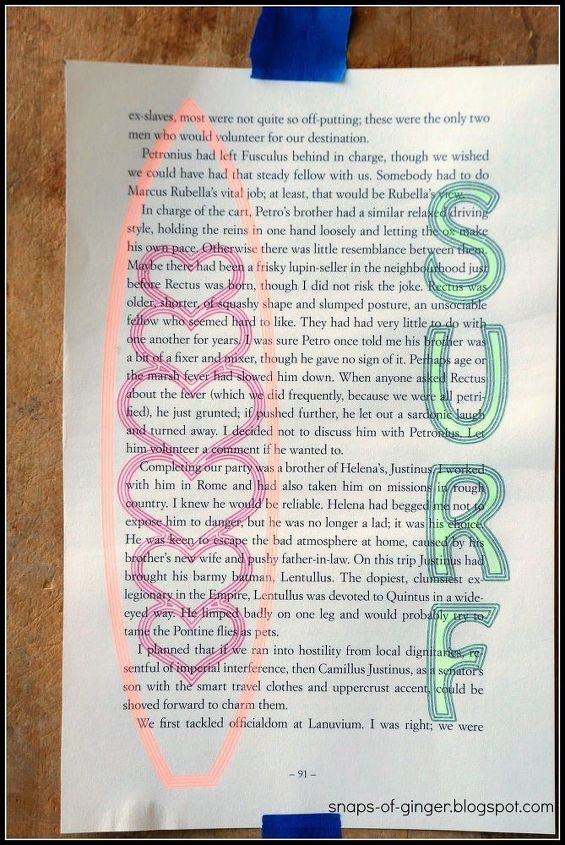
To create the layered looks here, I followed same method as above starting from the bottom layer and working up.
To create the "filled-in" section of the sketches I did an internal offset over and over until the image was completely filled.
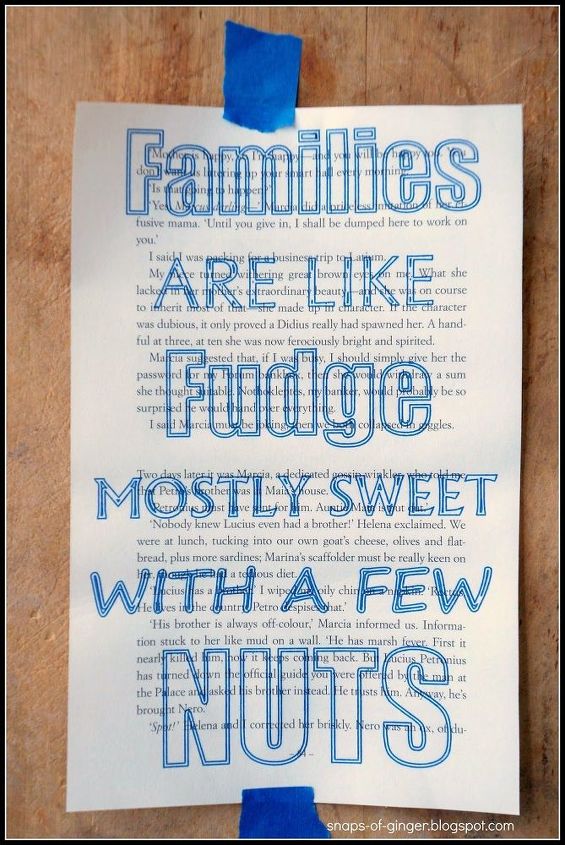
I used the same internal offset method as above on this sketch. I just varied the amount of fill on the different fonts.

Want more details about this and other DIY projects? Check out my blog post!


Frequently asked questions
Have a question about this project?